How to Become a Pixel Artist
Pixel art is all the rage in modern independent video games. It allows the artist to impart a lot of character for a game without having to spend countless hours modeling 3D objects or hand-drawing complex subjects. If you want to become a....
Part 1 of 7:
Gathering Your Tools
-
 Download some good image editing software. While you can create pixel art with Paint, you're going to find it difficult. Some of the most popular pixel art programs include:
- Photoshop
- Paint.net
- GIMP
- Pixen
- Aseprite
-
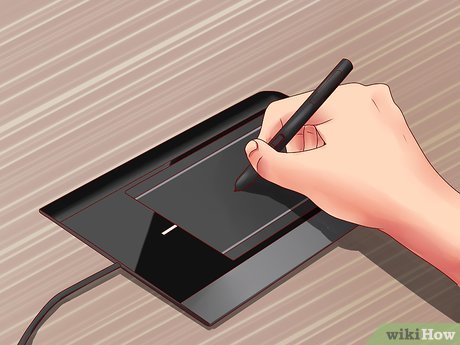 Get a drawing tablet. If you want to trace hand-drawn art or don't really like using the mouse to draw on the screen, you can use a tablet and stylus. Wacom is one of the most popular tablet manufacturers.
 -
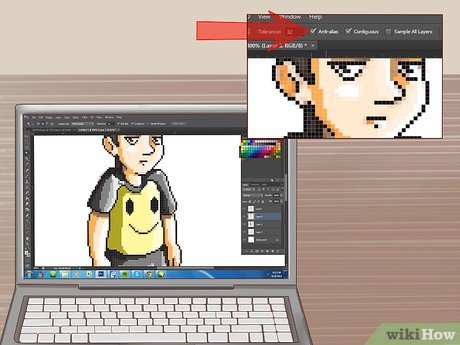
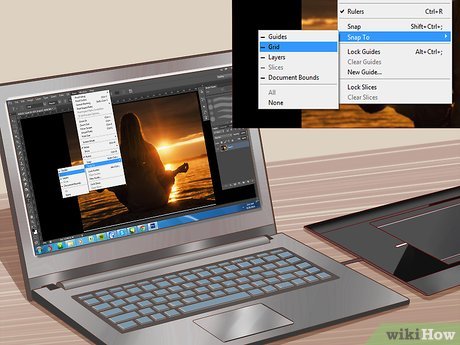 Turn on grid view in your editing software. You'll want to enable grid mode in whichever software you choose. This will allow you to see clearly where each pixel will go. You can usually access the grid view from the View menu.
- You will likely need to configure the grid so that each square represents one pixel. The method for doing this varies from program to program. In GIMP, you can change this from the Image menu (select "Configure Grid...").
-
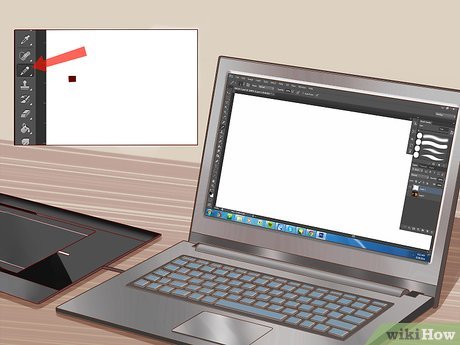 Choose a single-pixel pencil. Select the Pencil tool in your editing software. In the Pencil's options, choose the single-pixel brush. This will allow you to draw in single pixels.[1]
Part 2 of 7:
Practicing the Basics
-
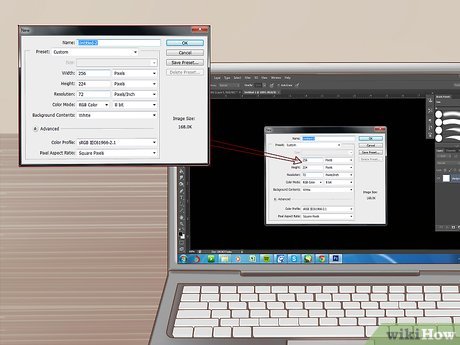 Create a new image. Since you are going to be working on the pixel level, the image size doesn't need to be big. The entire screen in the original Super Mario Bros. game is only 256 x 224 pixels. Mario himself is only 12 x 16 pixels!
 -
 Zoom in. Since you're going to be working with individual pixels, you'll want to zoom very far in so that you can see the grid and where each individual pixel is placed. You may need to zoom in over 800% to clearly see the pixels in the grid.
 -
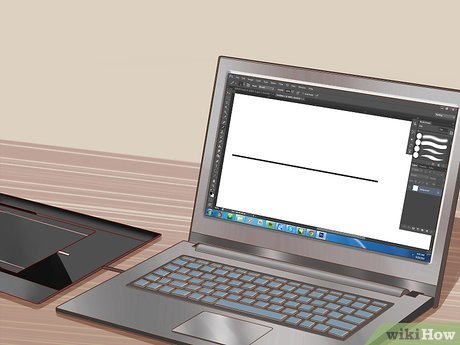 Practice drawing a straight line. This may seem like a simple concept, but if the line is even one pixel off in the middle it will be noticeable. Practice drawing straight lines with your mouse or stylus so you don't have to switch to the line tool every time.
 -
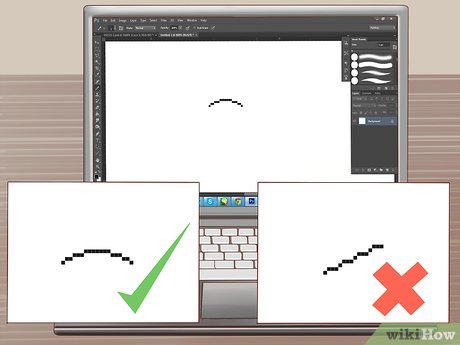 Practice drawing curved lines. Curves should occur with regular breaks in the pixel line. For example, a good curve would start with a six-pixel break, followed by a three-pixel break, followed by a two-pixel break, followed by one-pixel breaks. The breaks would then reverse to make the other end of the curve. A bad curve would start with a three-pixel break, followed by a one-pixel break, followed by a three pixel break, or any other odd progression.
 -
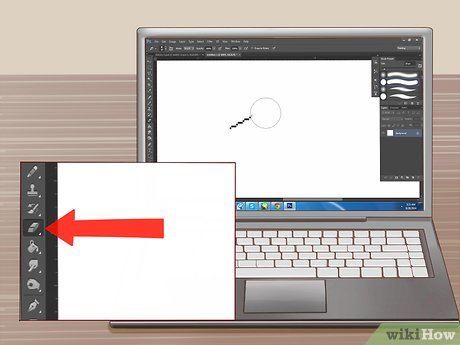 Use the Erase tool to fix mistakes. Like the Pencil tool, you'll want to set the eraser to erase one pixel at a time. If the eraser is too large, it will be difficult to erase pixels with precision.
Part 3 of 7:
Outlining Your First Sprite
-
 Determine the sprite's use. Will it be animated or static? You can put more detail into a static sprite, but you may want to keep an animated sprite simpler since you will need to redraw parts for the animation. If the sprite is to be used with other sprites, you'll want to maintain an artistic style that connects everything together.
 -
 Find out if there are any limitations. If you are creating the sprite for a project, determine if there are any size or color limitations. This will be more important when you begin working on larger projects with lots of different sprites.
- Most modern systems don't really have any limitations on sprite size and color complexity. If you're developing a game specifically for an older system, you may run into more limitations.
-
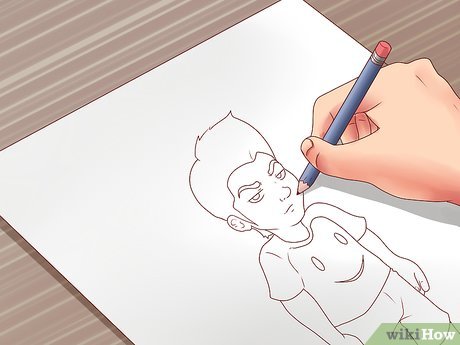 Sketch it out. Try to sketch out the basic concept of the sprite on a piece of paper. This will allow you to see how the sprite will look and make adjustments to the pose or other characteristics. You can use this sketch as the source of your tracing later if you have a tablet.
- Make the sketch detailed. Place all of the features that you want to include so that you can get a feel for how the sprite will look as a finished product.
-
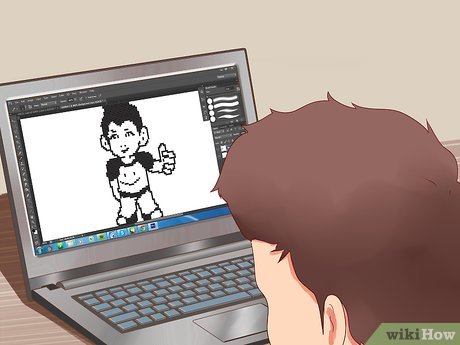
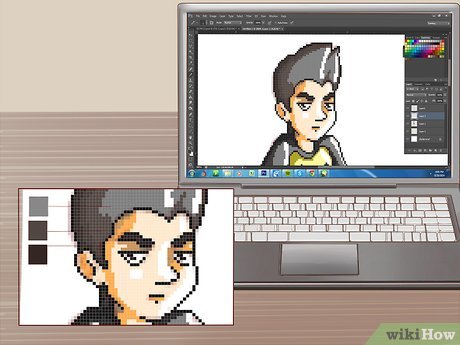
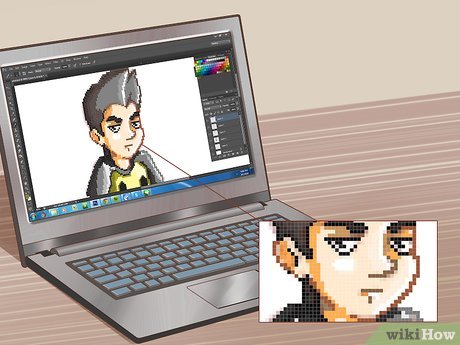
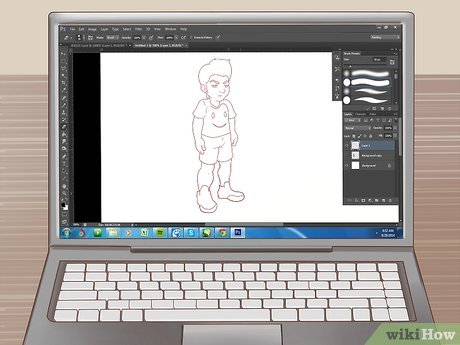 Create the outline in your editing program. Either use the sketched outline as a reference or trace the outline using your pad. You can either click and draw to create the outline or place each pixel individually, the choice is yours.
- When creating your first sprite use solid black as your outline color. This will make it easy to distinguish. You can manually change the color of the outline later.
-
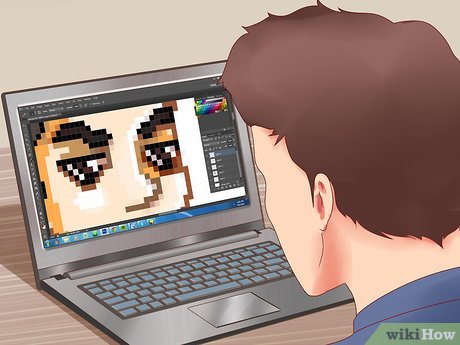
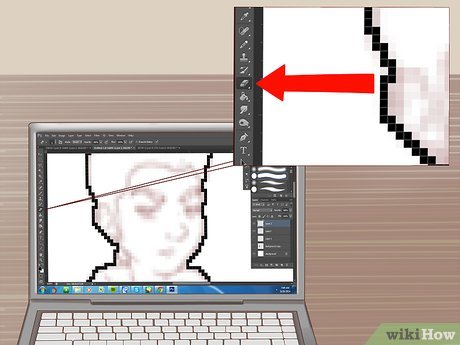 Clean up the outline. Zoom in and start erasing extra pixels and fixing lines. The outline should only ever be one pixel thick, unless you are keeping a thicker outline for the rest of the sprite. Use your Pencil tool to insert pixels to help correct mistakes.
- Focus on the big details during the outlining process. You can go back and add the small touches later.
Part 4 of 7:
Coloring Your Sprite
-
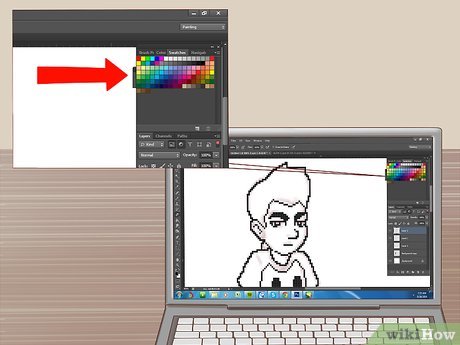 Brush up on basic color theory. Look at the color wheel to help determine which colors you should use. Colors across from each other on the wheel will be very distinct, while colors in close proximity will look good next to each other.
- Choose a set of colors that give your sprite a distinctive look without being too jarring. Avoid pastel colors if possible, unless the entire project uses that style.
-
 Just use a few colors. The more color you add, the more distracting your sprite will look. Take a look at some of the most iconic sprites and you'll find that they often only use a few colors.
- Mario - The classic Mario sprite uses only three colors that are all closely related.
- Sonic - Sonic has more detail than the original Mario, but is still only composed of four colors with varying shades.
- Ryu - One of the classic fighting game sprites, Ryu uses large areas of simple colors, with slight shading for definition. Ryu has five basic colors with various shades.
-
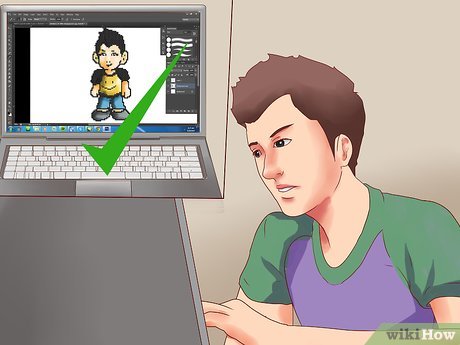
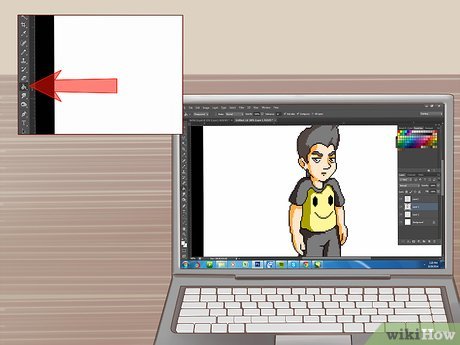 Apply your colors. Use the Fill tool to apply your color choices to your sprite. You're just applying base color at this point, so don't worry about how flat it looks. The Fill tool will replace all the pixels that match the pixel you clicked with your selected color, until boundaries are reached.
Part 5 of 7:
Applying Shading
-
 Determine the "light source". The angle that the light hits the sprite will help you determine where to apply shading for a more realistic and believable effect. While there isn't going to actually be a light, knowing the direction the light is shining is very important.
- It may be easiest to shade with the light source coming from far away above the sprite, from either the slight right or slight left.
-
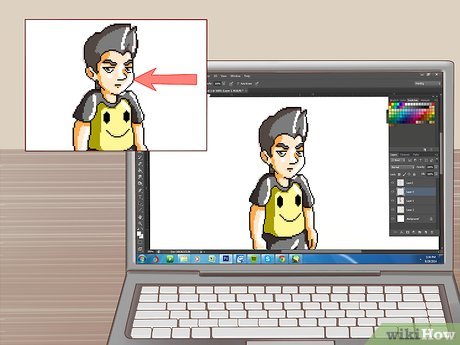
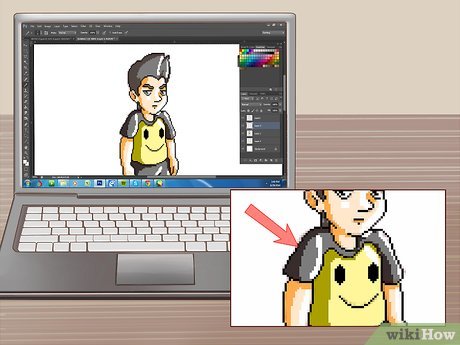 Apply shading using a slightly darker shade of the base color. If the light source is coming from above, the shading should happen on the "underside" of the sprite. Shade any areas that wouldn't be hit by direct light. Just add a few layers of pixels above or below the outlines to add shading.
- You can decrease the "lum" value of your base color and slightly increase the "hue" value to get a good shading color.
- Never use gradients. They will look very fake and unprofessional. You can use dithering to mimic gradients (see below).
-
 Add some soft shadows. Pick a shade between the darkness of the shadow and the original base color. Use this shade to add another layer of shadow between the shading and the base color. This will give the effect of transitioning from dark to light.
 -
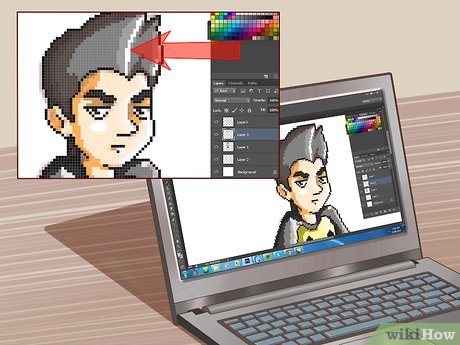 Apply a few highlights. These are spots on the sprite that are being hit the most with the light. You can add highlights by using a shade that is slightly lighter than the base color. Use highlights sparingly, as they can become distracting.
Part 6 of 7:
Using Advanced Techniques
-
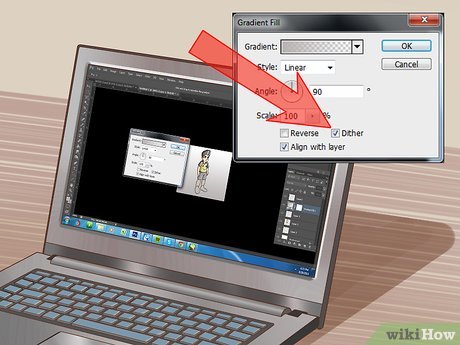 Try some dithering. This is an effect that allows the artist to represent a shift in shade. It allows you to create a gradient effect with only a few colors by alternating pixel placement to create the transitions. The amount and placement of two different pixel colors in a pattern can trick the eye into seeing different shades.[2]
- Dithering tends to be overused by beginners, so try to avoid using it except in rare instances.
-
 Practice anti-aliasing. Pixel art is defined by the noticeable pixels, but sometimes you want to blend the lines to make everything look a bit smoother. Anti-aliasing is the technique that allows you to do this.
- Add intermediary colors to the kinks on a curve. Add one layer of intermediary colors around the outline of the curve that you want to soften. If it still looks to rough, add another layer of a lighter shade.
- If you want your sprite to look crisp on any color background, do not anti-alias the outer edge of the outline.
-
 Apply selective outlining. This is the term for coloring the outline similar to the colors used to fill. This will give the sprite a slightly less "cartoony" look, as the outline will be a little more natural. Try selective outlining bare skin while using traditional outlining on clothing.[3]
- Use a shade darker than the base color of the section you are selective outlining. Use the light source to change the shade as you outline, giving the sprite a more natural look. This can be especially useful for skin and muscle tone.
- Traditional outlining is good if you need your sprite to stay distinctive on top of a busy background.
Part 7 of 7:
Adding the Finishing Touches
-
 Give the sprite a good look over. Take a step back and look at your sprite up to this point. Determine if anything looks off, and then go into correct those inconsistencies or errors.
 -
 Add details. After you've finished coloring and shading, you can add details such as writing, eyes, additional features, and anything else that could take your sprite to the next level. The attention to detail at the end is what separates amateur from professional pixel artists.
 -
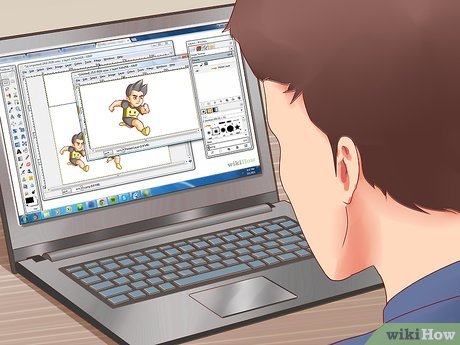 Animate your sprite. If you've followed the steps above, you'll have a single static sprite. This is fine as a piece of art, but if you want to make sprites for games they'll likely need to be animated. This means that each frame of animation will have to have its own sprite, with slight changes from the previous frame. The collection of all the sprites used in an animation is called a "sprite sheet".
- See this guide for detail on animating a sprite sheet in GIMP.
- Creating unique and attractive animations for sprites is one way that master pixel artists separate themselves from amateurs. A good animation can breathe a ton of life into a sprite.
-
 Create a portfolio. If you want to take your pixel art skills into the video game development world, you'll want to have a solid portfolio to show off to prospective employers. Include several of your best sprites, as well as some animations if you have them. Include a variety of subjects, including characters, scenery, props, and more.