Table of Contents
This practical guide explains how to install XPipe on Linux in a clear sequence, including preparation, key settings, common mistakes, and troubleshooting steps.
What This Guide Covers
- Download and install XPipe
- Connect to the remote server first
- Configure server details in XPipe
This article will show you how to install XPipe on Linux as well as manage your own VPS and Docker hub.
Download and install XPipe
The first step in installing XPipe in Linux is to ensure that the system is fully updated. To do that, run the following command in terminal on Debian and Ubuntu:
sudo apt update && sudo apt upgradeIn Fedora, you can instead run the following command to update your system:
sudo dnf updateOpen a web browser, then navigate to the latest releases page for XPipe.
Scroll down to the 'installers' heading, then select the appropriate installer format for the system. For Debian-based systems, select the 'Linux .deb installer (x86_64)' link. For Fedora-based systems, select 'Linux .rpm installer (x86_64)'.

Note : You can also install XPipe on Raspberry Pi by selecting 'Linux .deb installer (arm64)'.
Return to the terminal session, then navigate to the Downloads folder on your device:
cd ~/DownloadsInstall the XPipe bundled installer using the Ubuntu/Debian package manager:
sudo apt install ./xpipe-installer-linux-x86_64.debFor Fedora, you can run the following command:
sudo dnf install ./xpipe-install-linux-x86_64.rpmOpen the app launcher on your system, type 'xpipe' in the search bar, then click on the app's icon.

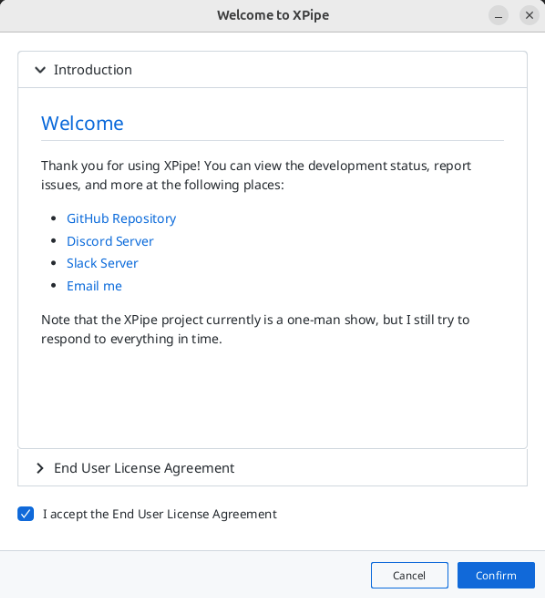
Check the I accept the End User License Agreement checkbox , then click Confirm to load the XPipe control panel.
Connect to the remote server first
At this point, you should have a completely blank XPipe client running on your current desktop session. To use it with a remote server, first make sure it can detect the machine's local shell.
Start by clicking the Search for Connections button on the program's main screen.

This will open a small window where XPipe will ask you to select the sources it will poll in your machine. Accept the default values, then click Finish .
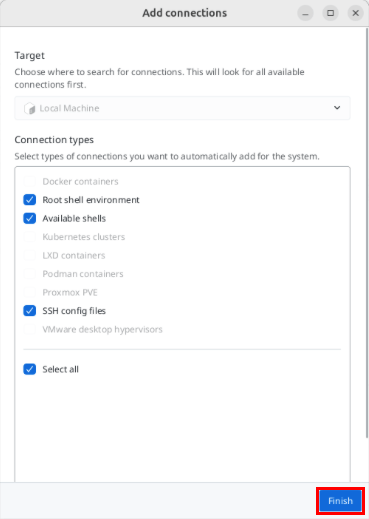
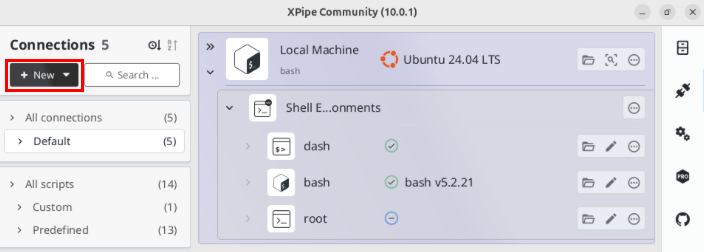
Once XPipe detects both the root shell and the regular user shell, click the + New button in the upper left corner of the program window.
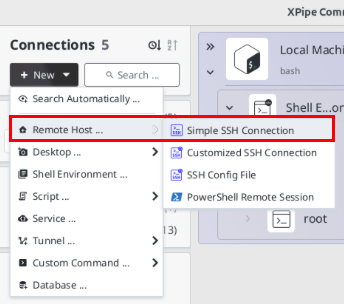
Select Remote Host -> Simple SSH Connection .
Configure server details in XPipe
Click the Host text box under Connection Information , then provide the domain name or IP address of the remote machine.
Select the User text box , then enter the name of the user you want to connect to your server with.
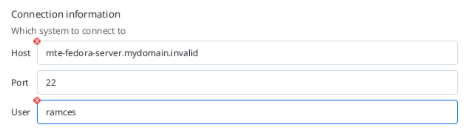
Scroll down to the authentication section, then provide your user account password or associated SSH key.
If you are using a password for the SSH server, click the Password-based Authentication drop-down box , select Password , then provide the user account password in the text box below.

Meanwhile, if you are using an SSH key, select the Key-based Authentication drop-down menu , select Identity File , then provide the location of the public SSH key file.
Note : Make sure to set other authentication options to None if you only use one of the two methods.
Go to the Connection Name section , name the new SSH setup, then click Finish to save.
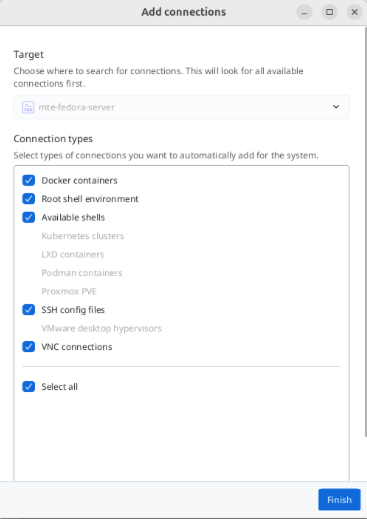
Finally, XPipe will try to find existing containers and services running on the remote server. Accept the default values, then click Finish again to begin.
Final Thoughts
Use the instructions and checks above in order, verify the result after each major step, and keep a backup whenever the process changes important files or system settings.
FAQ
What should I check before starting?
Confirm that your device or software version matches the instructions, save important data, and note the original settings before making changes.
What should I do if the steps do not work?
Restart the app or device, install available updates, review any error message, and repeat the steps carefully in the same order.
Can I undo the changes?
Many changes can be reversed, but the exact method depends on the feature. A backup or restore point gives you the safest way to recover.
Related Articles
 How to Install and Use Kali Linux on Vmware Virtual Machine10 minutes read
 How to Install Solus Linux7 minutes read
 5 Reasons to Install Linux on Old Computers6 minutes read
 Install Linux Linux on Mac: How to Install Kali Linux on macOS12 minutes read
 How to Install NVIDIA Drivers on Kali Linux6 minutes read
 Steps to Install Webex for Linux4 minutes read
Reader Comments 0
Sign in with email or Google to join the discussion.