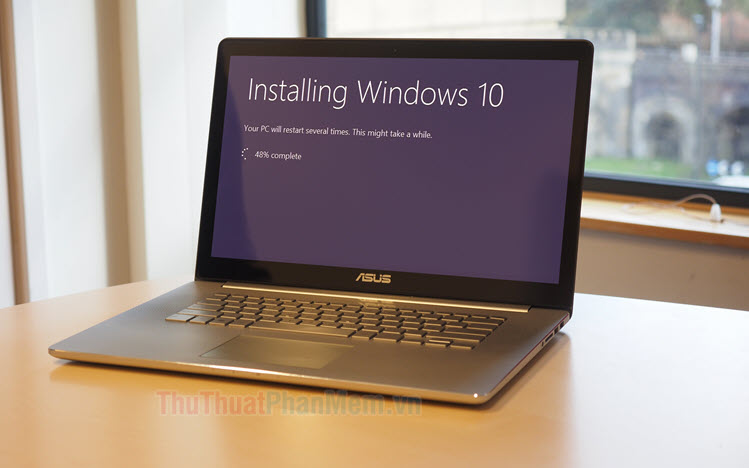
The most detailed instructions for installing Windows 10 and 11 using WinNTSetup
Installing Windows 10 and 11 using WinNTSetup is a method that has many outstanding advantages such as fast speed and the ability to easily customize the Windows installer. In this article, we will learn how to install Windows 10 and 11 using WinNTSetup in detail with specific steps.

1. Prepare
- Windows 10/11 installation file : Search for the Windows installation file in ISO format online. Please refer to the article Top 5 ways to download Windows 10 ISO file for free to find out how to download Windows 10 ISO file.
After downloading the ISO file, copy the ISO file to another drive/folder that does not have Windows installed, such as drive D or drive E.
- WinNTSetup : You can download WinNTSetup shared by member JFX on the MSFN forum at https://msfn.org/board/topic/149612-winntsetup-v523/
Next, scroll down and click on the Mega or MediaFire link to download.

After downloading, unzip the WinNTSetup folder along with the folder containing the Windows ISO file for easy searching.
- USB Boot Windows PE : There are many USB Boot versions online such as Anhdv Boot or NHV Boot. Please search for these USB Boot versions and find a way to install them on USB.
In the article, TipsMake uses the Anhdv Boot tool, you can download and see installation instructions at the homepage: https://anhdvboot.com/tai-ve/
2. Partition the hard drive to install Windows with MiniTool Partition Wizard
2.1. Delete partition on hard drive
Step 1 : On the main interface of Anhdv Boot, open the Partition Wizard 12 software .

Step 2 : Right-click on the drive where Windows needs to be installed (1) => Delete All Partitions (2) to delete the entire partition.

Next, click Yes to agree to delete the entire partition.

Continue to click Yes on the warning that appears on the screen to continue.

Step 3 : Click Apply on the left side of the software to apply the changes to the partition.

Click Yes to continue.

After successfully deleting the partition, click OK to exit the dialog box.

2.2. Create EFI partition and Windows installation partition
Step 1 : Right-click on the newly deleted partition (Unallocated) (1) => Create (2) .

Step 2 : You set the parameters like the image below.
+ Drive Letter => None (1) .
+ File System => FAT32 (2) .
+ Partition Size => 100 - 105MB (3) .
Click OK (4) to create the partition.

Step 3 : Right-click on the newly created partition (1) => Change Partition Type ID (2) .

Step 4 : Click on Please predefined ID from the list: (1) => select EFI System Partition (2) => Yes (3) .

2.3. Create a partition containing Windows
Step 1 : Right-click on the Unallocated partition (1) => Create (2) .

Step 2 : Leave the default parameters => click OK .

Step 3 : Click Apply on the left side of the software to apply the changes.

Click Yes to agree with the warning displayed on the screen.

After partitioning is complete, click OK to ignore this message.

3. Install Windows using WinNTSetup
Step 1 : Open the WinNTSetup folder and launch the WinNTSetup_x64.exe file downloaded and extracted in part 1.

Step 2 : Click on the Windows Vista/7/8/10 tab (1) => Search (2) in the first section.

Step 3 : Open the path to the ISO file (1) downloaded in part 1 => Open (2) .

Step 4 : In the Select location of the installation section , click Search.

Next, select the Windows installation drive (1) => Select Folder (2) .

Step 5 : In the Options section , select the Windows version according to your needs such as Home/Pro/Education. (1) => select drive letter preassignment (2) => Setup (3) .

A new dialog box appears, click OK to continue.

Step 6 : After successful installation, click Reboot to restart the computer.

Step 7 : After restarting the computer and the Windows setup screen appears, it is successful. You follow the normal Windows installation steps to complete.

With the instructions in the article, you can easily install Windows 10/11 with WinNTSetup quickly. Good luck!
You should read it
- Apple unveils the best compatible application with 'Smart Invert' mode.
- Place to sell anti-ulcer steam mattress in Hanoi, Ho Chi Minh City
- Instructions for fixing errors do not receive and send files in Skype
- Simple photo compositing on Microsoft Paint
- How to download and install iOS 6 on iPhone, iPad, iPod Touch
- Lenovo 'conforms' to Windows 7
 How to Ghost Windows directly on windows 11 and Ghost Windows using UBS boot
 Download Ghost Windows 11 23H2 update 2024
 Ghost Windows 11 23H2 NoSoft and Full Soft, Update November 2023
 How to install Windows using WinToHDD without USB or DVD - Just use the ISO file
 5 tips for using BIOS to help you master your computer - What is BIOS and how to use BIOS