How to create USB BOOT containing many Windows installers (XP / 7/8/10)
Here are the steps for you to create USB BOOT containing many Windows installers
1. Prepare to create USB Boot
- Windows XP / 7/8/10 installation file : You can search the internet or refer link here to download.
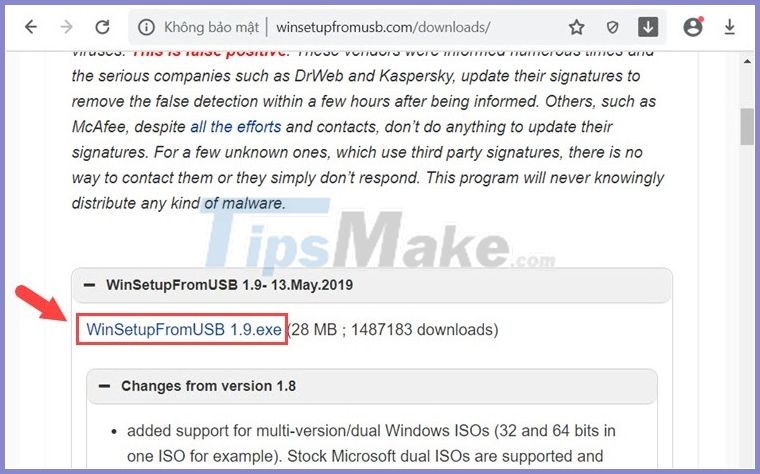
- Software WinSetupFromUSB : Used to install multiple versions of Windows boot to USB. Download link at here
Then, you click on the download link to download.

2. Perform USB Boot creation
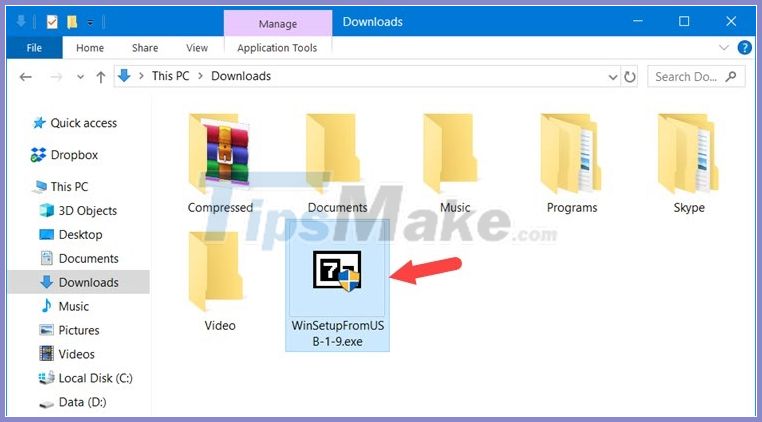
Step 1: Double click on the downloaded 7z file .

And choose Extract to extract the file.

Step 2: Open the extracted folder and click the WinSetupFromUSB x64.exe file .

Step 3: You set the parameters on the software as.
(1) Select theUSBdrive.
(2) Check this item so that the software will automatically format the USB withFbinstprogram.
(3) SelectFAT32formatto boot Windows.
Later. you tick Windows Vista / 7/8 / Sever 2008/2012 based ISO (4) => click on the icon . (5) .

Next, find and click on the Windows 10 ISO file (6) downloaded in the above step => Open (7) .

Step 4: Click on GO to continue.

If there is a message as shown below, click Yes .

And continue to select Yes if there are more messages as shown below appear.

After Job done notification appears, it is successful. Please select OK and do not turn off WinSetupFromUSB software.

Step 5: After installing the Windows 10 ISO file , we will install another popular installer Windows 7 . On the main interface of the software, you have to uncheck the option Auto format it with Fbinst . Next, you tick the Windows Vista / 7/8 (1) => Click on the icon… (2) .

Next, you find the ISO file Windows 7 (3) => Open (4) .

Then, click GO to continue.

Until Job done notification is done. Click OK to continue and repeat the above steps to install Windows 8 on the USB.

Step 6: For Windows XP , you must first unzip the ISO file and select the Windows 2000 / XP / 2003 Setup option (1) in the WinSetupFromUSB software and click on the icon . (2) .

Unlike Windows 7/8/10 operating system , you must extract the ISO file of Windows XP to a separate folder using Winrar software. Then, you select the folder Windows XP (3) unzipped => Select Folder (4) .

Step 7: A new message appears, choose OK .

And a message asking you to agree to the terms of Microsoft appears after that, click I accept .

Then you press GO to install on USB.

Step 8: Once done, click OK and Exit the software.

Step 9: After that, restart your computer and experience the multi-function USB Boot for common operating system versions of Windows.

With the instructions in the article, you can take advantage of the large capacity USBs as a common Windows installer for different models.
Good luck!