How to Install Visual Studio Code on Arch Linux
Arch Linux may not be as user-friendly as its Debian-based option, Ubuntu. however, it gets a lot of support from advanced users who like a little more control over their operating system.
If you have a knack for coding, you may already be familiar with Visual Studio Code. VS Code is a much-loved tool, with fancy plug-ins and many useful features. This is how you can install Visual Studio Code on Arch Linux.
1. Install Visual Studio Code with Pacman
The first, common, and most effective installation method is to install Visual Studio Code using Pacman. Pacman commands are quite simple and work on all Arch-based distributions, including Arch Linux, Manjaro, and elementary OS.
To install VS Code on Arch Linux using Pacman, run:
sudo pacman -S codeRemove Visual Studio Code with Pacman
To remove the VS Code package, use the following command:
sudo pacman -R code2. Install Visual Studio Code from AUR
To install Visual Studio Code from the Arch User Repository (AUR), use yay:
yay -S visual-studio-code-binFirst you need to install yay on your system to run the above command.
Alternatively, you can install the Development version of VS Code with the following command:
yay -S code-gitSelect the default version by entering 4 when prompted for the installation type. You can follow the on-screen instructions to go ahead and install the package as per your requirement.
Note : Don't forget to enter your sudo password, followed by y , when prompted.
The command will install all the necessary dependencies on your machine and perform several important functions to ensure that Visual Studio Code runs smoothly.
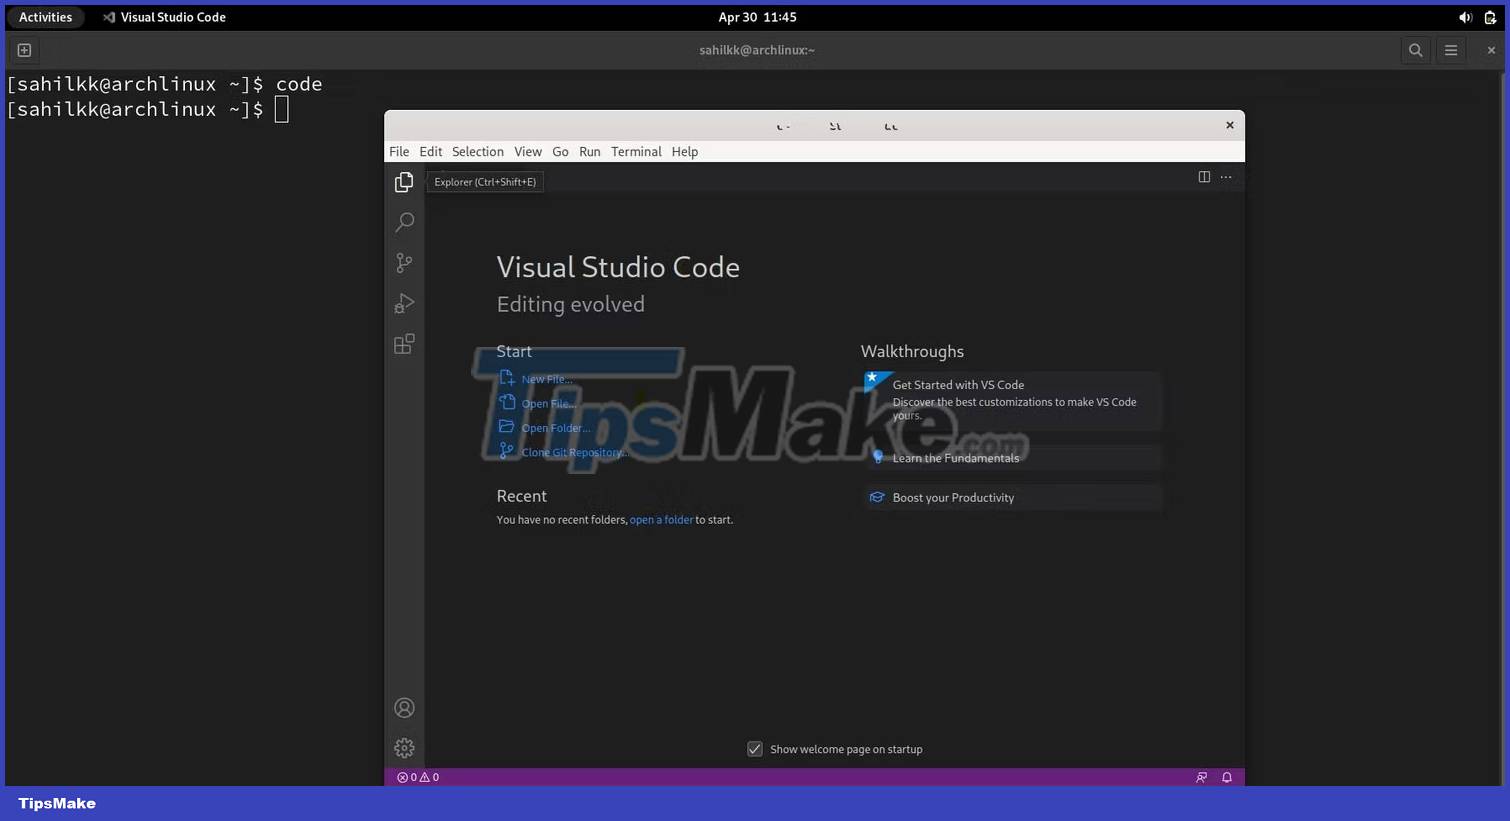
You can run Visual Studio Code directly by opening it from the application menu or from the command line by typing the code.

Uninstall Visual Studio Code with yay
To remove the Visual Studio Code AUR package and its installed dependencies, run:
yay -R visual-studio-code-bin yay -R code-gitWhen the system prompts you to confirm, type y , then Enter.
3. Install Arch Linux from the GUI
To install Visual Studio Code graphically, launch the Software application from the applications menu. Search for Visual Studio Code in the search bar.
Click on the corresponding result, followed by the Install button. Follow the on-screen instructions to complete the installation.
If you can't find an app named Software, look for other similar apps, such as Software Manager. Your desktop environment must have a graphical software manager that you can use to install applications.

To remove the package when you're done, go to the Installed Apps section, find VS Code and click the Uninstall or Trash icon.
4. Install Visual Studio Code from Snap Store
Another crafty way to install Visual Studio Code on Arch Linux is from the Snap Store. You can install the Visual Studio Code snap package by issuing the following command:
sudo snap install code --classicMake sure you have snap installed on your system before running the above command.
Uninstall VS Code snap package
To remove the VS Code snap package, run:
sudo snap remove codeCode using Visual Studio Code on Linux
To use Visual Studio Code on any Linux-powered operating system, there are always ways and means to install it, depending on your distribution. However, Ubuntu continues to be an ideal operating system for beginners, as the installation steps on Ubuntu are quite simple and easy to follow.
If you are new in the Linux world and want to familiarize yourself with its nuances, you should try installing your favorite IDE on Ubuntu, before switching to any other Linux distribution.