Table of Contents
Installation instructions
Virtual keyboards help you type quickly on your computer, even if your physical keyboard is broken or you need a different language.
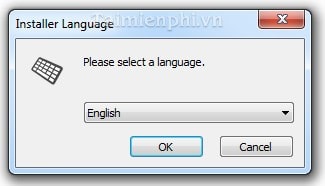
Step 1: Open the folder containing the installation file, or if your computer doesn't have it, you can download the latest version of this virtual keyboard tool here: Download Virtual Keyboard
The manufacturer lets you choose the appropriate language to use in the utility later.
Click OK to continue.
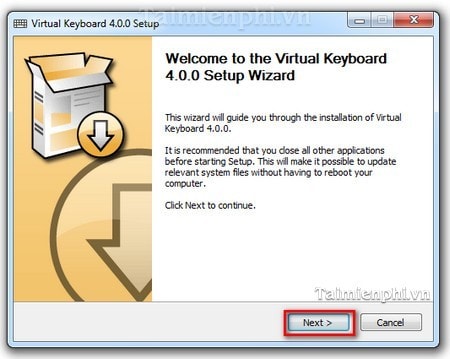
Step 2 : Click Next to continue installing the Virtual Keyboard, or click Cancel if you want to abort the installation process.
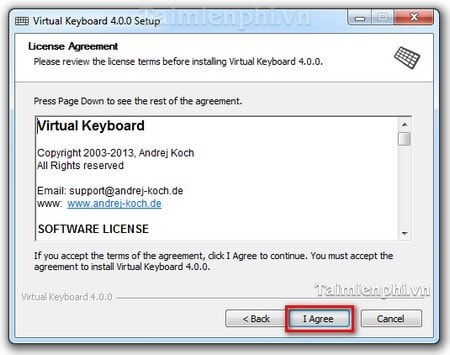
Step 3: A notification window will appear displaying the manufacturer's terms and conditions; you must agree to these terms and conditions before proceeding with the installation.
Click I Agree to agree.
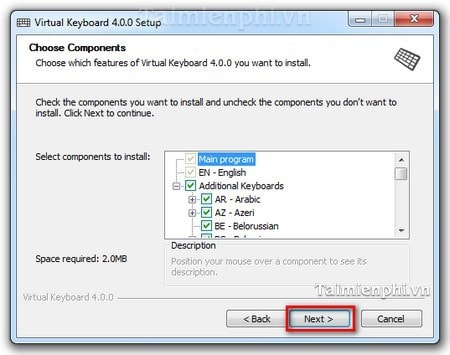
Step 4: In this step, you can choose a virtual keyboard with different languages, or select all the language sets provided by the manufacturer.
Click Next.
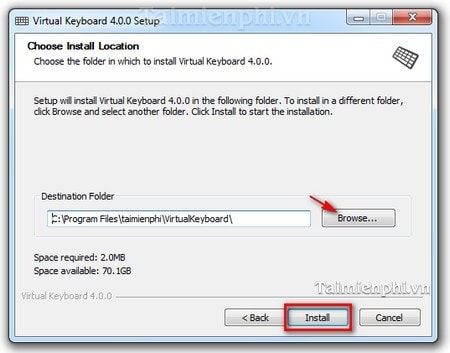
Step 5: Choose the folder to save the Virtual Keyboard installation files by clicking Browser , or you can use the default folder path provided by the manufacturer.
Click Install to begin the installation process.
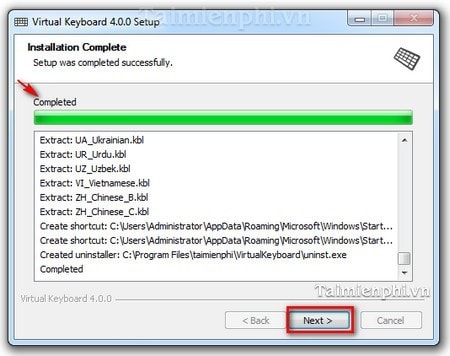
Step 6: The Virtual Keyboard installation process takes a certain amount of time, depending on the number of language packs you have selected and your computer's configuration.
Select Next.
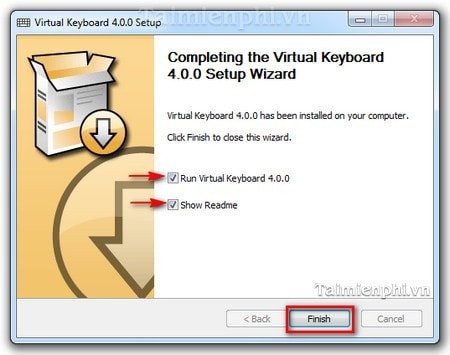
Step 7: Once the installation is complete, click Run Virtual Keyboard if you want to launch the utility immediately, or Show Readme to display the Readme file. You can choose one or both of these options.
Click Finish to complete the installation process.
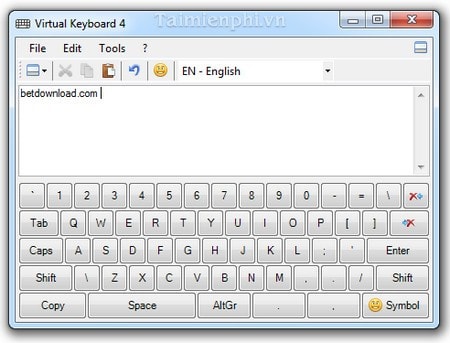
This is the software interface after you have successfully installed it.
Virtual keyboards are useful office tools that greatly assist you in drafting documents in various languages. This guide, from Tai Mien Phi, hopes to address any difficulties and errors encountered during the software installation process.
FAQ
How can you install Virtual keyboard, a Multilingual Virtual keyboard?
Virtual keyboards help you type quickly on your computer, even if your physical keyboard is broken or you need a different language.
What should you know about installation instructions?
Virtual keyboards help you type quickly on your computer, even if your physical keyboard is broken or you need a different language.
Do the steps or features vary by device or software version?
They can. Menu names, available settings, and compatibility may differ by device, region, account type, or software version, so check the options shown on your own screen.
Related Articles
 6 Ways to Open Virtual Keyboard on Windows 109 minutes read
 Summary of Several Ways to Open Virtual Keyboard on Windows XP //8 minutes read
 How to Install a Virtual Keyboard in a Raspberry Pi7 minutes read
 How to Install Korean Keyboard for Windows4 minutes read
 How to Get the Most Out of Virtual Keyboards on Windows 104 minutes read
 3 Tips for Using Good Virtual Keyboard for iPhone, iPad6 minutes read
Reader Comments 0
Sign in with email or Google to join the discussion.