Table of Contents
You can replace switches without soldering only on a hot-swappable mechanical keyboard. A soldered board must be disassembled and desoldered, which can damage pads, expose you to heat and fumes, and void the warranty. Confirm the keyboard design and switch compatibility before pulling anything.
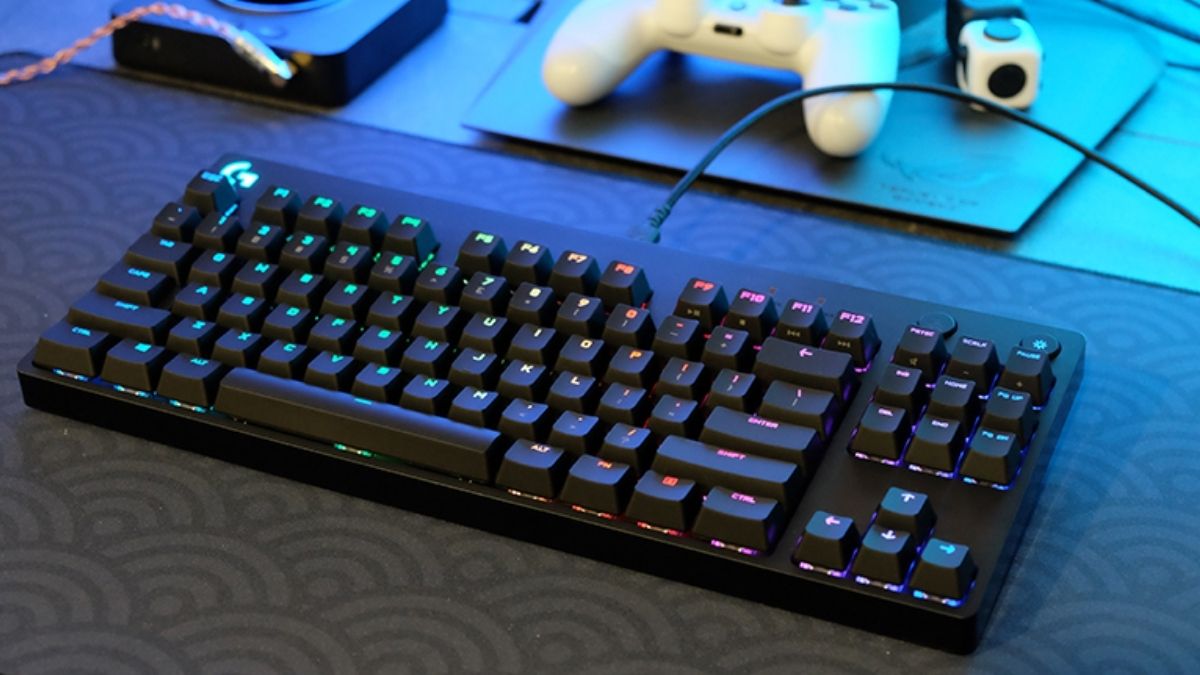
Check compatibility first
- Switch technology: standard MX-style, low-profile, optical, Hall effect, and proprietary switches are not interchangeable.
- Pin layout: the PCB/socket may accept 3-pin or 5-pin switches. A 5-pin switch can fit some 3-pin boards only after irreversible trimming.
- Orientation: LEDs and sockets may be north- or south-facing.
- Key size: stabilizers, not the switch, support long keys such as Space, Enter, and Shift.
- Firmware: analog or magnetic keyboards may require calibration after a compatible replacement.
Check the manufacturer's manual and warranty. Do not assume a switch fits because its stem accepts the same keycap.
Tools for a hot-swap keyboard
- Keycap puller
- Switch puller
- Known-compatible replacement switches
- Small tray for parts
- Good lighting and a clean, static-safe workspace
Unplug a wired keyboard or switch a wireless model off. Avoid working on carpet and discharge static before touching the PCB area.
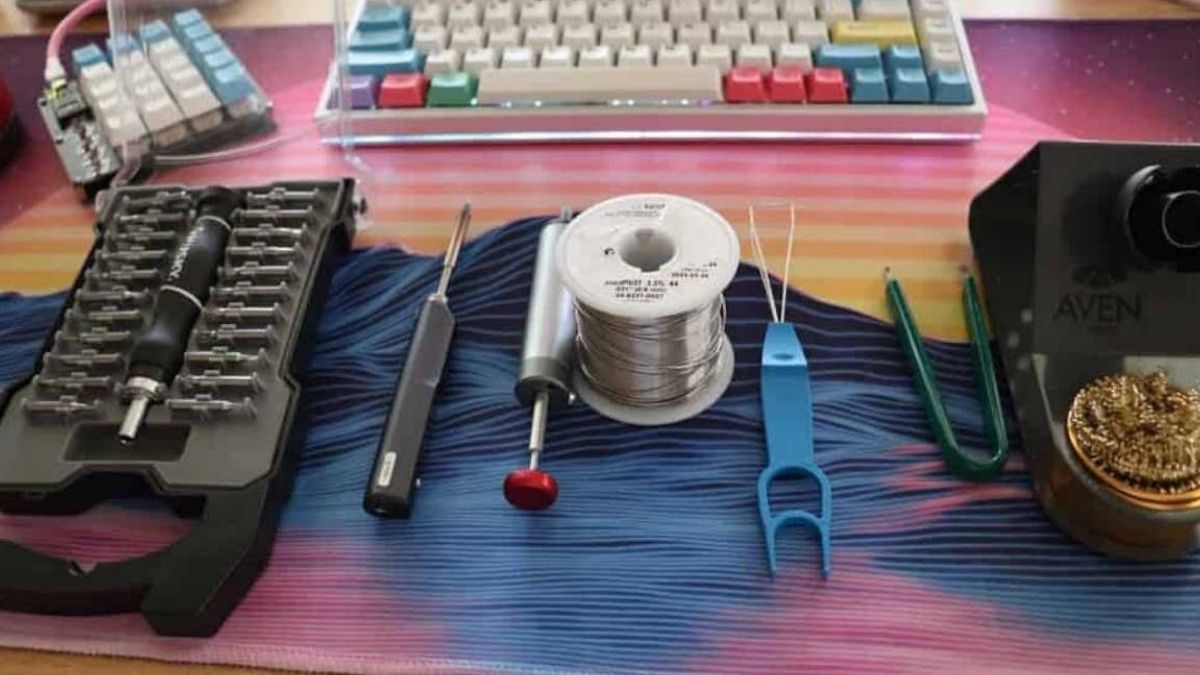
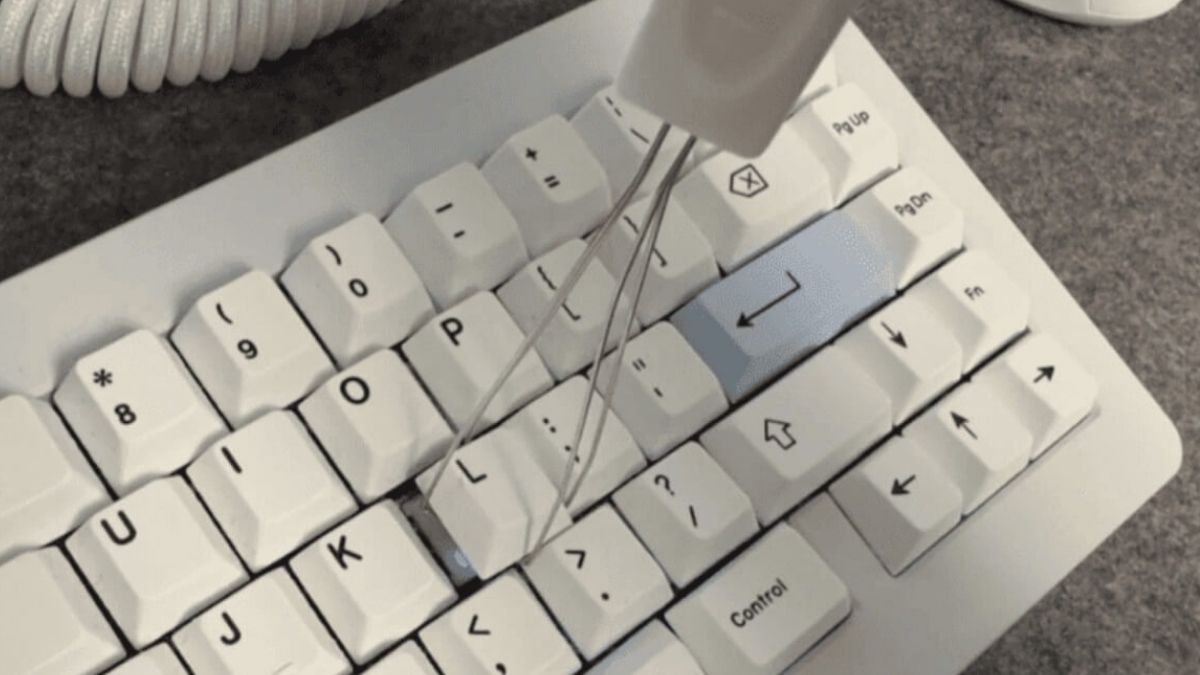
Remove the keycap and switch
- Photograph the layout, especially nonstandard rows.
- Pull the keycap straight up with a keycap puller. For stabilized keys, consult the keyboard manual rather than forcing them.
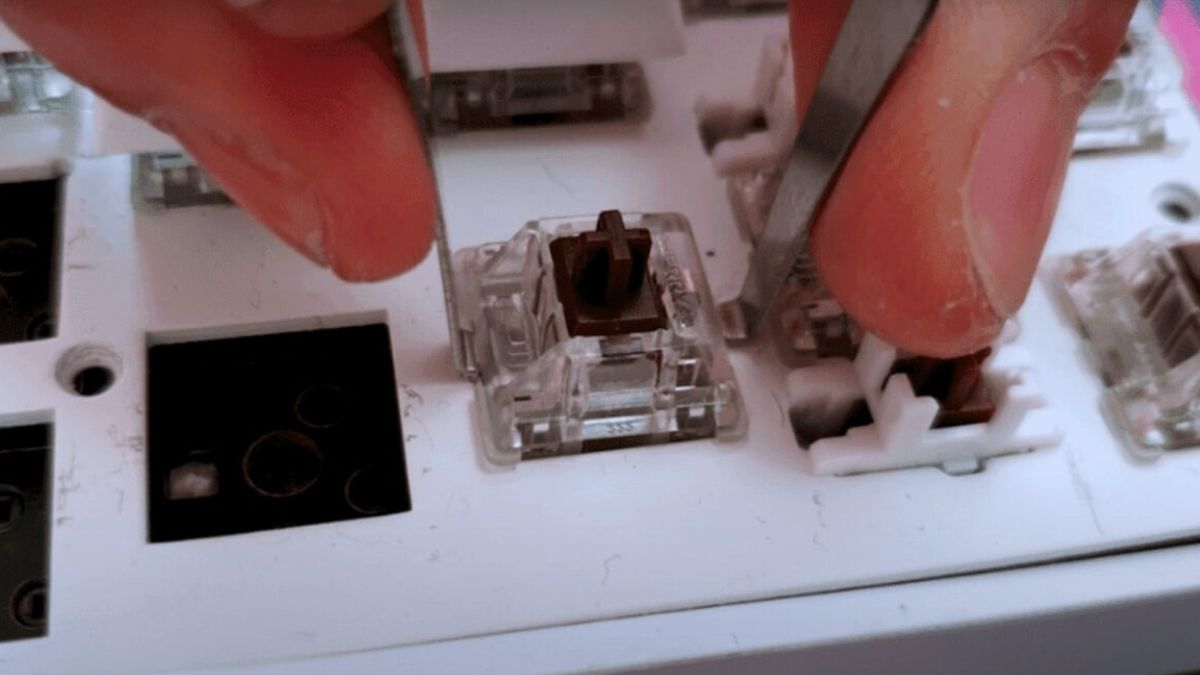
- Place the switch puller on the switch's top and bottom release tabs.
- Squeeze the tabs and pull upward with gentle, even pressure.
- If it will not release, stop and verify that the board is hot-swappable and the plate tabs are accessible.
Twisting hard can crack the plate, damage a socket, or lift it from the PCB.
Install the new switch
- Compare the replacement with a known-good original.
- Inspect both metal pins. Straighten a slightly bent pin carefully before installation; replace a damaged switch.
- Align the center post, guide pins, and electrical pins with the socket.
- Press straight down with even pressure until the switch clips into the plate.
- If resistance feels abnormal, remove it and inspect the pins rather than pushing harder.
- Reconnect the keyboard and test the bare switch before replacing the keycap.
Test every changed key
Use a trusted offline keyboard tester, text editor, or the keyboard's official software. Verify single presses, held input, modifier combinations, and LEDs. Avoid typing passwords into unknown web-based keyboard testers.
Choose the switch feel
| Type | Feel | Considerations |
|---|---|---|
| Linear | Smooth travel without a tactile bump | Noise depends on housing, spring, keycap, and bottom-out behavior |
| Tactile | Noticeable bump near actuation | Bump strength and position vary widely |
| Clicky | Tactile event with an intentional click | Often unsuitable for shared quiet spaces |
Switch color is not a universal specification across brands. Compare actuation force, travel, sound, factory lubrication, housing clearance, and real samples.
If the key does not work
- Unplug the keyboard and remove the switch.
- Check for a folded pin or debris in the socket.
- Test a known-good switch in that socket.
- Test the suspect switch in another working socket.
If multiple switches fail in one socket, the hot-swap socket or PCB trace may be damaged. Stop inserting switches and seek repair. For maintenance, see how to clean a mechanical keyboard and how to choose mechanical switches.
Soldered keyboards
Desoldering requires appropriate tools, ventilation, eye protection, and electronics experience. Leaded solder may be present. Beginners should use a qualified repair service rather than turning a simple switch fault into PCB damage.
Related Articles
 Instructions for Replacing Mechanical Keyboard Switches with 5 Simple8 minutes read
 How to Replace Mechanical Keyboard Switches Simply at Home: Practical Guide11 minutes read
 6 Most Popular Mechanical Keyboard Switches8 minutes read
 Blue Switch Mechanical Keyboards: Features and Comparisons9 minutes read
 6 Most Popular Types of Mechanical Keyboard Switches in 2023: Expert Selection24 minutes read
 Homemade Keyboard Is Not Difficult6 minutes read
Reader Comments 0
Sign in with email or Google to join the discussion.