How to Install Tomcat in Ubuntu
This wikiHow teaches you how to download, set up, and start an Apache Tomcat web server environment on your computer, using an Ubuntu Linux system. Apache Tomcat is an open-source, Java-based HTTP web server environment. You can implement....
Part 1 of 2:
Setting Up Tomcat
-
 Open a Terminal window on your Ubuntu machine. Click the Dash icon on the top-left, and click Terminal on the app list to open the Terminal.
- Alternatively, press Ctrl+Alt+T on your keyboard to open the Terminal.
-
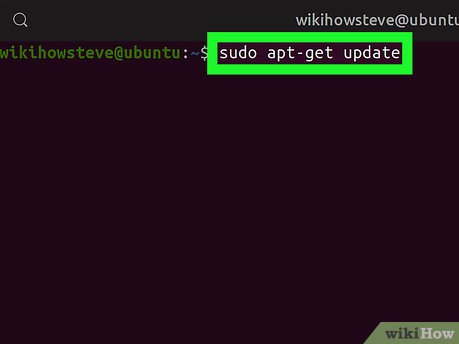 Type sudo apt-get update in Terminal. This command will update all your repositories, and make sure you have the latest software versions for new installations.
 -
 Press ↵ Enter or ⏎ Return on your keyboard. This will run the command, and update your repositories.
 -
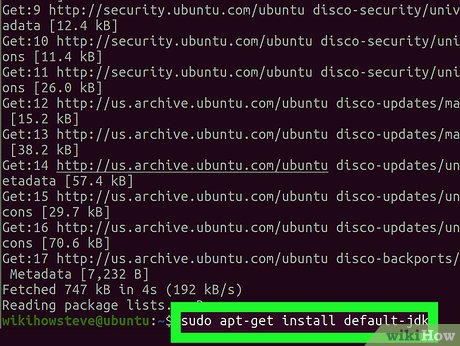 Run sudo apt-get install default-jdk in Terminal. This will install the latest version of the official Java Development Kit on your computer.
- Type or paste the command, and press ↵ Enter or ⏎ Return to run it.
- You'll need Java installed on your computer to install and set up Tomcat.
- If you already have Java installed, this will update it to the latest version.
- You can skip this step if you already have the latest Java version installed.
-
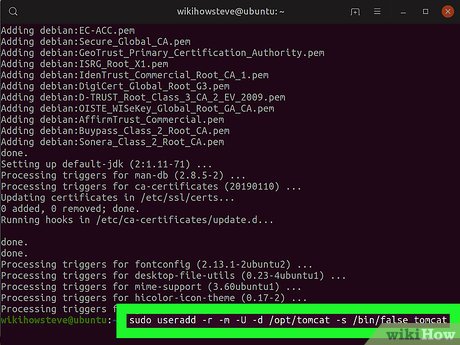 Run sudo useradd -r -m -U -d /opt/tomcat -s /bin/false tomcat in Terminal. This will create a new system user, and group with home directory opt/tomcat to run the Tomcat service.
- You cannot run the Tomcat service under the root user for your server's security purposes.
-
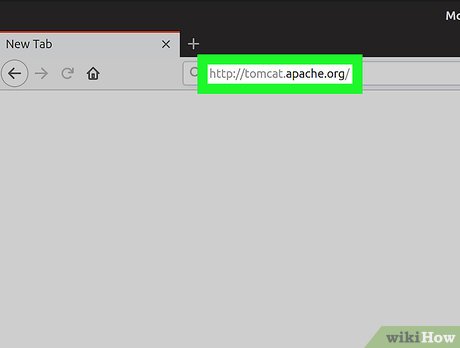 Open the Tomcat website in your internet browser. Type or paste http://tomcat.apache.org into your browser's address bar, and press ↵ Enter or ⏎ Return on your keyboard.
 -
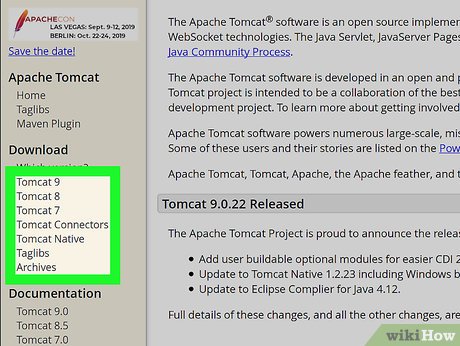 Click the Tomcat version you want under "Download" on the left sidebar. You'll find the available Tomcat version on a navigation menu on the left-hand side of the page. You can select Tomcat 9 or another version here.
- If you want to see which versions are compatible with your system, click Which version? under the Download heading here.
-
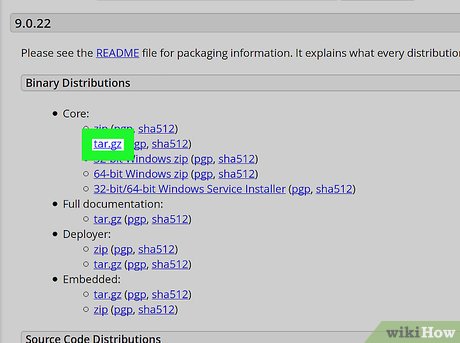 Right-click the blue tar.gz link under the "Core" heading. This will open your right-click options on a drop-down menu.
 -
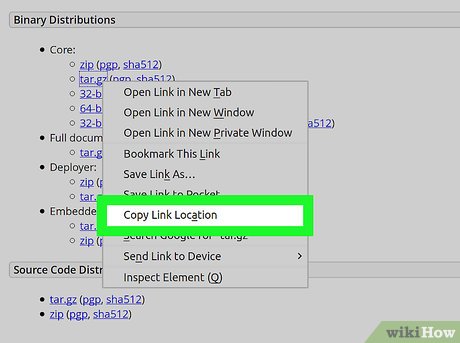 Click Copy Link Address from the right-click menu. You can directly install Tomcat with the TAR file's link address here.
 -
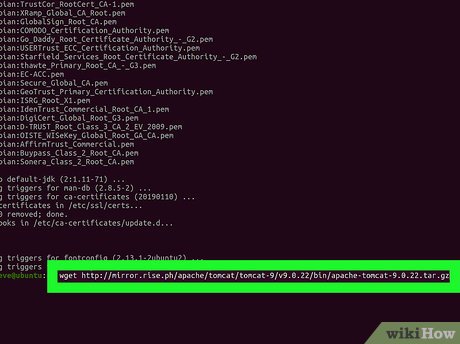 Type wget into the Terminal. This will allow you to download the latest version of Tomcat to your computer from the official download link.
- Replace with the link address you copied from the official Apache Tomcat website.
- If you're located in the US, you can use https://www-us.apache.org/dist/tomcat/tomcat-9/v9.0.21/bin/apache-tomcat-9.0.21.tar.gz as the link address.
- If you're in Europe, you can use https://www-eu.apache.org/dist/tomcat/tomcat-9/v9.0.21/bin/apache-tomcat-9.0.21.tar.gz as the link address.
-
 Press ↵ Enter or ⏎ Return. This will run the download command, and download Tomcat on your computer.
 -
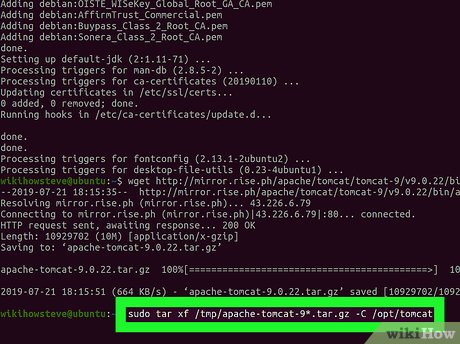 Run sudo tar xf /tmp/apache-tomcat-9*.tar.gz -C /opt/tomcat. Once your download is complete, run this command to extract the downloaded TAR file's contents, and move the files to the opt/tomcat directory.
- Make sure to replace the version number in "tomcat-9*.tar.gz" with the Tomcat version you download.
-
 Run sudo nano /etc/systemd/system/tomcat.service. This will create a new file named "tomcat.service," and allow you to edit its contents with your default text editor.
 -
 Paste the following configuration into the tomcat.service file.
- Make sure to set "JAVA_HOME" to your system's Java directory in the following code.
[Unit] Description=Apache Tomcat Web Application Container After=network.target [Service] Type=forking Environment=JAVA_HOME=/usr/lib/jvm/java-1.11.0-openjdk-amd64 Environment=CATALINA_PID=/opt/tomcat/temp/tomcat.pid Environment=CATALINA_HOME=/opt/tomcat Environment=CATALINA_BASE=/opt/tomcat Environment='CATALINA_OPTS=-Xms512M -Xmx1024M -server -XX:+UseParallelGC' Environment='JAVA_OPTS=-Djava.awt.headless=true -Djava.security.egd=file:/dev/./urandom' ExecStart=/opt/tomcat/bin/startup.sh ExecStop=/opt/tomcat/bin/shutdown.sh User=tomcat Group=tomcat UMask=0007 RestartSec=10 Restart=always [Install] WantedBy=multi-user.target
Part 2 of 2:
Starting Tomcat Service
-
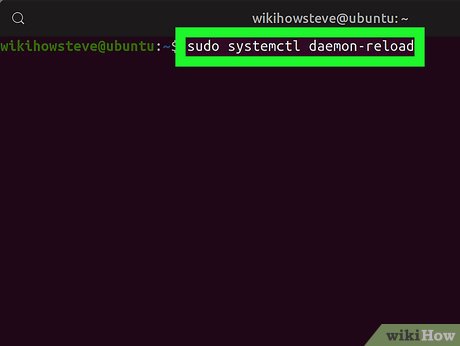 Run sudo systemctl daemon-reload in Terminal. This will reload the SystemD deamon, and find your new service file.
 -
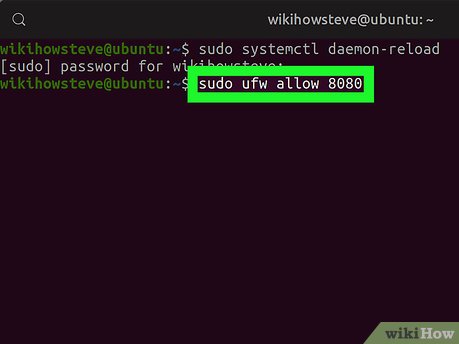 Run the sudo ufw allow 8080 command (optional). If your server is protected by a firewall, run this command in Terminal to allow traffic on port 8080.
- This will allow you to access the Tomcat interface from outside of your local network.
-
 Run the systemctl enable tomcat command (optional). If you run this command, Tomcat service will automatically start on system boot.
 -
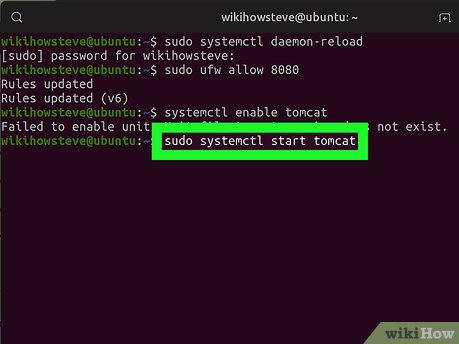 Run sudo systemctl start tomcat in Terminal. This will start the Tomcat service on your server.
- You can use the sudo systemctl status tomcat command to verify the service status.
- You can now test Tomcat in your internet browser at http://ip-address:8080. Just change "ip-address" with your system's default IP address in the link.