How to Install Magento 2 on AlmaLinux
Magento is a free and open source e-commerce platform written in PHP.
Table of Contents
Magento is a free and open source e-commerce platform written in PHP. It is simple, easy to use, customizable, and allows you to host your online store within minutes. You can host multiple stores on a single server and manage them using a single interface. Magento is one of the most widely used e-commerce platforms in the world due to its many features.
This article will show you how to install Magento 2 with Apache and Let's Encrypt SSL on AlmaLinux.
Prerequisites
- A server running AlmaLinux.
- A root password is configured on the server.
Install Apache, MariaDB and PHP
Magento uses MariaDB as database and runs on web server . So first install Apache web server and MariaDB server package with following command:
dnf install httpd mariadb-server -yAfter installing both packages, start the Apache and MariaDB services, enabling them to start on system reboot:
systemctl start httpd mariadb systemctl enable httpd mariadbNext, you will need to install PHP and other required extensions on your server. By default, the latest version of PHP is not included in the AlmaLinux default repositories. Therefore, you will need to add the EPEL and Remi PHP repositories to your system. You can install both with the following command:
rpm -Uvh https://dl.fedoraproject.org/pub/epel/epel-release-latest-8.noarch.rpm dnf install -y https://rpms.remirepo.net/enterprise/remi-release-8.rpmNext, reset the default PHP repository and enable the PHP7.4 repository using the following command:
dnf module reset php dnf module install php:remi-7.4Next, install PHP with all the necessary extensions using the following command:
dnf install php php-cli php-soap php-pdo php-bcmath php-mysqlnd php-opcache php-xml php-gd php-intl php-mbstring php-json php-iconv php-zip unzip git -y
After installation, edit the php.ini file and make some recommended changes:
nano /etc/php.iniChange the following values:
memory_limit = 1024M upload_max_filesize = 200M zlib.output_compression = On max_execution_time = 300 date.timezone = Asia/KolkataSave and close the file when you are finished.
Create database for Magento
First, secure your MariaDB installation and set the MariaDB root password using the following command:
mysql_secure_installationAnswer all the questions as shown below:
Enter current password for root (enter for none): Set root password? [Y/n] Y New password: Re-enter new password: Remove anonymous users? [Y/n] Y Disallow root login remotely? [Y/n] Y Remove test database and access to it? [Y/n] Y Reload privilege tables now? [Y/n] YOnce done, log in to MariaDB using the following command:
mysql -u root -pAfter logging in, create a database and user for Magento using the following command:
MariaDB [(none)]> CREATE DATABASE magento2; MariaDB [(none)]> GRANT ALL ON magento2.* TO magento2@localhost IDENTIFIED BY 'password';Next, flush privileges and exit MariaDB with the following command:
MariaDB [(none)]> flush privileges; MariaDB [(none)]> exit;
Download Magento 2
Before downloading Magento 2, you will need to install Composer on your system.
Run the following command to install Composer:
curl -sS https://getcomposer.org/installer | phpYou will see the following result:
All settings correct for using Composer Downloading. Composer (version 2.1.3) successfully installed to: /root/composer.phar Use it: php composer.pharNext, move the Composer binary file to the system location using the following command:
mv composer.phar /usr/local/bin/composerNext, verify the Composer version:
composer --versionOutput:
Composer version 2.1.3 2021-06-09 16:31:20Next, change the directory to Apache web root and download the latest version of Magento:cd /var/www/html/ wget https://github.com/magento/magento2/archive/2.3.zipOnce Magento 2 is downloaded, extract the downloaded file using the following command:
unzip 2.3.zipNext, rename the extracted folder to magento2:
mv magento2-2.3 magento2Next, change directory to magento2 and update composer using the following command:
cd magento2 composer update composer installNext, create a cron job for Magento:
./bin/magento cron:installNext, list all cron jobs for Magento using the following command:
crontab -lYou will see the following result:
#~ MAGENTO START f73db5f5dcf223372d4c9fab56bef0c1730eece898fad5cbee0c313b46b0dd1f * * * * * /usr/bin/php /var/www/html/magento2/bin/magento cron:run 2>&1 | grep -v "Ran jobs by schedule" >> /var/www/html/magento2/var/log/magento.cron.log #~ MAGENTO END f73db5f5dcf223372d4c9fab56bef0c1730eece898fad5cbee0c313b46b0dd1f
Next, set proper permissions and ownership for the magento2 directory:
chown -R apache:apache /var/www/html/magento2 chmod -R 755 /var/www/html/magento2Apache Configuration for Magento 2
Next, you will need to create an Apache virtual host configuration file for Magento 2. You can create this file using the following command:
nano /etc/httpd/conf.d/magento.confAdd the following lines:
ServerAdmin admin@example.com ServerName magento.example.com DocumentRoot /var/www/html/magento2/ DirectoryIndex index.php Options Indexes FollowSymLinks MultiViews AllowOverride All Order allow,deny allow from all ErrorLog /var/log/httpd/magento_error.log CustomLog /var/log/httpd/magento_access.log combined Save and close the file, then restart the Apache service to apply the configuration changes:
systemctl restart httpdYou can check Apache status with the following command:
systemctl status httpdYou will get the following result:
? httpd.service - The Apache HTTP Server Loaded: loaded (/usr/lib/systemd/system/httpd.service; disabled; vendor preset: disabled) Active: active (running) since Sat 2021-07-17 00:20:14 EDT; 8s ago Docs: man:httpd.service(8) Main PID: 10134 (httpd) Status: "Started, listening on: port 80" Tasks: 213 (limit: 25014) Memory: 30.8M CGroup: /system.slice/httpd.service ??10134 /usr/sbin/httpd -DFOREGROUND ??10135 /usr/sbin/httpd -DFOREGROUND ??10136 /usr/sbin/httpd -DFOREGROUND ??10137 /usr/sbin/httpd -DFOREGROUND ??10138 /usr/sbin/httpd -DFOREGROUND Jul 17 00:20:14 AlmaLinux systemd[1]: Starting The Apache HTTP Server.Firewall Configuration
Next, you will need to allow ports 80 and 443 through the firewall . You can allow them with the following command:
firewall-cmd --permanent --add-service=http firewall-cmd --permanent --add-service=httpsNext, reload the firewall service to apply the changes:
firewall-cmd --reloadInstall Magento 2
Next, you will need to perform the Magento 2 installation from the command line interface. Since the Magento web installation wizard has been removed since version 2.3.7.
Change directory to Magento2 and run the following command to complete the installation:
cd /var/www/html/magento2/ bin/magento setup:install --admin-firstname="Hitesh" --admin-lastname="Jethva" --admin-email="admin@example.com" --admin-user="admin" --admin-password="Admin@1981" --db-name="magento2" --db-host="localhost" --db-user="magento2" --db-password="password" --language=en_US --currency=USD --timezone=UTC --cleanup-database --base-url=http://"magento.example.com"After successful installation, you will get the following result:
[Progress: 701 / 706] Installing admin user. [Progress: 702 / 706] Caches clearing: Cache cleared successfully [Progress: 703 / 706] Disabling Maintenance Mode: [Progress: 704 / 706] Post installation file permissions check. For security, remove write permissions from these directories: '/var/www/html/magento2/app/etc' [Progress: 705 / 706] Write installation date. [Progress: 706 / 706] [SUCCESS]: Magento installation complete. [SUCCESS]: Magento Admin URI: /admin_j6pqhm Nothing to import.Access Magento 2 web UI
Now, you can access the Magento 2 web UI using the URL http://magento.example.com/admin_j6pqhm. If you encounter any exception errors on the web browser, you will need to run the following command to resolve the issue:
cd /var/www/html/magento2 php bin/magento setup:upgrade php bin/magento setup:di:compile php bin/magento setup:static-content:Deploy -f chmod -R 777 var/* generated/* pub/static/Now, refresh the Magento website. You should see the Magento login page:
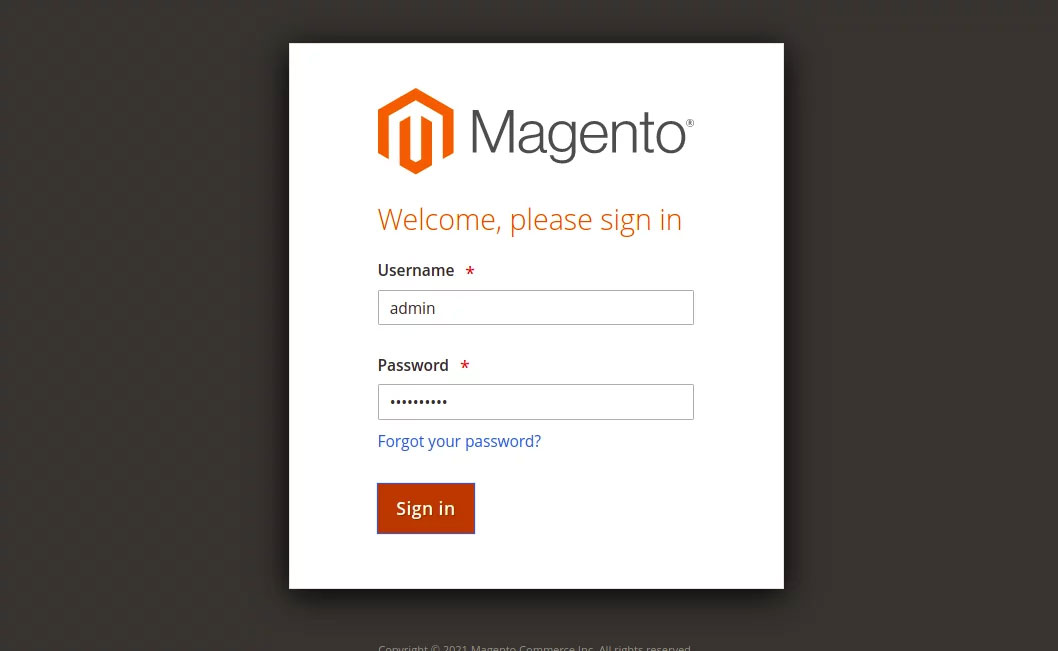
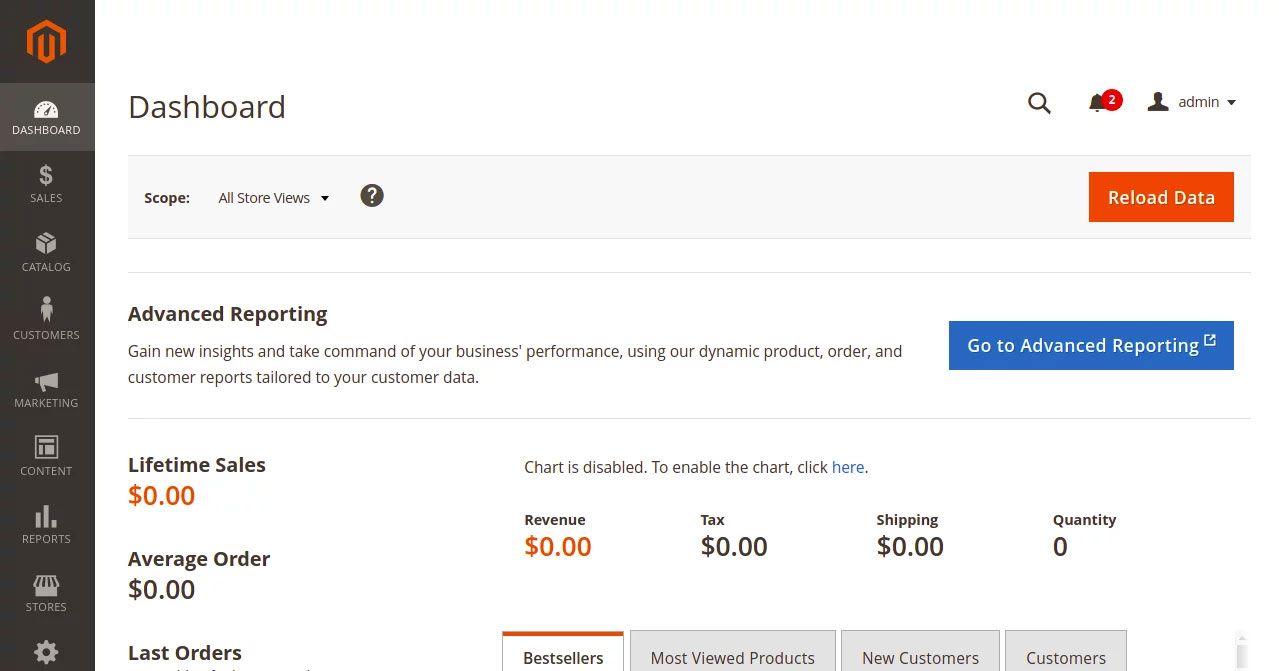
Provide admin username, password and click Sign in button . You will see Magento dashboard on the following page:
Secure Magento2 with Let's Encrypt SSL
Next, you will need to install the Certbot client to install Let's Encrypt SSL for Magento. You can install it with the following command:
dnf install epel-release -y dnf install letsencrypt python3-certbot-apacheNext, get and install the SSL certificate for your lets domain using the following command:
certbot --apache -d magento.example.comYou will be asked to provide an email address and accept the terms of service:
Saving debug log to /var/log/letsencrypt/letsencrypt.log Plugins selected: Authenticator apache, Installer apache Enter email address (used for urgent renewal and security notices) (Enter 'c' to cancel): hitjethva@gmail.com - - - - - - - - - - - - - - - - - - - - - - - - - - - - - - - - - - - - - - - - Please read the Terms of Service at https://letsencrypt.org/documents/LE-SA-v1.2-November-15-2017.pdf. You must agree in order to register with the ACME server. Do you agree? - - - - - - - - - - - - - - - - - - - - - - - - - - - - - - - - - - - - - - - - (Y)es/(N)o: Y - - - - - - - - - - - - - - - - - - - - - - - - - - - - - - - - - - - - - - - - Would you be willing, once your first certificate is successfully issued, to share your email address with the Electronic Frontier Foundation, a founding partner of the Let's Encrypt project and the non-profit organization that develops Certbot? We'd like to send you email about our work encrypting the web, EFF news, campaigns, and ways to support digital freedom. - - - - - - - - - - - - - - - - - - - - - - - - - - - - - - - - - - - - - - - - (Y)es/(N)o: Y Account registered. Requesting a certificate for magento.example.com Performing the following challenges: http-01 challenge for magento.example.com Waiting for verification. Cleaning up challenges Deploying Certificate to VirtualHost /etc/httpd/conf.d/magento.conf Redirecting all traffic on port 80 to ssl in /etc/httpd/conf.d/magento.conf - - - - - - - - - - - - - - - - - - - - - - - - - - - - - - - - - - - - - - - - Congratulations! You have successfully enabled https://magento.example.com - - - - - - - - - - - - - - - - - - - - - - - - - - - - - - - - - - - - - - - - Subscribe to the EFF mailing list (email: hitjethva@gmail.com). IMPORTANT NOTES: - Congratulations! Your certificate and chain have been saved at: /etc/letsencrypt/live/magento.example.com/fullchain.pem Your key file has been saved at: /etc/letsencrypt/live/magento.example.com/privkey.pem Your certificate will expire on 2021-06-09. To obtain a new or tweaked version of this certificate in the future, simply run certbot again with the "certonly" option. To non-interactively renew *all* of your certificates, run "certbot renew" - If you like Certbot, please consider supporting our work by: Donating to ISRG / Let's Encrypt: https://letsencrypt.org/donate Donating to EFF: https://eff.org/donate-leOnce your website is secured with Let's Encrypt SSL. You can proceed to the next step.
That's it! You have successfully installed Magento 2 with apache and Let's Encrypt SSL on AlmaLinux 8. Now, you can create your own online store from the Magento dashboard.
Was this article helpful?
Your feedback helps us improve.
Related Articles
 Learn about Magento - Installation instructions5 minutes read
 How to Install Magento7 minutes read
 Learn about Magento - Configuration and management6 minutes read
 How to Select the Best Professional Magento Developers for Your Project5 minutes read
 Learn about Magento - Manage product catalog5 minutes read
 Magento SEO Tips: 5 Tips To Get Organic Traffic8 minutes read
Reader Comments 0
Sign in with email or Google to join the discussion.