Learn about Magento - Manage product catalog
TipsMake.com - In the next installment of the Magento series, we will continue with one of the most important aspects of online product management . Specifically, this stage will include some steps as follows:
- How to add 1 more product in Magento?
- Assign photos to the corresponding product.
- Manage properties of each product.
- Manage product tags.
- Initialize the initial quantity of the product.
- Manage other product information, such as official prices, discounts, promotional prices .
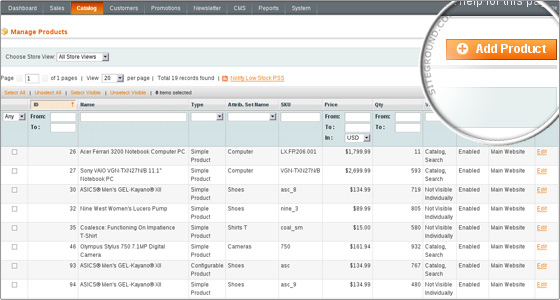
First, to assign an additional product from the main administration interface of Magento , open the Catalog> Manage Products> Add Product (near the top right):
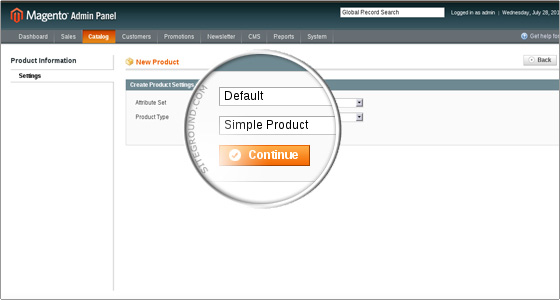
Select the product's own settings ( Attribute Set and Product Type ), click Continue to continue:
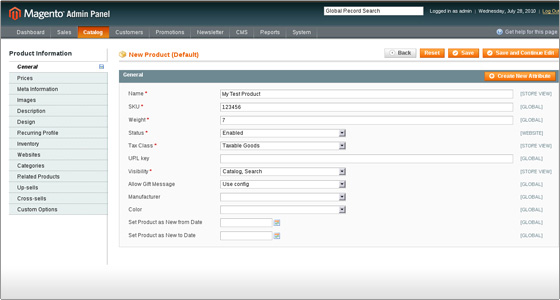
Next, we will have to fill in all the fields related to: Name, SKU (Stock Keeping Unit), Weight, Status (Enabled / Disabled), Tax Class . Or customize the attribute by pressing the button Create New Attribute:
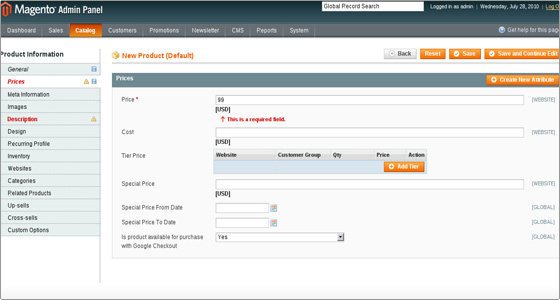
When completing this step, you click Save and Continue Edit to move to the next step: enter the initial price of the product. Besides, there are a number of options to expand like Tier Price and Special Price:
After that, you will have to fill in some brief descriptions of the product, including Description and Short Description:
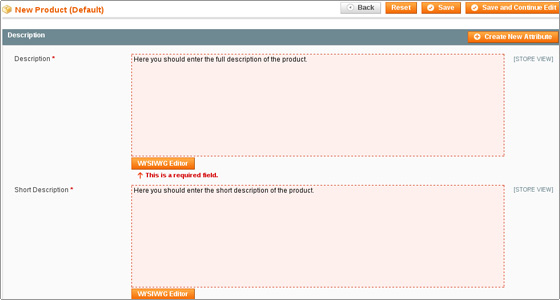
Click Save and Continue Edit and our newly created product will be saved by the system. If you want to edit or change any product's information, you can use the Product Information menu on the left. And to display on the Front page, make sure to have the In Stock status set in the Inventory menu on the left.
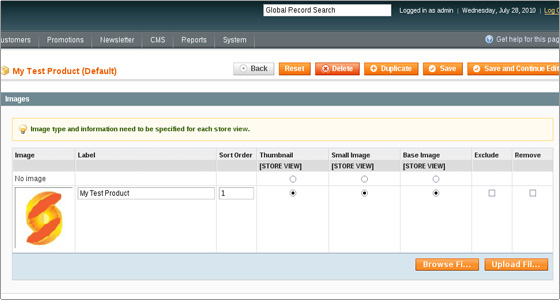
Next is to assign the image to the corresponding product, all we need to do here is select the necessary product from the menu Catalog> Manage Products , then select Images in the Product Information menu on the left. . Click Browse Files and select the corresponding image file on your computer, click Next Upload Files to upload that image to the system. Finally, name the image file and select the location displayed on the product. Then click Save :
Besides, click the Create New Attribute button to assign additional attributes to the product:
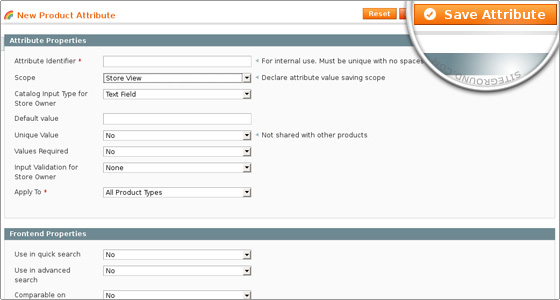
When done, click Save Attribute and Save to save all product information on the system. And also in this step, you will see the price request information - Price of the Product , besides a few other extended rates such as: Special Price, tax rate .
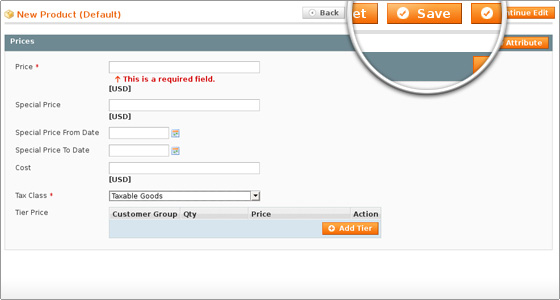
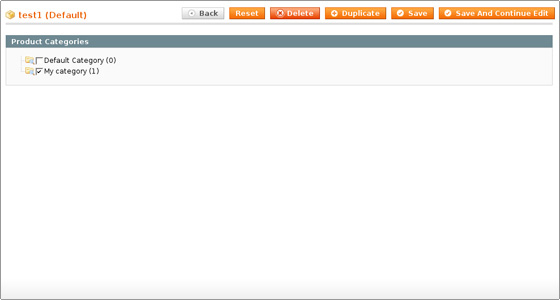
Click the Save button again, and here we need to assign a new product to the selected Category :
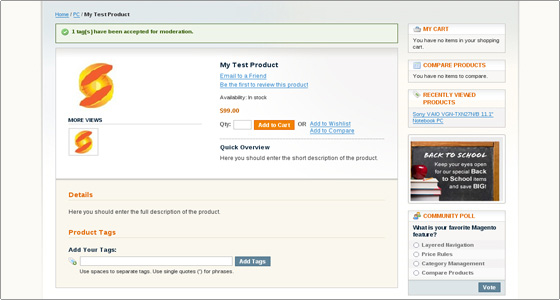
By default, Magento includes built-in options for users to tag their products. When taging any product, the tag will be in pending status - pending processing to be displayed on the Product page. To do this, you only need to enter the tag keywords in the Add Your Tags field at the corresponding Product page, then click Add Tags . For example, here we will assign Greate as a tag, the system will display confirmation information to inform the user about the change:
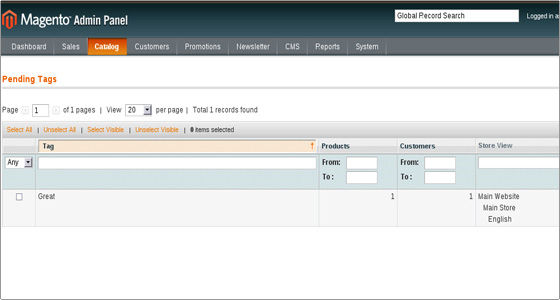
Then, open the Catalog> Tags> Pending Tags to see all the tags that are waiting for approval. And here we will see a tag in Pending status with the word " Great "
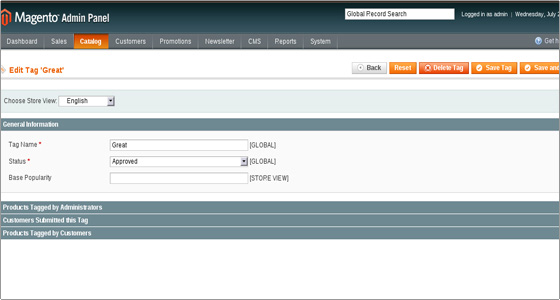
Click on that tag, and you will be moved to the next page. Here we can easily change the corresponding status of that tag. Change from Pending to Approved and click Save Tag to save the change:
After the tag is approved, all other users can see that information on the Product page. Besides, we can easily manage different tags on the basic properties of the same product. Open the admin page and select Catalog> Manage Products , then click on the tag link of the product to be checked, and select the Product Tags from the menu on the left, you will see all the corresponding tags of that product.
>>>Video reference:
>>>See more:
- Learn about Magento - Installation instructions
- Learn about Magento - Configuration and management
Good luck!