How to Install, Configure, and Test Certificate Services in a Windows Server 2012 R2 Domain
An organization can use certificates for several reasons, such as ensuring that only the intended recipients can read the transmitted data. In a Windows Server 2012 R2 domain, this document demonstrates viewing Web pages that are protected...
Table of Contents
Part 1 of 5:
Reviewing the Configuration
-
 Review network configuration.
- Verify IP address, subnet mask, Preferred DNS, and name of the Windows Server 2012 R2 computer: 172.16.150.10, 255.255.255.0, 172.16.150.10, w12r2a10
- Verify IP address, subnet mask, Preferred DNS, and name of the Windows 7 computer: 172.16.150.15, 255.255.255.0, 172.16.150.10, w715.
-
 Review domain configuration.
- Verify the Windows Server 2012 R2 named w12r2a10, is configured to host the domain kim.com, Passworda10.
- Verify the Windows 7 client, named w7a15, is configured as a kim.com domain member.
- Verify that you have created a domain user named raja.
Part 2 of 5:
Installing, Configuring, and Verifying AD Certificate Services
-
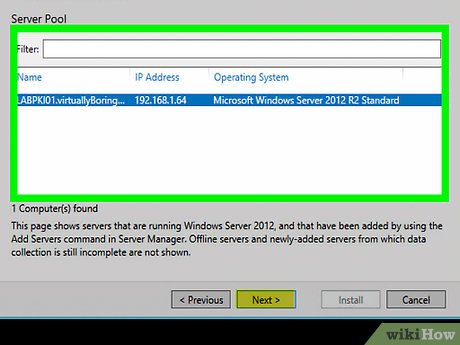
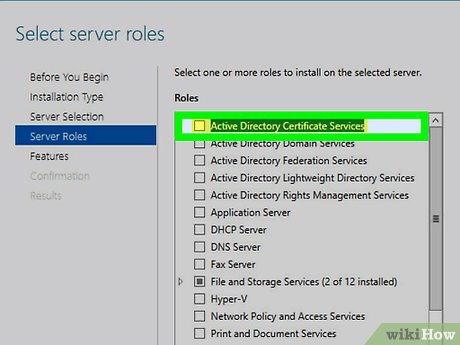
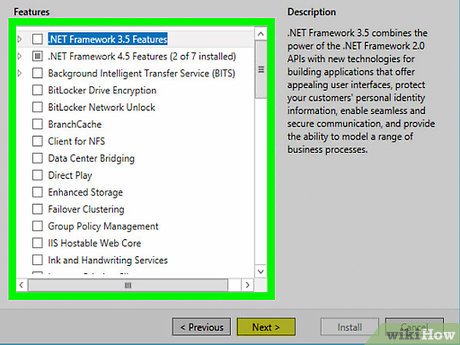
 Install Active Directory Certificate Services.
- Use the default settings on the machine named w12r2a10, which is hosting domain kim.com.
- Keep the Installation progress window open.
-
 Configure active directory certificate services.
- Click Configure Active Directory Certificate Services on the destination server when the blue installation progress bar is 100%; this action displays the Credentials window.
- Click Next to display Role Services.
- Click the checkbox next to Certification Authority and click Next.
- Click Next several more times to accept all defaults and display Confirmation.
- Click Configure to display results and verify there is a green circle with a white check mark, and click Close twice.
-
 Verify Active Directory Certificate Services.
- Open Administrative Tools and double click Certification Authority.
- Expand kim-W12R2A10-CA and click Issued Certificates.
- Right click the white area and click Refresh, if it is empty.
- Reboot the domain controller, if it is still empty after a few refreshes.
- Display Issued Certificates after reboot and scroll the right pane, to review it.
- Notice that w12r2a10.kim.com is listed under Issued Common Name.
Part 3 of 5:
Installing and Browsing Web Server (IIS)
-
 Install Web server (IIS).
- Configure the default settings, while installing IIS on the machine named w12r2a10, which is hosting domain kim.com.
- Keep the Installation progress windows open.
- Click Close when the blue installation progress bar is 100%.
-
 Browse Web server (IIS).
- Go to Administrative Tools.
- Double click Internet Information Services Manager.
- Expand w12r2a10 (KIM...) and expand sites.
- Click Default Web Site and then click Bindings under Actions.
- Click Add.
- Click the dropdown menu under Type and select https.
- Click the dropdown under SSL certificate, where you will see the certificates for the certification server, kim-w12r2a01-CA, and the Domain (Web server), w12r2a10.kim.com.
- Click Cancel followed by Close.
Part 4 of 5:
Displaying Domain Member Certificate Configuration
-
 View certificate on domain member.
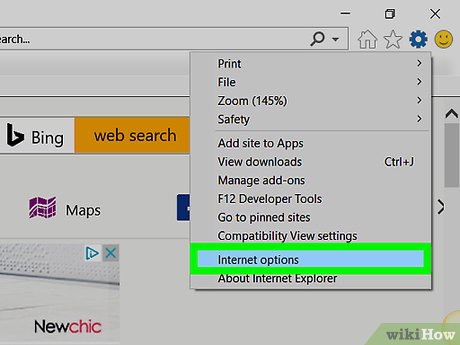
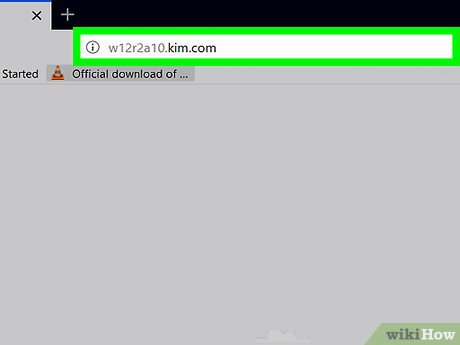
- Log on to the domain from w7a15 as user raja. Configure IE to point to your homepage, http://w12r2a10.kim.com.
- Terminate and restart IE to display your homepage.
- Go to IE, Tools, Internet Options, Content, Certificates and click all tabs to view their listings.
- Notice that Intermediate Certification Authorities and Trusted Root Certification Authorities have an entry for Certification Authority server, kim-w12r2a10-CA.
- Notice that Personal is empty; why? Because domain user raja has not requested one.
- Go to IE, Tools, Internet Options, Content, Publishers and click all tabs.
- Notice that Intermediate Certification Authorities and Trusted Root Certification Authorities have an entry for Certification Authority server, kim-w12r2a10-CA.
- Notice that this Personal is also empty.
- Why is a certificate entry in Trusted Root Certification Authorities has an entry, kim-w12r2a01-CA, important? It means that the server is trusted by the member client; specifically, the client can display the https page if the Web server is configured to serve it.
-
 Display your homepage on w7a15 using https.
- Note that even though the server and client have certificates, https does not work.
- Observe that the reason it does not work is because port 443 is not configured.
Part 5 of 5:
Applying and Verifying Secure Socket Layer (SSL)
-
 Configure SSL.
- Go to Administrative Tools on the domain controller.
- Double click Internet Information Services Manager and expand w12r2a10 (KIM...)
- Expand sites.
- Click no, if you are prompted about Microsoft Web Platform.
- Click Default Web Site and click Bindings under Actions.
- Click Add.
- Click the dropdown menu under Type and select https.
- Click the dropdown menu under SSL certificate, where you will see the certificate for the certificate server, kim-w12r2a10-CA, and the Domain (Web server), w12r2a10.kim.com.
- Click OK. .
- Notice that https is now listed in Site Bindings.
- Click Close.
- Note that the server is now configured for https access
-
 Verify SSL.
- Logon to the domain from w7a15 as user raja.
- Display your homepage on w7a15 using https.
- Note that it works, since the server is configured to server https pages.
- Note also that, even though raja does not have a certificate, the https page displayed, because of these reasons.
- w7a15, which raja is using, has a certificate issued by the enterprise CA.
- kim-w12r2a01-CA; specifically, there is now a trust between the domain controller and w7a15
- SSL is configured, but it is not being enforced
Was this article helpful?
Your feedback helps us improve.
Related Articles
 How to Configure CAWE in a Windows Server 2012 R2 Domain7 minutes read
 How to install Active Directory on Windows Server 20192 minutes read
 Configure Windows Server 2008 to remotely access SSL VPN Server (Part 4)8 minutes read
 Installing and configuring the 2004 ISA Server Firewall - Chapter 2 Installing Certificate Services8 minutes read
 KMS activation deployment for Windows 10, Windows 8.1, Windows Server 2012 R2, Windows Server 201621 minutes read
 How to Install, Configure, and Test Windows Server 2012 R28 minutes read
Reader Comments 0
Sign in with email or Google to join the discussion.