Table of Contents
Auto-Tune is a vocal pitch-correction plug-in made by Antares. To install a current version safely, use Antares' Auto-Tune Central download manager, activate your license, and then open the plug-in inside a compatible digital audio workstation (DAW) such as Cubase. Do not copy old VST files from unofficial archives into Cubase: legacy installers may be incompatible with current operating systems and can expose the computer to malware.
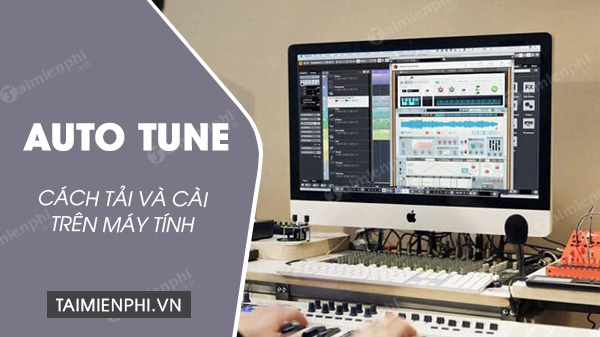
What you need before installing Auto-Tune
- An Antares account and a valid license, subscription, or official trial for the Auto-Tune edition you want to use.
- A supported 64-bit Windows or macOS version.
- A compatible DAW. Current Antares products support common plug-in formats including VST3, Audio Units, and AAX, but the available format depends on the operating system and DAW.
- Enough administrator access to install audio plug-ins and the licensing components.
Check Antares' current compatibility information before purchasing, especially if the computer runs an older OS or the DAW is several versions behind. Auto-Tune 8.1 and Cubase 5 instructions found in older tutorials are legacy workflows and should not be treated as a current installation guide.
Install Auto-Tune with Auto-Tune Central
- Go to the official Antares Auto-Tune Central installation and activation guide. Download the manager only from Antares.
- Install Auto-Tune Central, open it, and sign in with the Antares account associated with your purchase or trial.
- If prompted, link or sign in to the licensing account used by the current Antares system. Follow the on-screen activation instructions rather than using a crack, replacement DLL, or copied license file.
- Open the Plug-Ins page in Auto-Tune Central, locate your Auto-Tune product, and choose Install.
- When the download finishes, extract the official package if required, run its installer, and follow the prompts until installation is complete.
- Return to Auto-Tune Central and confirm that the plug-in shows as installed and activated on this computer.
- Restart the DAW if it was open during installation.
The installer normally places the plug-in in the standard folder for its format. On 64-bit Windows, VST3 plug-ins belong in C:Program FilesCommon FilesVST3. Let the installer manage this path; manually placing a plug-in in the Cubase application folder can make updates and troubleshooting harder.
Load Auto-Tune in Cubase
- Open Cubase and create or open a project.
- Add or select a vocal audio track.
- In the track Inspector or MixConsole, open an empty Inserts slot.
- Find the Antares or pitch-correction category and select the installed Auto-Tune plug-in.
- Play the vocal and confirm that the plug-in receives a signal. Choose the correct vocal range and song key before adjusting retune controls.
Insert Auto-Tune on the vocal track itself when you want to correct that recording. A send effect is usually not appropriate for routine pitch correction because it mixes corrected and uncorrected signals. Keep the original recording or duplicate the track before committing destructive edits.
If Auto-Tune does not appear in Cubase
First, confirm in Auto-Tune Central that the product is both installed and activated. Then try the following:
- Close and reopen Cubase so it can scan newly installed plug-ins.
- Open Studio > VST Plug-in Manager and search for “Auto-Tune” or “Antares.” Rescan the plug-ins if necessary.
- Check whether Cubase has placed the plug-in on its blocklist after a failed scan. Update both Cubase and Auto-Tune before attempting another scan.
- Confirm that the DAW and plug-in are compatible 64-bit versions. Current systems should use VST3 unless a specific legacy project requires another format.
- On Windows, confirm that the VST3 file exists in the standard VST3 folder. Steinberg documents the official Windows plug-in locations.
- If Auto-Tune Central shows an older installation incorrectly, use its current installer to repair or overwrite that installation rather than copying files by hand.
Make the first vocal adjustment
Start with the correct key and scale; a wrong key can force valid notes to the wrong pitches. Set the input or vocal range to match the singer, then begin with a moderate retune speed. Faster correction creates the obvious “hard-tuned” effect, while a slower setting can retain more natural transitions. Use humanize or similar controls carefully on sustained notes.
Pitch correction cannot repair clipping, heavy room echo, or a poor recording. Capture a clean vocal at a sensible level before processing. For editing and cleanup options, compare these alternatives to Audacity. If you are setting up a broader recording system, see our overview of music production software.
Why the old Auto-Tune 8.1 method is no longer recommended
The original procedure relied on a ZIP archive, a generic Setup.exe, and manual copying of an Auto-Tune 8.1 VST3 file into an old Cubase installation. That makes it difficult to verify the installer, license, architecture, and compatibility. Current supported Antares installers are distributed through Auto-Tune Central, which also manages installation and activation. Use Antares' official installer guidance for supported and legacy products.
Related Articles
 The Best Autotune Software11 minutes read
 How to Download and Install Auto Tune on Your Computer4 minutes read
 Install and Use Auto-tune - Voice Tuning Software8 minutes read
 Bodytune: Body Editing App3 minutes read
 3 Best Best Vocal Correction Software3 minutes read
 How to Install AA Browser on Android Auto: Step-by-Step Guide6 minutes read
Reader Comments 0
Sign in with email or Google to join the discussion.