How to install Arduino IDE in Ubuntu
All you need to do is buy an Arduino, add some accessories, install the Arduino IDE and you're ready to start your new project!
Table of Contents
If you're interested in all DIY electronics, then you've probably heard of Arduino. Simply put, Arduino allows you to add programming logic to everything, from homemade robots to something as simple as a thermostat. Arduino allows you to do this without all the small tasks you need to do if you start everything from scratch.
All you need to do is buy an Arduino, add some accessories, install the Arduino IDE and you're ready to start your new project!Join TipsMake.com to learn how to install the Arduino IDE in Ubuntu via the following article!
Before start
The article will show you how to install the Arduino IDE and not how to use it. Learning any programming language can be daunting, so you'll have to find a way to handle it yourself. Fortunately, you will find many resources to help you learn online.
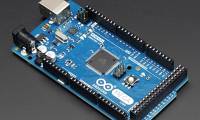
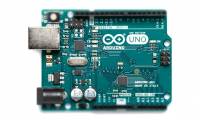
This tutorial assumes you are running Ubuntu 16.04 and above. You obviously also need an Arduino board and a mini-USB cable to connect it to the computer.
Warning!
Arduino IDE is available through Ubuntu's integrated repositories, but this is not the recommended installation. Installing in the proposed way is not as difficult as through integrated repositories and ensuring you have more up-to-date software.
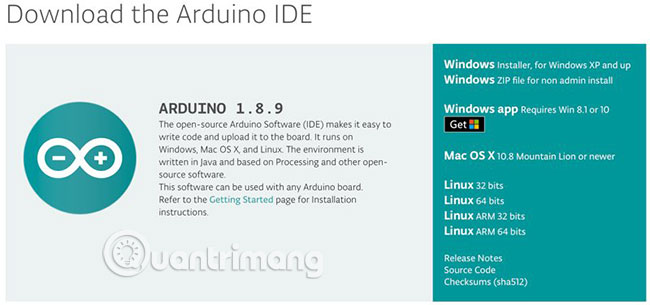
Download and install Tarball
To get started, download the Arduino IDE from the Arduino website. Please note where you downloaded, but normally, the download file will be in '/ home / USERNAME / Downloads', where USERNAME is your username.
Open the Terminal application and change it to this folder:
cd ~/Downloads
Unzip the file with the following command:
tar xzf FILENAME
Here, FILENAME will be something like 'arduino-1.8.9-linux64.tar.xz'. To get the correct name, enter ls to list the content of the Downloads folder .
It's time to run the installer. There will be a new folder in this folder. Just cd into it, then type the following command:
./install.sh
Press Enter and if everything goes smoothly, the installer will issue a message saying 'done'!
Run the Arduino IDE
You are almost done. Please connect Arduino to computer. Open Arduino IDE, via the Applications menu or by typing Arduino in Terminal.
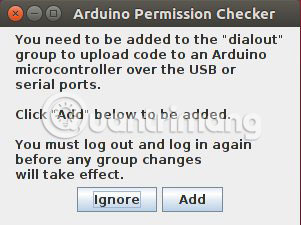
You may see a prompt to add your username to the 'dialout' group . Click Add and you will see the main IDE window launch.
If you explore the window, you may notice some options are gray. You need to troubleshoot access related issues.
Modify access rights
An access issue may sound awkward, but don't worry. The problem is that even though your username has been added to the 'dialout' group , it has no immediate effect.
All you need to do is log out of your account and then log in again. After you log back in, launch the Arduino IDE and you're ready to get started.
Now you have completed the steps to install Arduino IDE in Ubuntu. What you can achieve next depends on your own programming experience. Experience also helps, if you have programmed similar devices before.
If you're not sure what to do after you've installed the Arduino IDE in Ubuntu, take a look at the great Arduino projects list for beginners of TipsMake.com to get an idea of what you can do.
Hope you are succesful.
Was this article helpful?
Your feedback helps us improve.
Related Articles
 Download and install Arduino on the computer11 minutes read
 How to install Arduino IDE on Mac5 minutes read
 How to install Arduino IDE on Debian 104 minutes read
 How to install the Arduino IDE on CentOS 84 minutes read
 What is Arduino and its applications in life3 minutes read
 Synthesis of useful commands to code the Arduino9 minutes read
Reader Comments 0
Sign in with email or Google to join the discussion.