How to install and use SSDs for laptops
SSD has a lot of advantages compared to the traditional hard drive (HDD), especially the ability to turn on / off the device quickly, efficiently retrieve data.You will be surprised to see your laptop running as fast as the wind after replacing it with an SSD.
Upgrading a laptop's storage device from a regular hard drive to a solid-state hard drive is one of the best ways you can do to increase the performance of the system.Moreover, the falling price of SSD drives will also help you have more upgrade conditions.In this article, we will show you how to install and use an SSD on your laptop.
- 5 ways to check hard drive effectively to help periodically check the hard drive
Bảng của Contents
- overview
- Transfer data to your new hard drive
- Notes before installation
- Instructions for installing SSD on laptop
- New SSD has now been successfully installed in your laptop!
overview
The overall process will take place as follows.First you need to back up (backup) existing data on your computer and then save them to an external device (USB or portable hard drive) or move data directly to a new SSD.Next you need to remove the HDD from the laptop and replace the SSD.Then copy the backup data from the previous drive to the SSD, and restart the computer to finish the upgrade process.
Transfer data to your new hard drive
First, move the necessary data to your new SSD.If you decide to replace the current drive you are using, we recommend using data migration software to move all the files from your current drive to the new hard drive to limit Maximum errors may appear for the file.
- How to transfer folders and games without losing data
Notes before installation
- Static electricity can damage hardware components in your system.Therefore, to protect laptop components from static damage during installation, touch any metal surface (unpainted) on your computer chassis or wear it. ESD antistatic wrist strap before touching or handling internal parts.This is one of two methods to discharge static electricity in a safe, simple way that you can use.
- To protect and prevent unnecessary damage on the new SSD, you should not touch the connectors on the drive.
- Do not open the new SSD because doing so will void the warranty.
Instructions for installing SSD on laptop
- Best SSD hard drive for Windows 2018 computer
Step 1: Make sure you work in a completely clean environment
Clean up all things like plastic bags or papers that appear in your workspace.Keep the work space so neat and tidy.
Step 2: Prepare the necessary tools
- 2.5 inch SSD.
- Screw driver kit.
- Manual for using your computer.
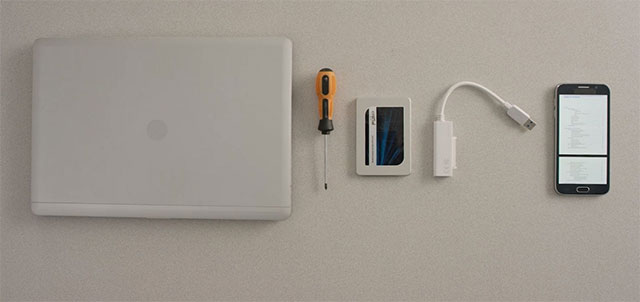
Step 3: Turn off the computer
Next, you need to turn off the computer, unplug the power and remove the battery.Please refer to the manufacturer's user manual to understand how to remove and remove the battery in the most accurate way, to avoid unnecessary damage.
Step 4: Keep your laptop power button within 5 seconds to discharge excess power
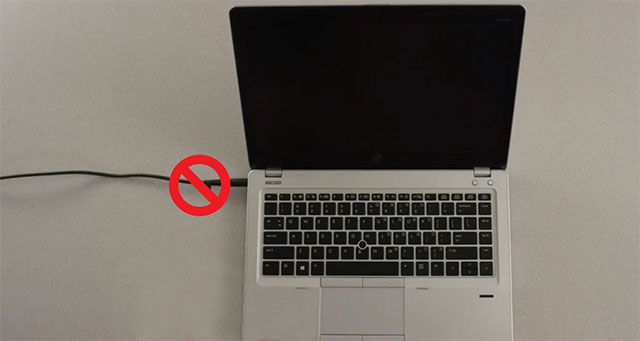
Step 5: Open the cover of your laptop
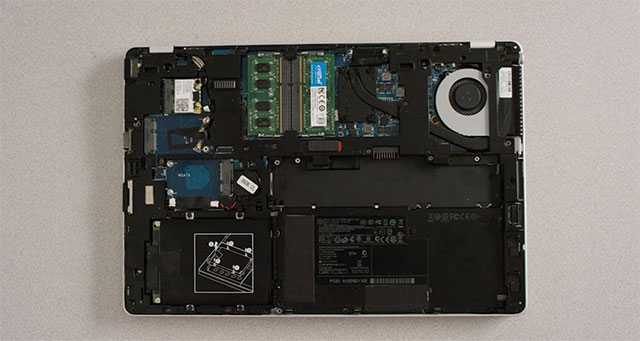
As well as removing the battery, refer to the manufacturer's instruction manual to understand the shell structure and location of the screw system on your device.
Step 6: Create ground by touching the unpainted metal surface.This is an additional safety measure, helping to protect the drive and other parts of your laptop from damage to static electricity during installation.
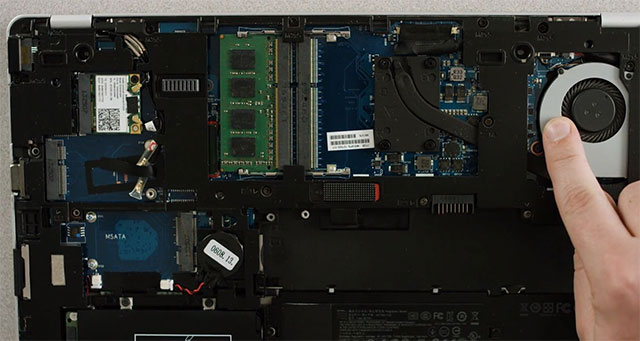
Step 7: Locate the storage compartment
Again, refer to the manufacturer's manual for the exact location and size of the hard drive bays on the device.After you have located the storage compartment, you will proceed to remove the old hard drive.First, look closely at the old hard drive for the location of the adapter, support frame, fixed hook, pull tray or screw that can be mounted on the hard drive.If so, remove it and insert it into the new SSD in the same way.
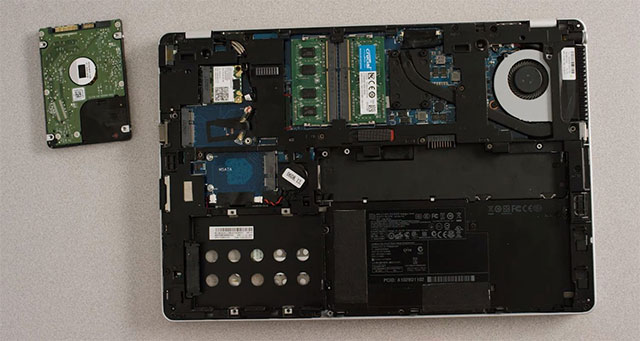
Step 8: Plug the new SSD into your system
One thing to note here is that when installing connectors, you absolutely should not try to use tight pressure.If properly paired, the connectors will be able to combine together easily and properly.
If the new SSD does not fit into the container (which is usually looser), try using the pads that come with your SSD to insert it into the SSD by peeling off the adhesive and attaching the pads to the drive.
Step 9: Replace your laptop
Please refer to the instruction manual again if necessary.Note, there will not be any extra screws left after you have finished reinstalling the computer.
Step 10: Power on your computer
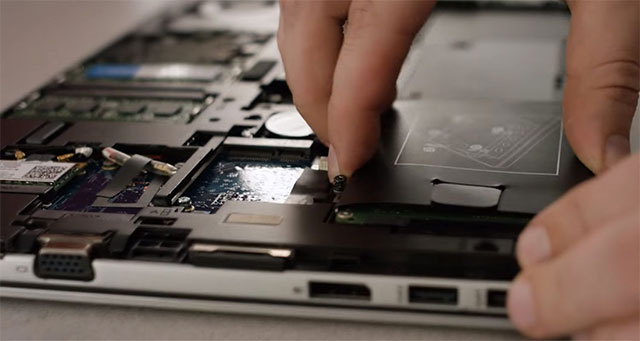
Restart the computer and check if the motherboard receives the signal from the newly installed SSD.
New SSD has now been successfully installed in your laptop!
Now, when the new hard drive is connected and working normally, you can use computer performance checkers to see if the system's boot speed and application load have improved. Come on!Good luck!
See more:
- 5 basic ways to update, update drivers for computers
- Steps to fix charging laptop not to power
- 2 simple ways to update VGA driver for computer monitor, laptop
- Instructions for checking the temperature of CPU, VGA, hard drive of computer, laptop
You should read it
- ★ Create a Windows XP installation disc for laptops using SATA hard drives
- ★ Summary of Win installation errors on the computer
- ★ Why does NVIDIA store GB of installation files on your hard drive?
- ★ 5 ways to check hard drive effectively to help periodically check the hard drive
- ★ What is a hard drive? There are several types?