Table of Contents
This practical guide explains how to Use Auto Clicker Assist to Automatically Click the Mouse through clear, ordered steps. It also covers useful settings, common mistakes, and checks that can improve the final result.
Auto Clicker Assist provides settings for us to adjust the automatic mouse click mode at the position we like. In addition, the application also has the option to set the wallpaper using AI. The following are instructions for using Auto Clicker Assist to automatically click the mouse.
Instructions for Using Auto Clicker Assist to Automatically Click the Mouse
Step 1:
Download the Auto Clicker Assist application for Windows from the link below and install it as usual.
Step 2:
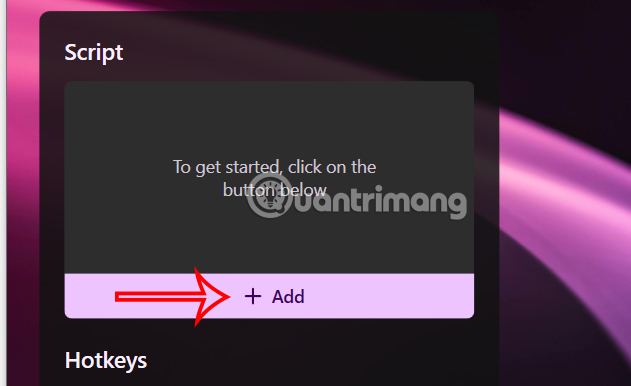
At the application interface,Click AddTo create an automatic mouse click command.
Displays the interface for you to set up automatic mouse clicking mode on the Auto Clicker Assist application.
- Click Interval: You choose the time interval for the click operation to be performed.
- Click Repeat: You choose the number of clicks.
- Click Position: You choose the position to click as the current mouse cursor position (Current Cursor Position) or click the bullseye icon to select a specific position on the screen.
- Click Options: You choose the mouse button to click (left, right or middle mouse) and the click type is single or double.
After setting up the application,Click SaveTo save.

Step 3:
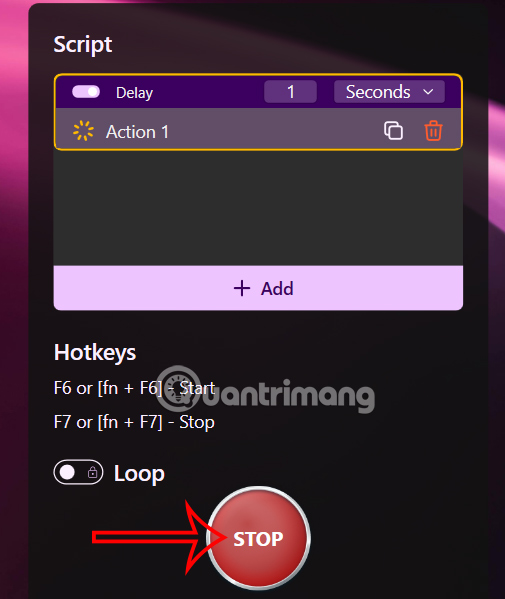
As a result, the user will see the automatically generated mouse click command. If you don't like it anymore, click on the command and then click on the trash icon to delete it.

During use, if you want to turn off automatic mouse clicking mode, click Stop to stop.
Step 4:
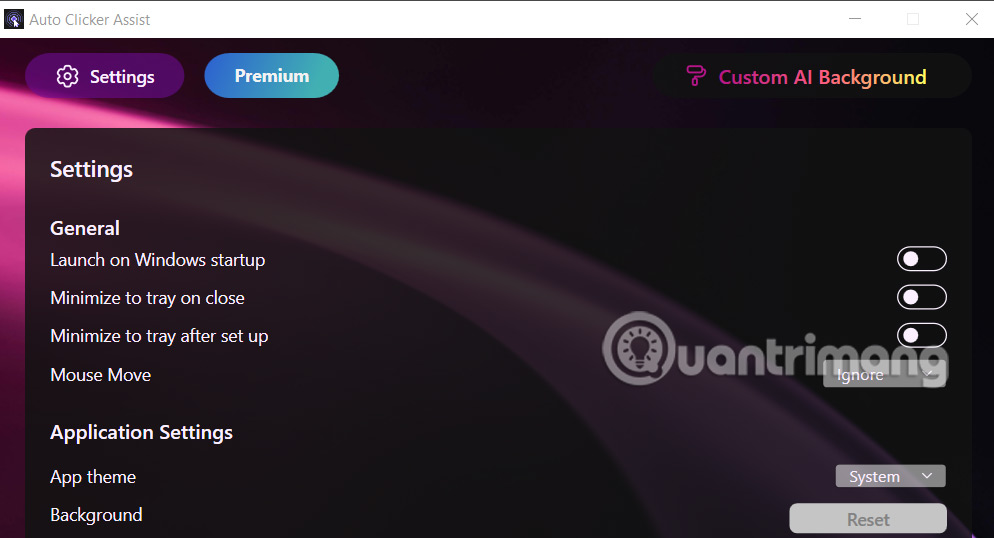
TapSettingsTo adjust settings for the app.

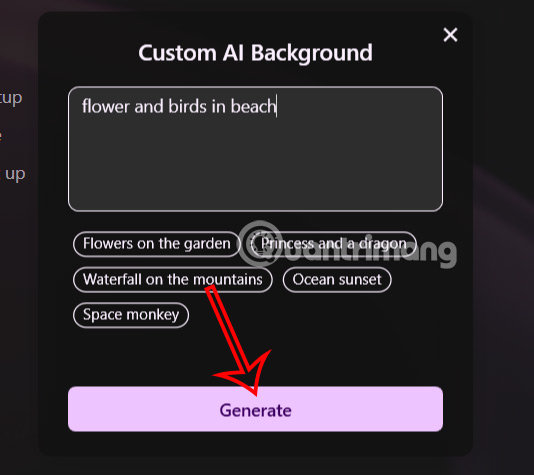
In addition, the application also has the option to create AI wallpapers, click onCustom AI BackgroundTo create. Now youEnter the content of the wallpaperYou want to create andClick GenerateTo create.
As a result, you get an AI image as shown. If you like it, click Apply to set the wallpaper for the Auto Clicker Assist application.
Frequently Asked Questions
How do I Use Auto Clicker Assist to Automatically Click the Mouse?
Follow the steps in this guide in order, verify each setting before continuing, and check the result after every major change.
What should I prepare before I Use Auto Clicker Assist to Automatically Click the Mouse?
Confirm compatibility, install current updates, save important work, and back up data before changing system or application settings.
What can I do if use Auto Clicker Assist to Automatically Click the Mouse does not work?
Review permissions and requirements, restart the relevant device or app, repeat the steps carefully, and use official support resources when the issue continues.
Was this article helpful?
Your feedback helps us improve.
Related Articles
 How to Use GS Auto Clicker, Automatically Click Mouse on Computer6 minutes read
 Auto Click and How to Automatically Click When Playing Games7 minutes read
 Download GS Auto Clicker 3.1.44 minutes read
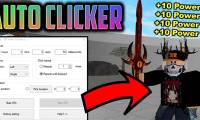 How to use Auto Clicker when playing Roblox to get a high5 minutes read
 Auto Click How to Use Software That Automatically Clicks the Computer Mouse5 minutes read
 5 Best Auto Click Software, Auto Mouse Clicker 20246 minutes read
Reader Comments 0
Sign in with email or Google to join the discussion.