Table of Contents
Most scanner problems fall into four groups: the computer cannot communicate with the device, paper will not feed correctly, the image quality is poor, or the scan is too slow. Start with the simplest checks and change one thing at a time so you can identify the real cause.
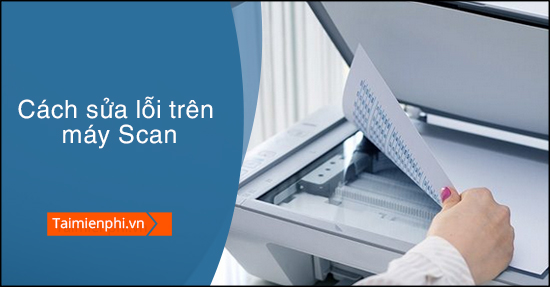
Scanner is not detected or will not connect
- Check power and status lights. Wake the scanner, clear any message on its display, and restart both the scanner and computer.
- Check the connection. For USB, connect directly to the computer with a known-good cable instead of an unpowered hub. For a network scanner, confirm that the scanner and computer are on the same local network.
- Close other scanning apps. A scanner can remain locked by another program or by a stalled job. Exit the manufacturer utility, Windows Scan, image editors, and document-management software, then try one application.
- Select the correct source. If a multifunction device exposes separate flatbed and automatic document feeder (ADF) sources, choose the one that contains the document.
- Repair the software. Remove the scanner from the app or operating-system settings, restart, and install the current model-specific driver and scanning utility from the manufacturer. On Windows, the driver may use WIA or TWAIN; a program that supports only one interface may not see the other.
If the device is new or was recently reinstalled, verify that any transport lock on the underside or back of the scanner is in the unlocked position. The exact location is model-specific.
Paper jams or multiple sheets feed at once
Turn the scanner off before removing jammed paper unless its manual gives a different release procedure. Pull the sheet slowly in the documented direction and remove torn scraps; forcing paper backward can damage the feed mechanism.
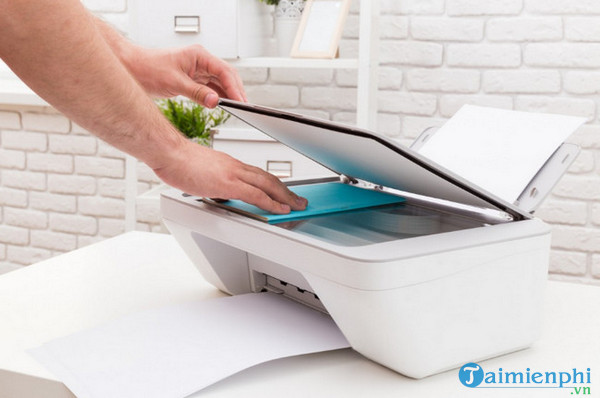
- Fan the stack and align its edges before loading the ADF.
- Remove staples, clips, sticky notes, folded corners, and heavily wrinkled sheets.
- Do not exceed the ADF capacity or mix paper sizes and thicknesses unless the manual allows it.
- Adjust the paper guides so they touch the stack without bending it.
- Clean feed and separation rollers only with the method and materials specified for the model. Replace a worn roller or separation pad when cleaning no longer helps.
A jam is not always caused by a worn roller. Damp paper, coated media, adhesive residue, an overloaded feeder, or a small scrap left in the paper path can produce the same symptom.
Scans have lines, spots, or dark bands
Marks that appear in the same place on every page usually come from dust or residue on the glass. For flatbed scans, clean the large glass plate. For ADF scans, also inspect the narrow strip of glass beside it; a tiny mark on this strip can create a line down every page.
- Switch off and unplug the device.
- Use a soft, lint-free cloth lightly dampened with the cleaner recommended by the manufacturer. Do not spray liquid directly onto the glass.
- Dry the surface and scan a blank white sheet. If the mark remains in exactly the same location, inspect the glass again under good light.
If a line moves with the document rather than remaining fixed, check the original page, paper path, and rollers.
Scans are blurry, skewed, cropped, or the wrong color
- Blurry: Place the original flat against the glass, clean the glass, and disable aggressive smoothing. A book spine can keep a page outside the scanner’s focus range.
- Skewed: Align the original with the guide marks or square the ADF paper guides. Enable automatic deskew only if it does not crop important edges.
- Cropped: Select the correct page size and turn off automatic edge detection for irregular originals. Preview the scan before saving.
- Wrong color or washed out: Choose Color, Grayscale, or Black and White to match the source. Restore default brightness and contrast, then run the model’s calibration routine if available.
- Text is hard to read: Use grayscale or a document mode, keep the page straight, and raise the resolution moderately. Optical character recognition (OCR) works best with sharp, high-contrast text.
Ink and toner do not affect a standalone scan; they matter only when printing or copying on a multifunction device. This distinction prevents unnecessary cartridge replacement.
Scanning is slow or files are too large
Higher resolution, full color, duplex scanning, automatic image correction, and OCR all add processing time. Use settings that match the job:
- Text documents: 300 dpi is a practical starting point for readable files and OCR.
- Photos: use higher resolution only when the final print or crop requires it.
- File type: PDF is convenient for multipage documents; JPEG is compact for photos but uses lossy compression; PNG or TIFF preserves more detail at a larger size.
Save to a local folder as a test. If local scanning is fast but scanning to email or a network folder is slow, the bottleneck is likely the network, server, authentication, or upload step rather than the scanner mechanism.
Pages are missing or in the wrong order
Confirm that the application is using the ADF rather than the flatbed and that multipage mode is enabled. For duplex originals, enable two-sided scanning and check the binding or rotation setting. Clean and align the rollers if pages are skipped, and divide an oversized batch into smaller stacks.
Before rescanning a large job, count the physical pages and compare that number with the saved PDF. If pages are confidential, verify that failed or partial scans were not left in a shared destination.
A useful reset sequence
- Cancel the current scan and close all scanning software.
- Restart the scanner, then restart the computer.
- Test one clean sheet on the flatbed or ADF with default settings.
- Try the manufacturer’s scanning utility. If that works, the problem is likely limited to the original application or its profile.
- Run the device’s built-in test or calibration, if available, and record any exact error code before reinstalling software or replacing parts.
For basic setup and file-format choices, see Instructions for scanning documents. Owners of a compatible Canon flatbed can also compare the installation checks in the Canon LiDE scanner setup guide.
When the scanner needs service
Stop using the device if it makes grinding noises, smells hot, repeatedly tears paper, shows physical damage, or continues to report a hardware code after the documented reset. Use the service manual for the exact model or contact an authorized repair provider; do not lubricate rollers or open sealed optical assemblies without manufacturer instructions.
Related Articles
 Some Tips with QR Scanner Feature on iOS 115 minutes read
 Summary of Common Errors on iPhone 6, 6 Plus and How to Fix Errors17 minutes read
 Github's Machine Learning Tool Can Detect Vulnerabilities in Code3 minutes read
 Common HTML Mistakes That You Should Avoid for Better Web Programming4 minutes read
 Common Computer Errors and Remedies (Part 1)8 minutes read
 Common Computer Errors and How to Fix Them Quickly5 minutes read
Reader Comments 0
Sign in with email or Google to join the discussion.