Table of Contents
Projector problems are easiest to diagnose by separating power, source-signal, image-geometry, optical, and temperature issues. Record the exact warning-light pattern and model number first; indicator colors and reset procedures are not standardized across brands.
 How to fix common projector problems
Projector will not turn on
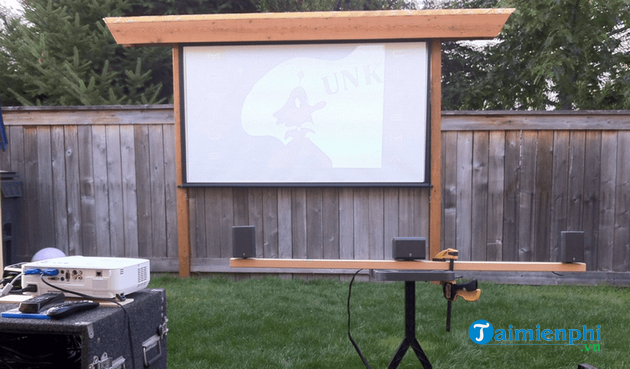
- Confirm that the outlet works and that the power cord is fully seated. If the projector uses an external power supply, check its connection and status light.
- Try the power button on the projector. If that works, replace or correctly orient the remote batteries.
- Close the lamp, filter, and service covers firmly. Some models have interlocks that prevent startup when a cover is open.
- Read the Power, Lamp/Light, and Temperature indicators in the model’s manual. Allow the specified cool-down time if the projector recently shut down.
- Remove objects blocking the intake or exhaust vents. Do not keep cycling power while an overheat warning is active.
Do not reset a lamp timer merely to make a warning disappear. Reset it only after installing the correct replacement lamp and only as the manufacturer directs. LED and laser projectors may have different service requirements.
Projector is on but shows “No signal”
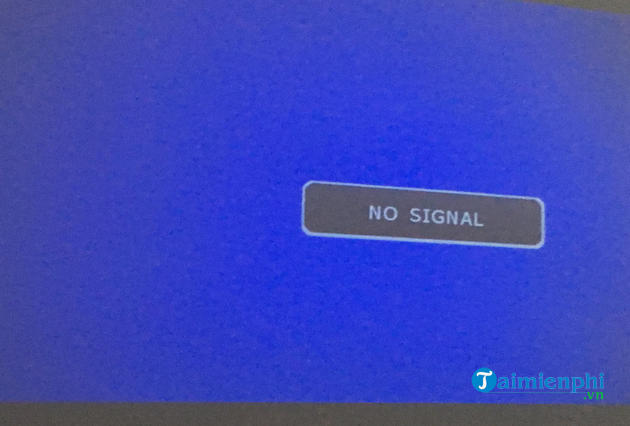
- Remove the lens cap or open the shutter/AV-mute control.
- Select the physical input you actually connected—such as HDMI 1, HDMI 2, VGA/Computer, DisplayPort, or USB-C.
- Reconnect both ends of the cable and test a known-good cable. Inspect VGA pins for bending; for USB-C, confirm that the computer port and cable support video output.
- On Windows, press Windows + P and choose Duplicate or Extend. On macOS, open Displays settings and confirm that the projector is detected.
- Reduce complexity: connect the computer directly, bypassing a dock, switch, adapter chain, or receiver for the test.
- Try another source device on the same projector input, or the same computer on another display. This isolates the failing side.
If a streaming device or protected video shows a blank screen while the desktop works, the adapter or connection may not support the required copy-protection or signal format. For connection steps across HDMI, VGA, and wireless display, see How to connect a computer or laptop to a projector.
Colors look wrong or the image flickers
- Try a different input and cable. A damaged VGA pin can remove a color channel; an unreliable digital cable can cause sparkles, dropouts, or intermittent blanking.
- Restore a neutral picture mode and disable unusual color-temperature or presentation presets.
- Compare the projector’s built-in menu or test pattern with the external image. If the menu also has the color defect, the source computer is unlikely to be the cause.
- Check whether the model has a supported lamp, color-wheel, panel, or optical-service warning. Do not open the optical engine.
A steadily dimmer image can be caused by an aging lamp, an eco-power mode, a dirty filter, ambient light, or an optical fault. Use the model’s reported lamp hours only as context; do not replace a lamp solely because the image is blurry.
Image is blurry or difficult to focus
- Clean the external lens only with the material and method specified by the manufacturer.
- Place the projector within its supported throw-distance range, square to the screen, and adjust focus after it reaches a stable operating temperature.
- Reduce digital keystone correction where possible. Heavy keystone processing reduces effective sharpness.
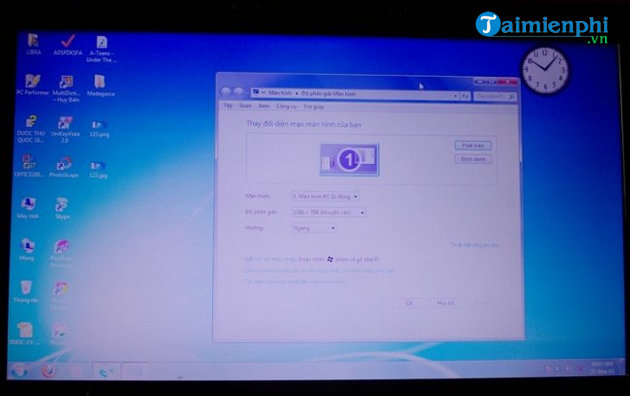
- Set the computer to the projector’s native resolution and use a supported refresh rate.
- Check whether one area is sharp while another is not. That pattern often points to alignment, screen flatness, or optical service rather than resolution.
If a cold projector was moved into a warm, humid room, switch it off and allow it to reach room conditions before use. Do not power it on to “burn off” visible condensation; moisture and energized electronics are an unsafe combination.
Image is cropped, off-center, or the wrong size
- Select the correct aspect ratio—such as Auto, 16:9, or 4:3—for the content and screen.
- Disable overscan when connecting a computer if desktop edges are cut off.
- Use the projector’s Auto/Sync control for an analog VGA source, then adjust tracking or position if the model provides those controls.
- Match the source resolution to the projector’s native panel resolution. Avoid assuming that every projector uses 800×600 or 1024×768.
- Check zoom, digital zoom, blanking, and screen-fit settings before moving the projector.
Image is trapezoidal or inverted
Physically center and level the projector before using keystone correction. Optical lens shift, if available, preserves more detail than digital keystone. For a ceiling or rear installation, choose the correct projection orientation in the Setup or Installation menu.
If the picture is upside down or mirrored, follow the model-specific orientation examples in How to fix an inverted projector image.
Projector overheats or shuts down
- Turn it off using the normal control and let the fan complete its cool-down cycle. Do not unplug it immediately unless the manual or an emergency requires it.
- Leave the specified clearance around all vents and remove nearby heat sources.
- Clean or replace the air filter on the documented schedule. Never use compressed air in a way that drives dust deeper into the optical path.
- Check that the room temperature and installation orientation are within the rated limits.
If the fan does not start, makes grinding noises, or the temperature warning returns in a cool, unobstructed room, stop using the projector and arrange service.
How to interpret indicator lights
| Indicator | What to do |
|---|---|
| Power or status light | Check whether the model identifies the pattern as startup, standby, cooling, or a fault. |
| Lamp/light warning | Allow cooling, inspect the documented lamp cover, and confirm lamp status; do not touch a hot lamp. |
| Temperature/filter warning | Shut down normally, clear ventilation, and service the filter as documented. |
| Alternating or multiple flashing lights | Record the exact sequence and look it up in the model manual before replacing parts. |
When professional service is appropriate
Arrange service for burning smells, liquid exposure, a shattered lamp, fan failure, repeated thermal shutdown, color defects in the built-in menu, or a warning pattern identified as an internal fault. High-voltage lamp ballasts and laser light engines are not user-serviceable components.
Related Articles
 How to Connect the Projector to a Computer, Laptop7 minutes read
 How to Connect a Tablet to a Projector6 minutes read
 How to Connect a Phone to a Projector7 minutes read
 5 Popular Wireless Projectors to Connect to Laptops, Phones5 minutes read
 4 Common GPU Problems and How to Fix Them8 minutes read
 Common Problems on iOS 13 and How to Fix Them16 minutes read
Reader Comments 0
Sign in with email or Google to join the discussion.