How to erase stains on photos, cleaning photos in Photoshop
Photoshop software is considered the "king" of photo editing software with many features and tools to help our photo editing work effectively and creatively. One of the features that helps users have a beautiful picture and limit the small errors on the image is the ability to clean the image and remove the details that make the image ugly.

Let's find out how to erase stains on photos in Photoshop in the article below!
1. Remove stains on photos, clean photos in Photoshop with the Spot Healing Brush Tool
Step 1: Click on the toolbar with the gauze symbol (1) => Spot Healing Brush Tool (2) .

Step 2: After selecting the Spot Healing Brush Tool , click Content - Aware (1) . Then you hover (2) to the image area to be cleaned and left click to delete. You can hold the left mouse button to select a larger image area.

After successful deletion, we will have the complete picture.

2. Remove stains on photos with Content - Aware tool
In essence, this approach is quite similar to the previous way using the Content - Aware tool but only changes the steps. Please follow these instructions:
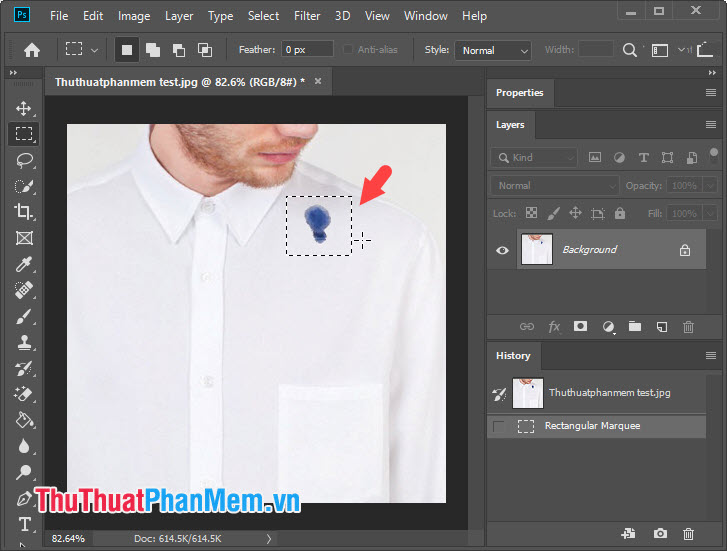
Step 1: Select the image area to be deleted by clicking the dashed symbol (1) => Rectangular Marquee Tool (2) .

Step 2: Please delineate the image to be deleted by left clicking and selecting the image area.

Step 3: Go to Edit => Fill menu or press Shift + F5 to open the Fill dialog box. Here, you set up as shown below.
(1) Contents:Content - Aware
(2) Mode:Normal
(3) Opacity:100%
Then click OK (4) to finish.

Step 4: Once completed, we will have the image area cleaned as you like, press Ctrl + D to remove the selected image area.

3. Use the Clone Stamp Tool
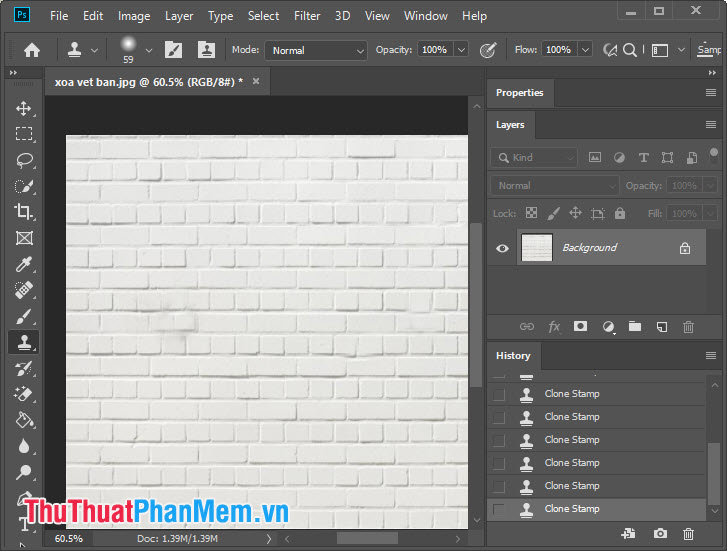
Clone Stamp Tool feature essentially uses the original image area and pasted the original image over the error image area. How to do the following:
Step 1: Click on the seal icon (1) => Clone Stamp Tool (2) .

Step 2: After selecting the clone stamp icon, right-click to resize the selection. Item Size (1) you should be larger than the error image area so that when you stitch the image, you will not have to multiply it. For Hardness (2), you should set the level above 50% to make the image area more beautiful and realistic.

Step 3: Move the mouse to the original image area and hold the Alt button on the keyboard so that the mouse changes to a circle (1) . After selecting the image area successfully, move the mouse to the image area to be cleaned and left click (2) to cover the error image area with the original image area.

Step 4: You continue to repeat the above steps until the image becomes cleaner is successful.

With instructions to remove stains, clean photos in Photoshop, read it and make your photos more beautiful and easier to look offline! Good luck!