Instructions on how to remove Noise in Photoshop
Noise is one of the most annoying things that happen when we take photos. Noise often occurs when you take photos in low light conditions or when the sensitivity setting (ISO) setting is too high. In the following article, TipsMake.com teaches you how to remove noise in Photoshop and bring a better quality picture..
Noise is one of the most annoying things that happen when we take photos. Noise often occurs when you take photos in low light conditions or when the sensitivity setting (ISO) setting is too high.

In the following article, TipsMake.com teaches you how to remove noise in Photoshop and bring a better quality picture. Please read along.
1. Remove noise in Photoshop manually
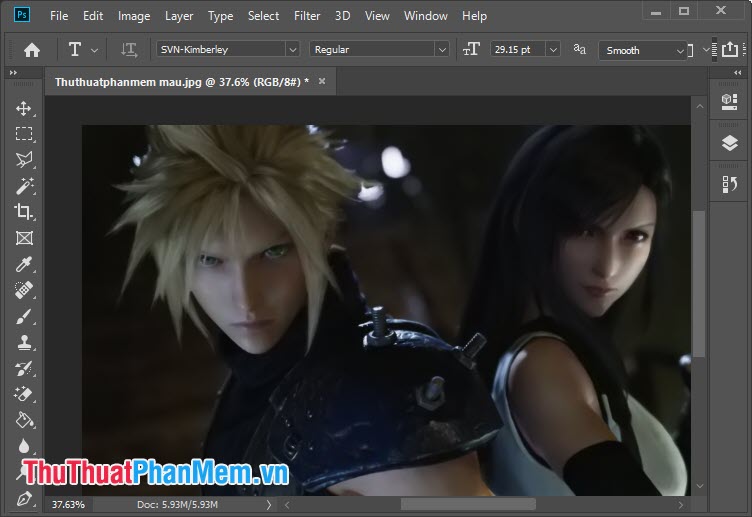
Step 1: You open the image to remove noise in Photoshop. Next you go to menu Image => Mode => Lab Color to convert the image system to Lab Color .

Step 2: If you do not have the Channels tool , go to Window => Channels to turn it on.

Step 3: Click the Channels tool and click Lightness .

Step 4: Go to menu Filter => Noise => Despeckle to smooth the image.

Step 5: You continue to menu Filter => Noise => Reduce Noise .
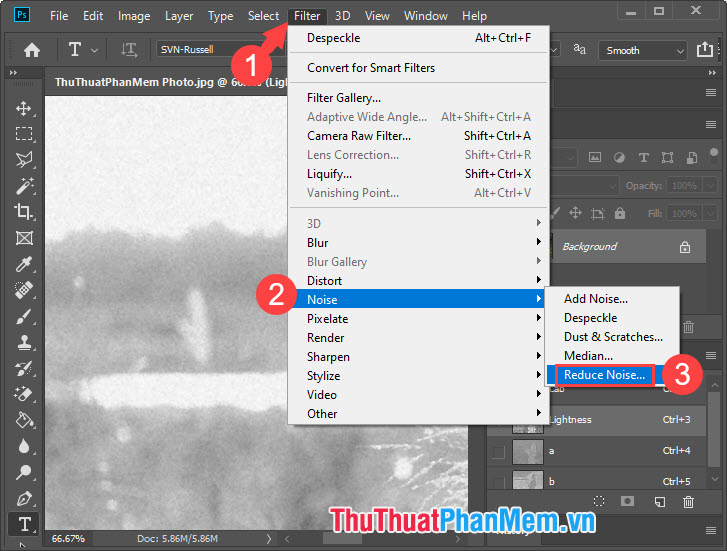
And then you set the image levels so that the noise decreases and the picture looks smoother. After setup is complete you click OK to complete.

Step 6: Go to menu Filter => Blur => Gaussian Blur .
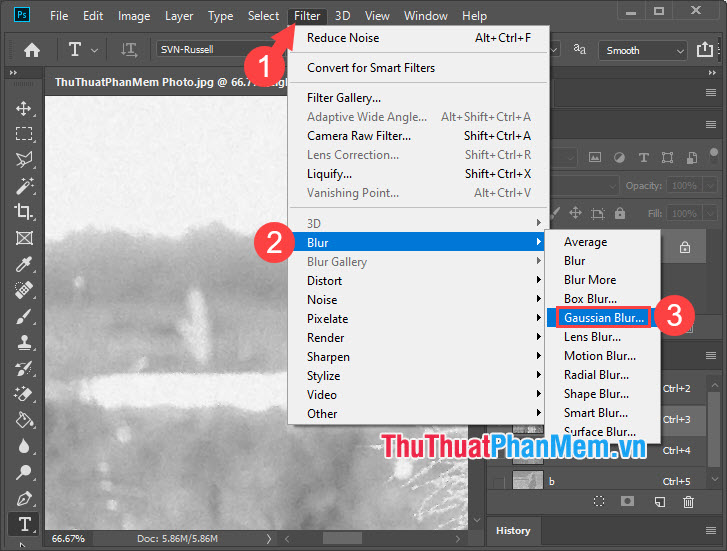
Next, set the Radius to 0.5 - 1 Pixels to make the image smoother. This feature has the main effect of blurring the image, so setting the Radius too high will cause the image to be blurred and blurred.

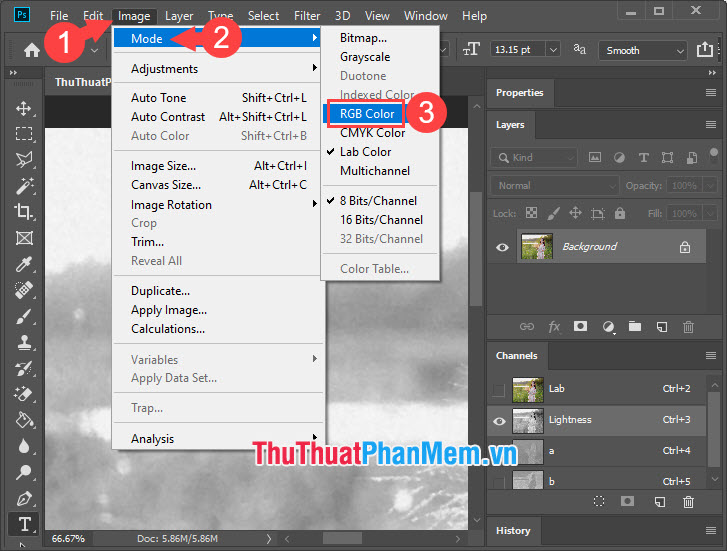
Step 7: So we have finished photo editing. You go to menu Image => Mode => RGB Color to convert the color system to RGB is done.
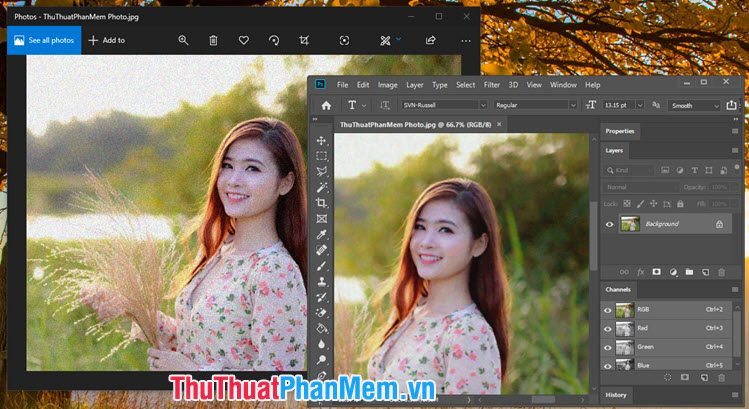
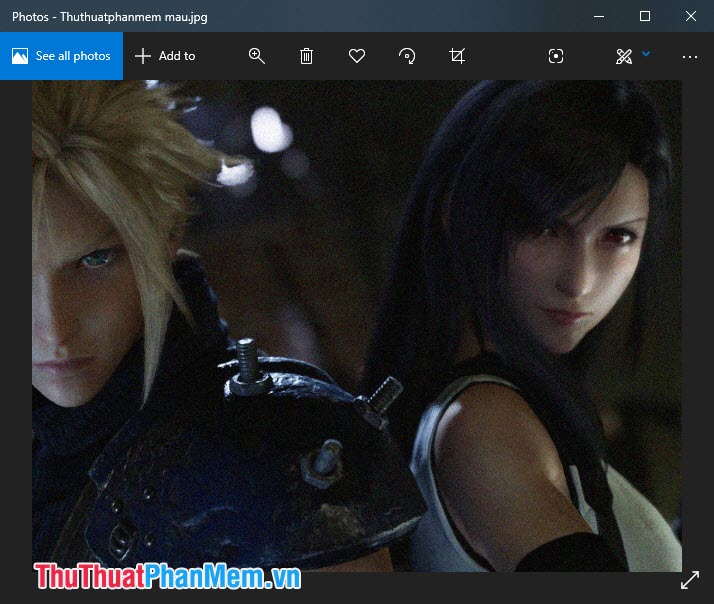
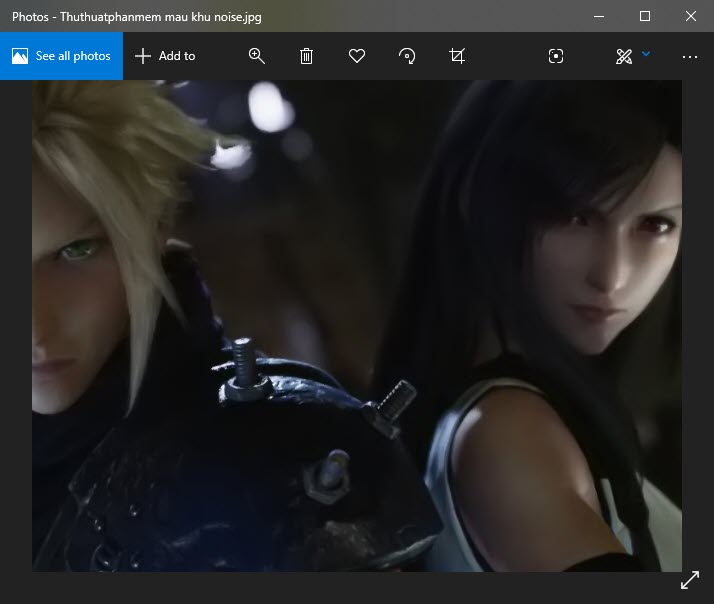
Once completed you can compare with the original photo. Although it doesn't eliminate noise completely, the image looks sharper and much less noise. In the image below, the original image is on the left and the edited image is on the right.
2. Remove noise in Photoshop with the Noiseware plugin
Step 1: Visit the homepage of https://imagenomic.com/Products/Noiseware and download the Noiseware plugin .
Next, click on the word Download , enter your email address and download the Noiseware file from the link sent to your email address.

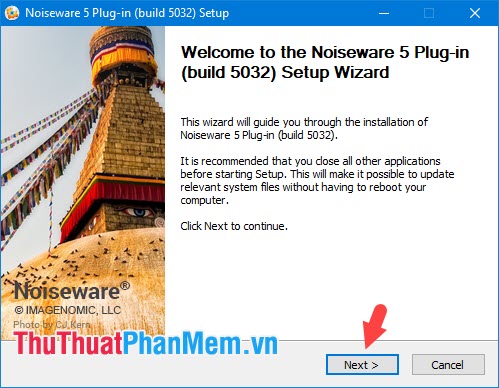
Step 2: You proceed to install the software. At the first setup step, click Next to continue.
Step 3: Choose the correct version of Photoshop installed in your computer (1) and click Install (2) to install the plug-in.

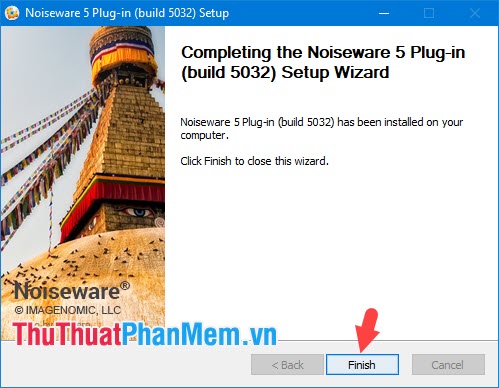
Then the installation will take place and after the Completing step is completed. Click Finish to complete.
Step 4: Start using Noiseware in Photoshop.
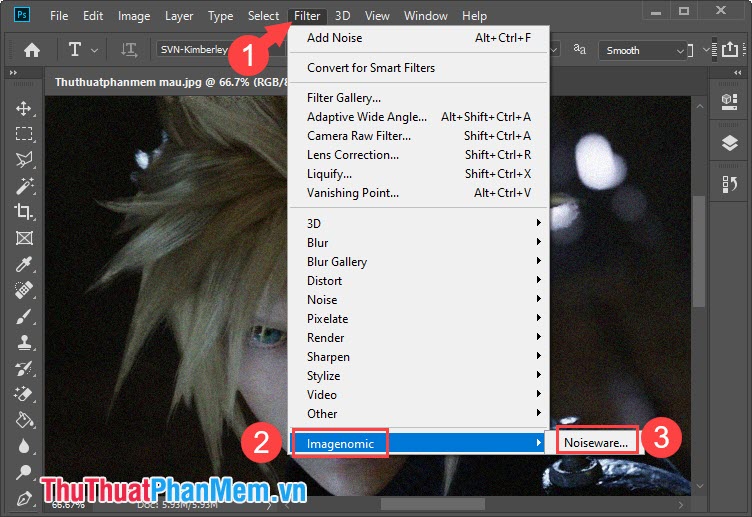
You open the image to remove noise in Photoshop. Next, go to menu Filter (1) => Imagenomic (2) => Noiseware . (3) .

Step 5: Click Accept to agree with the terms.

Noiseware will then notify you of the current version information as well as the trial period. If you want to use the license, please click Purchase License to buy the key and Install License (1) to enter the license key. If there is no need, then click OK (2) to skip.

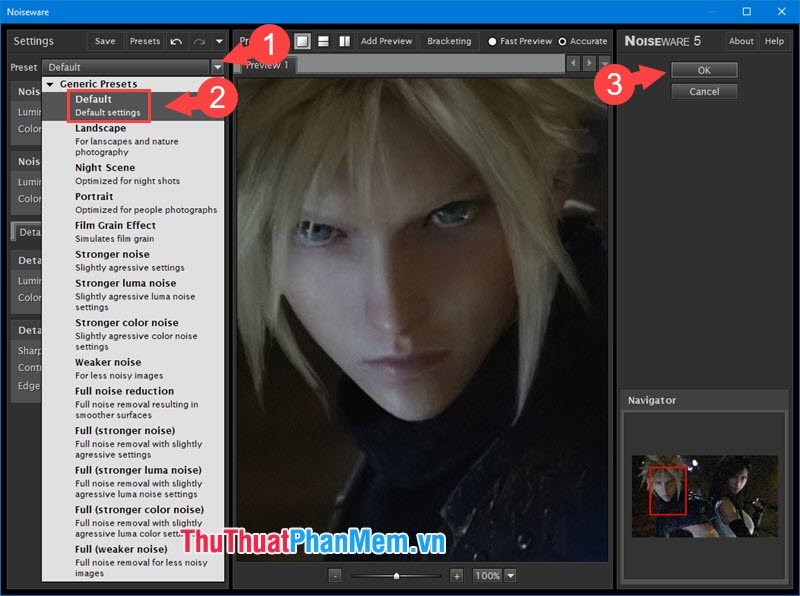
Step 6: Then, the Noiseware interface will appear, select Preset (1) as Default (2) to plug-in to automatically remove noise. If you do not want to edit more then click OK (3) to complete.
And finally we have a noise-canceling photo that looks a lot more appealing than the original. Save the image and exit Photoshop.
Below is an image of the comparison before and after the image is noise removed. However, the image after noise reduction reduces noise particles but the image will be slightly blurry.
Before removing noise with Noiseware
After removing noise with Noiseware
With the guide of noise reduction in the article, we can make the image more beautiful and more attractive than before. If you have any difficulties or questions about the article, please ask questions for TipsMake.com in the comment section below!