How to Edit PDF Files
Using Sejda

Access the Sejda site using a web browser. Sejda is a free online PDF editor. You can edit 3 files per hour using Sejda. Files can be up to 200 pages long or 50MB in size. Files that you upload for editing are usually deleted automatically after 2 hours.
If 2 hours is not enough for you to finish editing the document, you can use the free LibreOffice Draw program to edit the PDF file. Or, you'll use some of the features on Sejda to edit the PDF file and finish the rest in LibreOffice Draw.
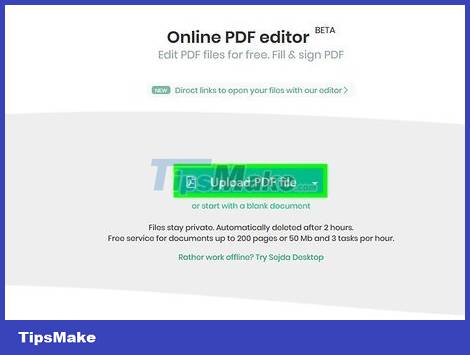
Click Upload PDF file . It's the green button in the middle of the page.
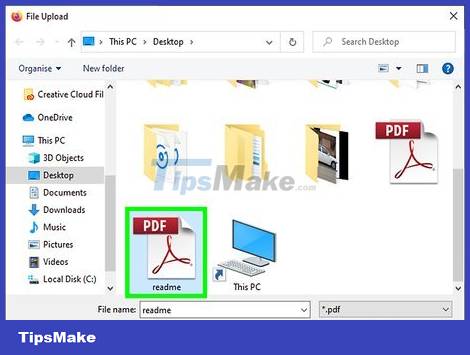
Select the PDF file and click Upload . This is to upload a PDF file that you can edit using Sejda's online tool.
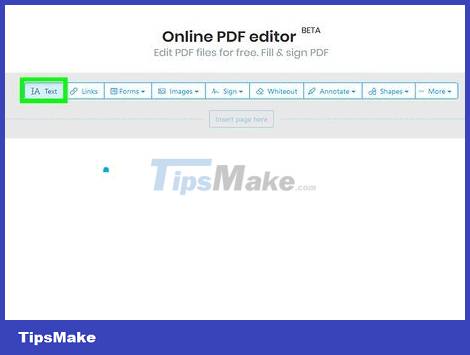
Add text to the file. To add text to a PDF file, you'll click the icon that says Text at the top of the page, then click where you need to add text and start typing.

Edit existing text. Unlike many other free PDF editing tools, Sejda allows you to edit both existing text and new text added to a PDF file. To edit text, simply click on the text to edit and start typing. You can add or remove text. Use the icon above the text input box to change the text format. You can use several options to change the text format as follows:
Click B to make the text bold.
Click I to make the text italic.
Click the "T" icon next to the arrow and drag the slider to change the font size.
Click Font to select a new font in the selection box.
Click Color to choose a color for the text.
Click the trash can icon to clear the text input box.

Add the link to the page. Paths allow you to provide a URL to another page. Follow these steps to add the path to the PDF file:
Click Link at the top of the screen.
Click and drag over the area where you want to add the path.
Copy and paste the URL you want to link to in the "Link to external URL" field.
Click Apply Changes.
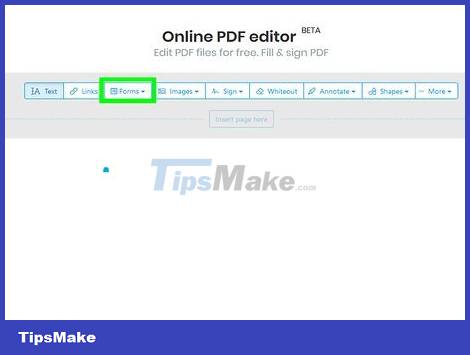
Add a table element to a PDF file. Click Forms at the top of the page to see a selection list with elements that you can add to the PDF file. These are interactive and non-interactive table component options. Click one of the table elements displayed in the menu and click where you want to place the table in the PDF file. The tabular elements in the menu include:
Click the "X" icon to add an X to the PDF file.
Click the checkmark icon to add a check mark to the PDF file.
Click the dot to add a bullet point to the PDF file.
Click the "ABCD" box to add a single-line text input box to the PDF file.
Click the "ABCD" small box to add a multiline text input box to the PDF file.
Click the circle icon with the dot to make a selection dot for the PDF file.
Click the check box icon to add the check box to the PDF file.
Click the selection box icon to add a selection box menu to the PDF file.
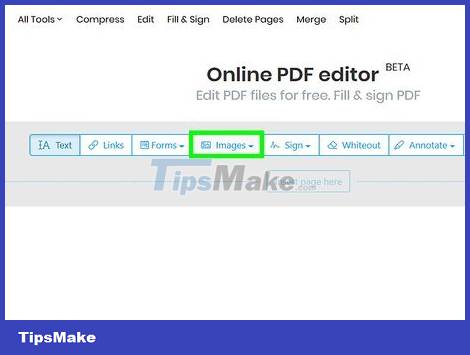
Add images to PDF files. Follow these steps to add images to a PDF file:
Click Image at the top of the page.
Click New Image.
Select the image you want to add and click Open to upload.
Click where you want to add an image.
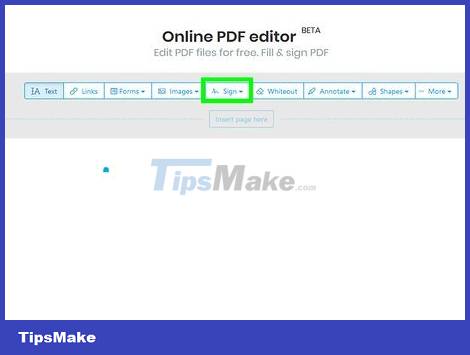
Add signature to PDF. Follow these steps to add a signature to your PDF:
Click Sign at the top of the page.
Click New Signature.
Type your name in the text input field at the top of the page.
Click the signature style.
Select Save.
Click where you want to put the signature.
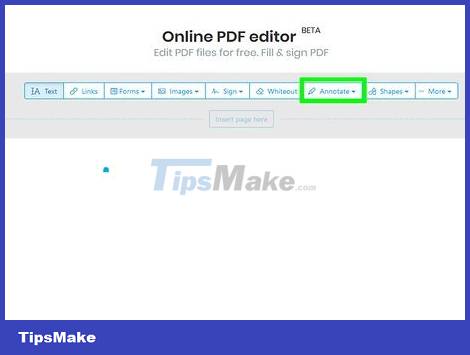
Add a highlight, strikethrough, or underline effect to text. You can do the following steps to add text highlight, strikethrough, or underline effect to PDF:
Click Annotate at the top of the page.
Click one of the colored circles next to "Highlight", "Strike out", or "Underline".
Click and drag your mouse over the text you want to highlight, or add a strikethrough or underline.
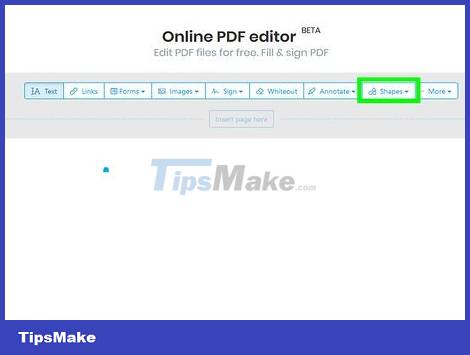
Add shapes to PDF. To add shapes to the PDF, you would click Shapes at the top of the page and click Ellipse or Rectangle. Next, click and drag your mouse over the location where you want to add the shape. The following are the editing options typically displayed on shapes:
Click the line icon to choose a border size for the shape.
Click the square icon to choose a border color for the shape.
Click the circle icon to choose a color for the shape.
Click the two overlapping squares icon to duplicate the shape.
Click the trash can icon to delete the shape.
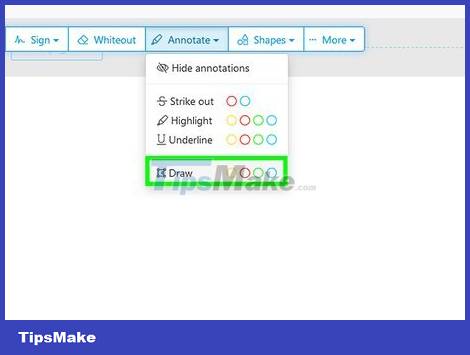
Draw on PDF file. Here are the steps to help you draw on PDF files:
Click Annotate.
Click one of the colored circles next to Draw.
Click and drag to draw freely on the PDF.
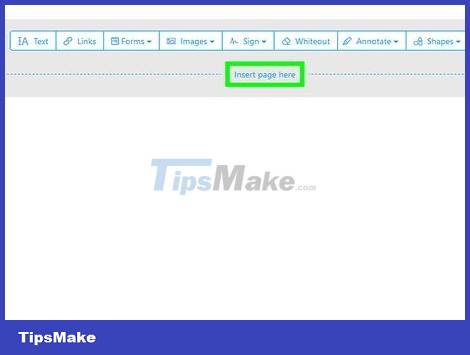
Click Insert page here to add a new page. This is the button displayed at the top and bottom of each page. Click the button at the top of the page to add a new page before the current one. Click the button at the bottom of the page to add a new page after the current one.
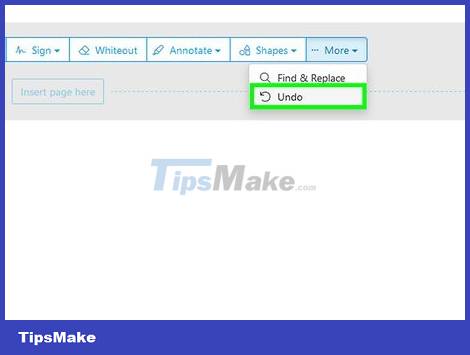
Remove the error operation by following these steps:
Click More at the top of the page.
Click Undo.
Click the check box next to the step you want to delete.
Click Revert selected.

Click Apply Changes . It's the green button at the bottom of the page. Click this button when you are done editing the PDF. With that, the website will start processing your PDF file.
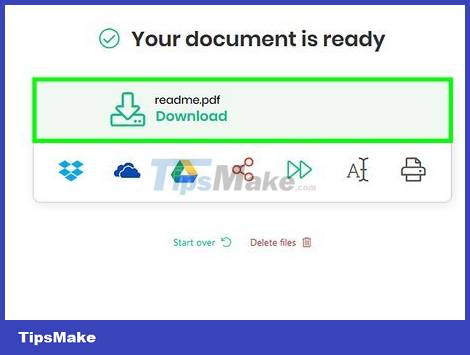
Click Download in green at the top of the page. This is to download the edited text to your computer.
Or, you can click one of the icons to save the text to Dropbox, OneDrive, Google Drive, rename the text, or print the text.
Using LibreOffice Draw
Download and install LibreOffice. LibreOffice is a free alternative to Microsoft Office. The Draw program has the ability to create and edit PDFs. To download and install LibreOffice, you will go to https://www.libreoffice.org/ and click Download Now. The next thing is to install the file and follow the instructions.
You must download the entire program package to your computer to be able to use LibreOffice Draw.
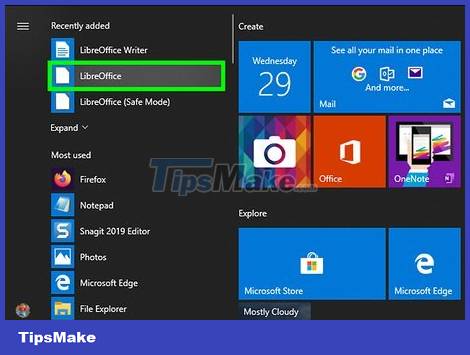
Open LibreOffice Draw. This is a program with a yellow icon with a triangle and circle. Click it in the Windows Start menu or the Applications folder on Mac.
The program can be displayed in the LibreOffice folder in the Windows Start menu or the Applications folder.
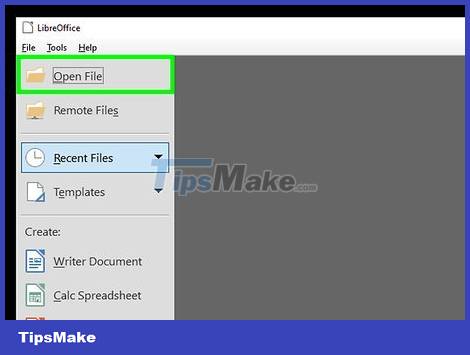
Open the PDF file in LibreOffice Draw. The PDF file will look different from the original version. Follow these steps to open a PDF file in LibreOffice Draw:
Click File.
Click Open.
Select the PDF file you want to open.
Click Open.
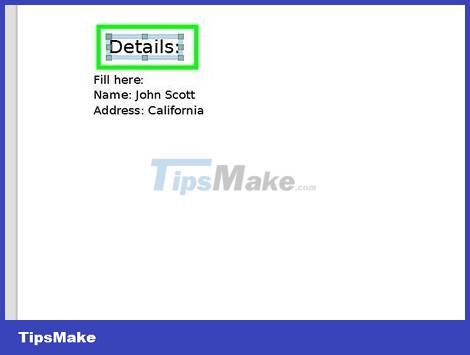
Move and resize objects. When you place the mouse pointer over the object, the pointer changes to a 4-way arrow. Click on the object to select. Use the following options to move and resize the object:
Click and drag the object to perform the move.
Click and drag the squares at one corner of the object to resize.
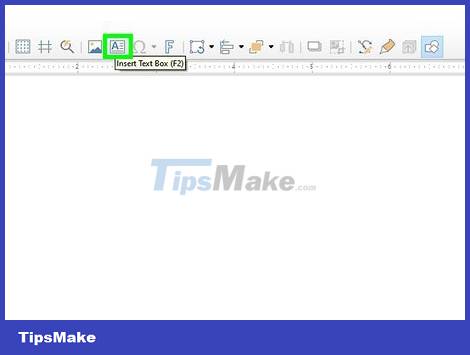
Add new text. To add new text to your body, you'll click the "A" icon next to the lines at the top of the page. Click where you want to add text and start typing. Click and drag to create a text input box of the specified size. Use the formatting options in the menu bar displayed on the right to edit text formatting.
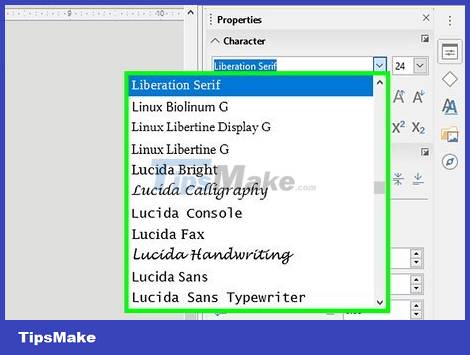
Edit text. To edit existing text in a PDF, you'll click on the text and start typing. You can delete, add new, highlight text, or change its formatting using the choices in the menu shown on the right. Options in the menu include:
Use the drop-down list under "Character" to select a font.
Use the drop-down list next to the font menu to choose a font size.
Click "B" to make the text bold.
Click "I" to make it italic.
Click "U" to create an underline.
Click "S" to create a strikethrough.
Click "A" to shade the letter.
Click the icon with the 4 lines below "Paragraph" to align the text left, right, center, or even.
Use the spaces under "Spacing" to adjust line spacing, before-after spacing, and indentation.
Click the dots icon next to the lines under "Lists" for bulleted/dotted format.
Click the number icon next to the lines under "Lists" for a numbered format.
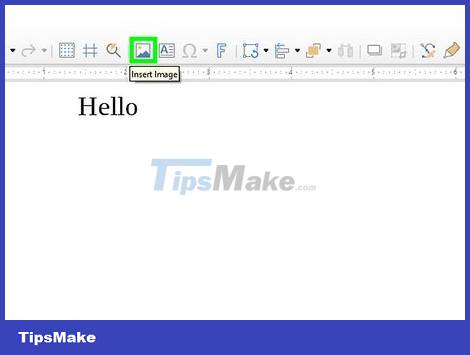
Add images to text. You can add an image to your text by following these steps:
Click the mountain picture icon at the top of the page.
Select the image you want to add.
Click Open.
Click and drag the photo to move it to the appropriate position.
Click and drag the square dots around the image to resize it.
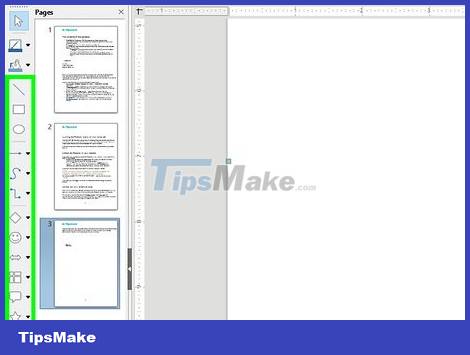
Add shapes to the PDF file by following these steps:
Click the overlapping square icon at the top of the page.
Click the shape in the left menu bar.
Click and drag to draw the shape.
Click the box next to "Color" in the menu bar on the right.
Choose a color for the shape.
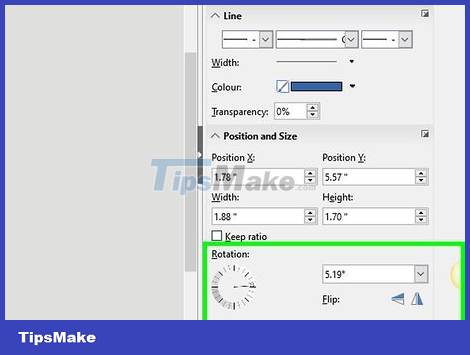
Rotate object. Follow these steps to rotate an object in the text:
Click the square icon with the circle arrow at the top of the page.
Click the object that you want to rotate.
Click and drag the yellow dot at the corners of the object.
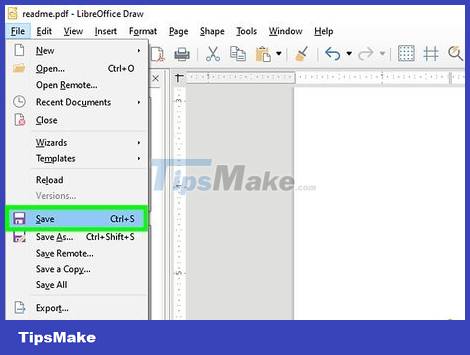
Save edit. You need to perform the following steps to save the edit:
Click File.
Click Save.
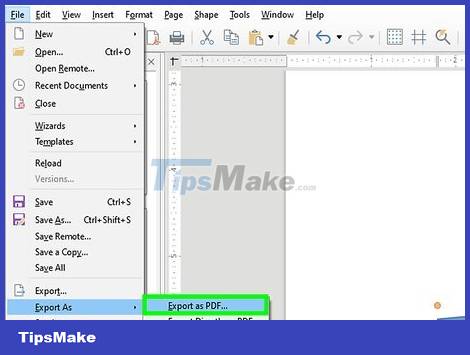
Export PDF file. The following steps will help you to export documents in PDF format:
Click File.
Click Export as.
Click Export as PDF.
Using Adobe Acrobat Pro DC
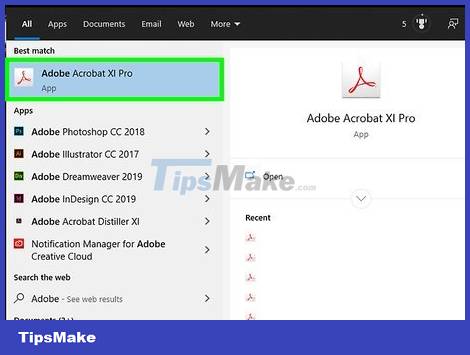
Open PDF documents in Adobe Acrobat Pro. Click on the white Adobe Acrobat app with the red stylized A icon.
You can view PDF files for free using Adobe Acrobat Reader DC. To edit PDF files, you need to pay for Adobe Acrobat Pro DC. Visit acrobat.adobe.com for a paid subscription.
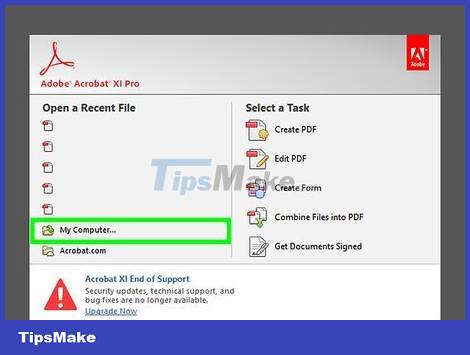
Open the PDF file. You can open the file by clicking Open on the Adobe Acrobat Pro welcome screen and selecting the file, or follow these steps to open the PDF file in Adobe Acrobat Pro:
Click File in the menu bar at the top of the screen.
Click Open.
Select the PDF file you want to edit.
Click Open.
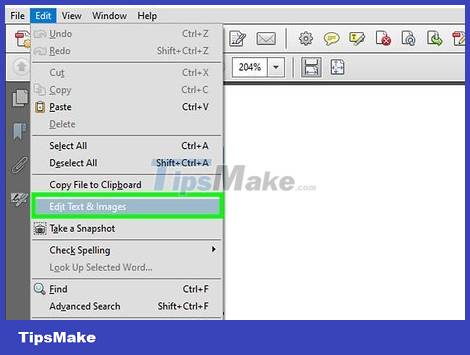
Click Edit PDF . It's the pink box icon in the menu bar on the right. This will show you a list of all text input boxes and objects in the PDF file.
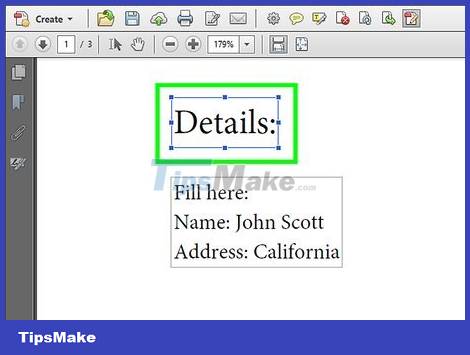
Edit text. To edit text in a PDF file, click on the text in the text input box and start typing. You can delete or add new text, highlight it, or use the FORMAT menu displayed on the right to change the text format.
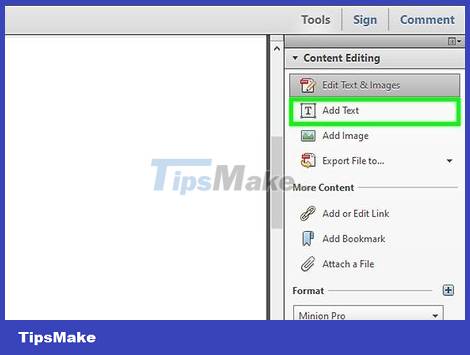
Add new text. To add new text to the PDF, click Add Text in the menu bar at the top of the page. Next, click where you want to add text and start typing. Click and drag to format the text input box size to your liking.
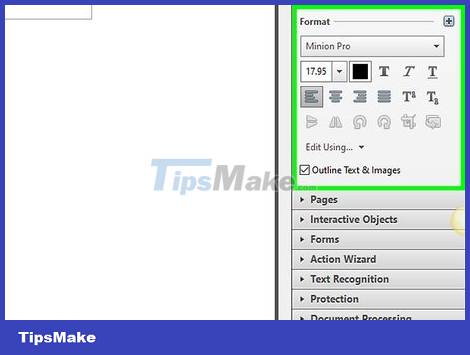
Use the "FORMAT" tool to edit the text. The Format tool displays in the menu on the right side of the screen. Fill in the text that you want to edit, and use the following tools to edit the text formatting:
Click on the selection box below "FORMAT" to change the font
Click the selection box below the font to change the font size
Click the color box next to the text size box to change the text color.
Click on the uppercase "T" icon with various styles to create bold, italic, underline, subscript, or superscript formatting for the text.
Click the selection box next to the three dashes and three dots to create a bulleted/dotted list.
Click the selection box next to the numbered three dashes icon to create a numbered list.
Click the 4-dash icon like lines of text to align left, center, right, or even align the text.
Click the selection box with the arrow icon next to the three lines to increase or decrease the text line spacing.
Click the selection box next to the arrow icon along with two groups of dashes to increase or decrease the distance between paragraphs of text.
Click the "Horizontal scaling" selection box to increase or decrease the width (percentage) of the selected characters.
Click the selection box with the horizontal arrow icon below the letter "A" and the letter "V" to increase or decrease the space between characters.
Note, you cannot edit every element in the PDF file.

Add images to PDF files. The following steps will help you add images to a PDF file:
Click Add Image at the top of the page.
Select the image you want to add.
Click Open.
Click where you want to add the picture, or click and drag to specify the image size.
Click and drag the blue dots at the corners of the frame surrounding the image to resize the image.
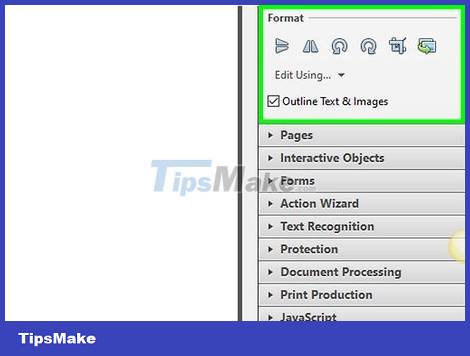
Use the "OBJECTS" (Object) tool to edit photos and other objects. Select the object that you want to edit, and use the following tools to edit the object:
Click the two triangles to the right to rotate the image up and down the horizontal axis.
Click the two upward triangles to flip the photo from side to side along the vertical axis.
Click the selection box next to the icon of two boxes next to a line to align the objects on the page together.
Click the counterclockwise rotation arrow icon to rotate the object to the left.
Click the clockwise rotate arrow icon to rotate the object to the right.
Click the overlapping photos icon to replace the photo with another photo.
Click the overlapping squares icon to change the object's layout relative to the text and other objects.
Note, you cannot edit every element in the PDF file.
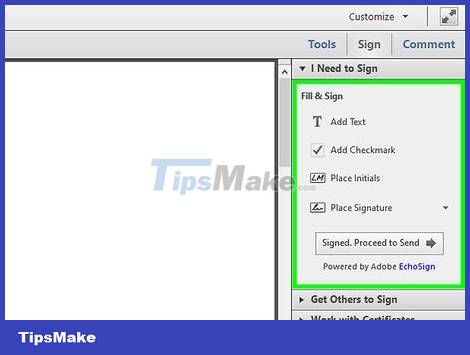
Click Fill & Sign to add a signature to the PDF file. It's the pencil icon next to the purple one in the menu bar on the right. Use the tools at the top of the page to enter a signature, add a checkmark, or click Sign to create or add an existing signature.
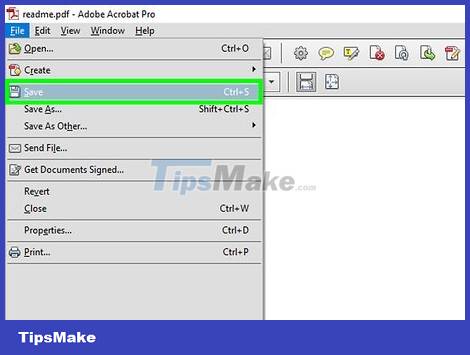
Save the PDF file in the following way:
Click File.
Click Save.
Use Microsoft Word 2013 or 2016
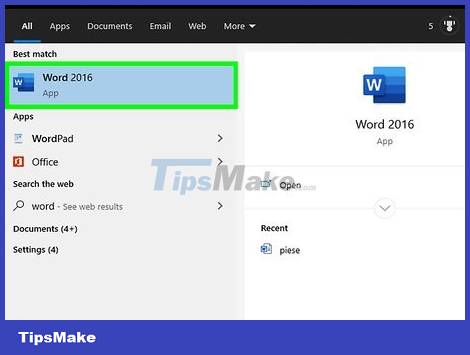
Open Microsoft Word. You'll click on the blue app that contains or is shaped like the letter W.
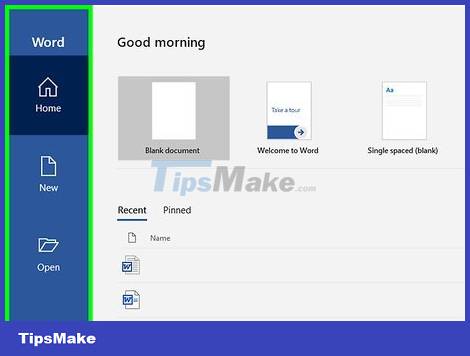
Open the PDF file in Word. The required file will be converted into an editable Word document. Follow these steps to open a PDF file in Word:
Click File in the menu bar at the top of the screen.
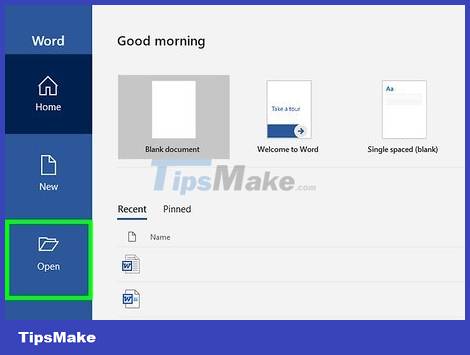
Click Open.
Select the PDF file you want to convert to Word.
Click Open.
Select OK.
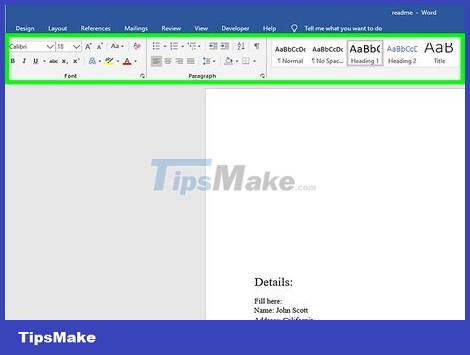
Edit the file like you would a regular Word document.
Similar to any other way of converting PDF files, the converted file will be different from the original text and requires some additional manual editing.