How to customize zsh prompt in macOS Terminal
Whether you want zsh Prompt to use a different color, show additional details, or adopt a minimalist look to make the most of space, macOS lets you do it. Learn how to customize the zsh prompt in Terminal to make it stand out regardless of your platform.
Basics of zsh prompt
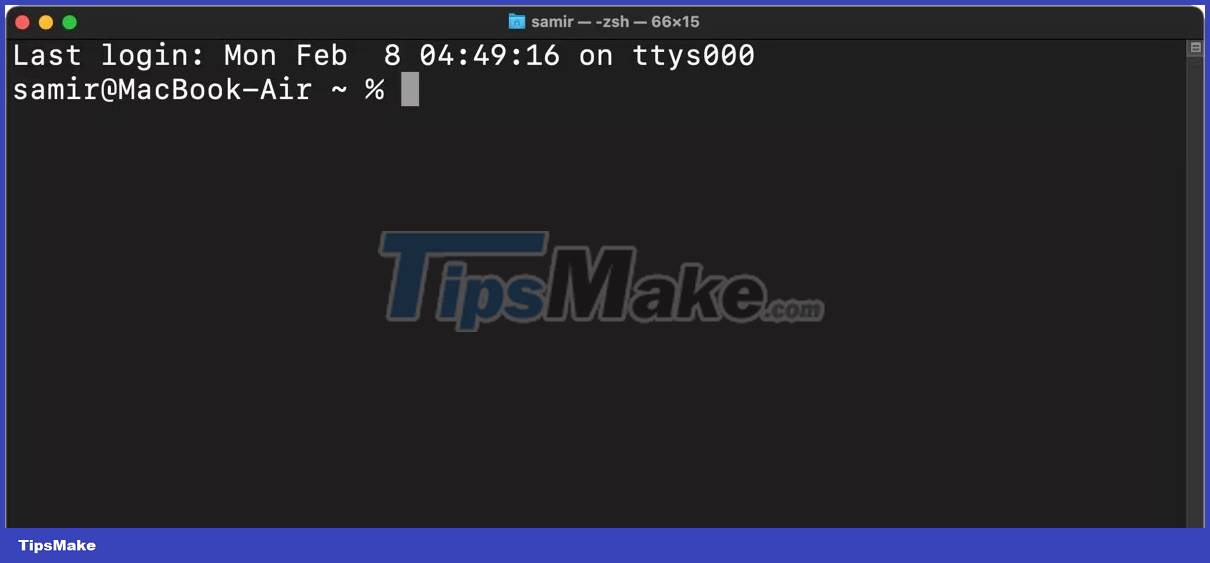
When you open the Terminal app on your Mac, it displays some useful information, like your last login and command prompt. By default, the prompt usually looks like this:
Last login: Wed Feb 3 22:00:40 on console alvin@MacBook-Air ~ %
zsh Prompt displays a text string that includes your username and computer model, such as MacBook Air, MacBook Pro, Mac mini, etc. The tilde (~) indicates the location of the prompt in the home directory.

If you navigate to another folder in your file system via Terminal, the name of the current folder will be displayed instead of the tilde.
Create a Z Shell configuration to store all settings
Usually, you have to tinker with system files to change the default interface. That's because macOS updates reset all system files to default and you'll lose all the changes you made. So, you can create a specific settings file (called dotfile) for your zsh configuration to store all the changes and settings you want in the zsh prompt.
By default, you won't find this dotfile on macOS, so you'll have to create one. You should create a new .zshrc configuration to store all the settings, such as the appearance and behavior of the zsh prompt. Here's how to create a zsh configuration (dotfile):
1. Open the Terminal application.
2. Enter the following command and press the Return key:
touch ~/.zshrc
Note: The touch command will only create the .zshrc configuration file if it does not already exist. If it already exists, the command will do nothing.
That will create a .zshrc configuration in the user account's home directory. You can see it in the /User// path in Finder if you have enabled viewing hidden system files on your Mac.
The zsh configuration will then be available to non-login interactive shells every time you launch Terminal. However, it will only be used for the login shell if other login-specific files such as .zprofile and .zlogin are not present.
Customize zsh Prompt in Terminal
Typically, the default zsh prompt carries information such as the user name, host name, and starting location in the user's home directory. These details are stored in the zsh shell file system at /etc/zshrc:
PS1="%n@%m %1~ %#"
In this variable string:
- %n is your account username.
- %m is your Mac model name.
- %1~ means the current working directory path, where ~ removes the $HOME directory location.
- %# means the prompt will show # if the shell is running with (admin) privileges and % otherwise.
To make any changes to the default zsh prompt, you will have to add the relevant values so that the prompt appears different from the default.
Open Terminal, type the following command and press Return:
nano ~/.zshrc
If the .zshrc configuration file already exists, it will likely not be empty. However, if it doesn't exist when you run the touch command above then it will be empty. You can add a new line with the text PROMPT='.' or PS1='.' and include the relevant values in ellipsis.
For simple modifications to the zsh prompt, you can enter these values into the .zshrc configuration:
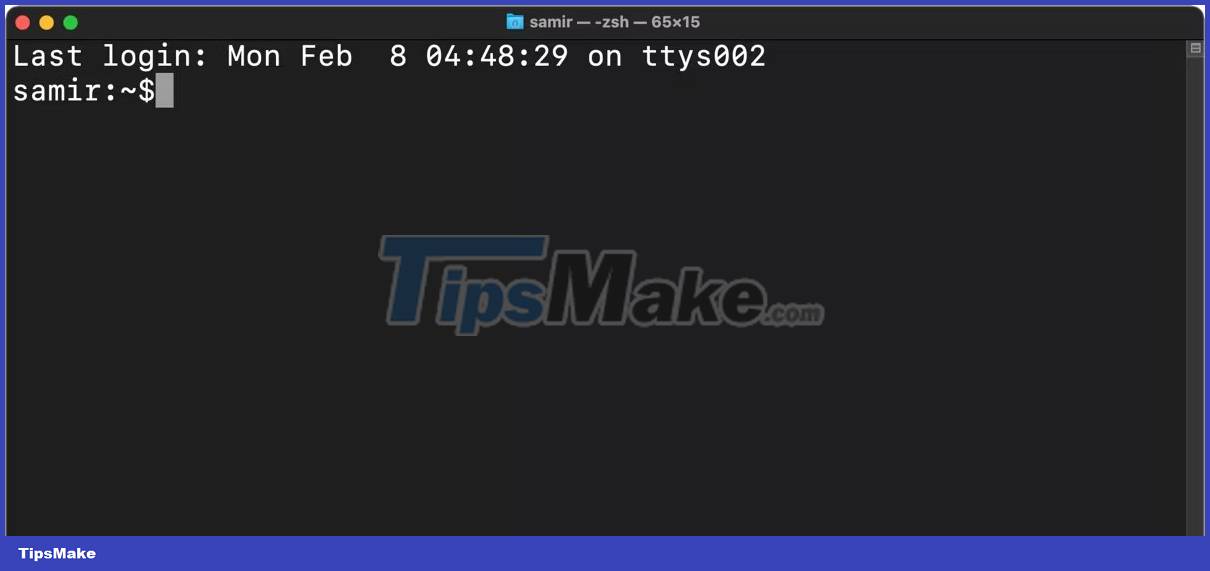
PROMPT='%n:~$'
Press Ctrl + O to confirm making those changes to the file, then press Ctrl + X to exit the Nano editor.

Open a new Terminal window by pressing Cmd + T to confirm and see the changes you just made. Your new zsh prompt will display your username, your Mac's home directory, and a $ symbol at the end. You can add space in the above PROMPT variable between %n, ~ and $ if you like spaced variables in Terminal.
If you want a custom username, replace %n with your preferred choice. Here is an example:
PROMPT='customusername~$'
Now, if you open a new Terminal window, you'll see the following:

If you want to manually change any other parameters, you can do so by replacing the default variables with the format in the PS1 variable above. You can add or remove information from the zsh prompt to suit your preferences.
If this sounds too complicated, use a site like Zsh Prompt Generator to help you customize your Z shell.
Add date and time to zsh prompt
In addition to the username, you can add the current date or time so you don't have to look away from the active Terminal window to check that information.
Launch Terminal and open .zshrc configuration:
nano ~/.zshrc
To include a date in the reminder, you can use %D to have the date appear in yy-mm-dd format, or %W to have the date appear in mm/dd/yy format. Then a new prompt will appear like this:
PROMPT='%n:%W:~$'

Tip: The article used a colon (:) in the PROMPT variable above to add visual separation, but you can use a space or anything else. For example, use the greater than sign (>) to separate the time and current directory.
If you want to include the system time in the zsh prompt, add %T for the current time in 24-hour format, %t for the time to appear in 12-hour format, or use %* to display the time in 24-hour format with seconds.
PROMPT='%n@%T>~$'

Display date and time to the right of zsh prompt
To display information to the right of the zsh prompt, you need to add the RPROMPT variable to the zshrc file. For example, to add a date and time, enter the following:
RPROMPT='%D @ %T'
Your prompt will now look like this:

Add color to text in zsh prompt
In addition to modifying the Terminal app with color, you can add some color to the text for your zsh profile on Mac to get a nice look. Launch Terminal and open .zshrc configuration:
nano ~/.zshrc
Z shell supports colors and shades of gray for reminder text to complement the background. You can choose the foreground (text) color from the following choices: Black, white, yellow, green, red, blue, cyan, and magenta. Here's how to use them:
PROMPT='%F{cyan}%n%f:~$' 
If you want to select a specific zsh color, you can choose from the 256 8-bit colors that Terminal supports. Here's how to use the numerical values of colors:
PROMPT='%F{51}%n%f:~$' You need to set the default foreground color variables %F and %f between the relevant text you want to color.
Add visual effects in zsh prompt
If coloring the prompt's text isn't enough, you can highlight your zsh prompt to make it stand out among the wall of text. To start, you can bold the zsh prompt:
PROMPT='%B%F{51}%n%f%b:~$' Adding %B to the beginning and placing %b at the end in the middle of the relevant text will make it bold.

Similarly, you can put %S at the beginning and %s at the end to highlight text. The highlight will be the same color you chose to appear between the %S and %s variables.
PROMPT='%S%F{51}%n%f%s:~$' 
You can also underline zsh prompt text. To add an underline to the prompt, you can add the variable %U at the beginning and %u at the end of the relevant text.
PROMPT='%U%F{51}%n%f%u:~$' 
Remove last login details from zsh prompt
Hiding or disabling the top line revealing the last login time in the Terminal application can help your zsh prompt look clearer. You can use the following command to hide that information:
touch ~/.hushlogin
Next time you open Terminal, you won't see anything above the zsh prompt.
Reset zsh settings
If you need a fresh start, you can do so by setting the PROMPT or PS1 variable to its default value:
PROMPT="%n@%m %1~ %#"
If you added information to the right of the zsh prompt using RPROMPT, remove that information from .zshrc.
Additionally, you can safely delete the PROMPT/PS1 and RPROMPT variables in the .zshrc file. Don't worry, because the settings in the .zshrc file only apply to the current user configuration. If you delete both, the default settings stored in the Z shell's file system at /etc/zshrc will be used.
Now that you have the full details on how to customize the zsh prompt, experiment a bit and make it your own. You can bold, underline, shorten and even put more information in there. And if you're not happy with the changes, you can always quickly revert to the default look.