How to Create Steampunk Photography Using GIMP
Steampunk is a throwback (or perhaps a throw forward) to a time or a fictional setting where steam power drives the world. Think of Victorian era England mixed with science. fiction.https://en.wikipedia.org/wiki/Steampunk In terms of...
Method 1 of 2:
Using Pre-Built Effects
-
 Pick out a photo. A photo of anything steam-powered is appropriate, of course, but you can also play with images of gears, airships, hot air balloons, and anything mixing Victorian elements with mechanical technology.
 -
 Install GIMP if you haven't already.
 -
 Apply the Old Photo filter (Filters > Décor > Old Photo). This border size has been decreased a bit (the default value was a bit too large for the image).
- Decide if you want to let Defocus on after reading the next few steps. In this example, it was left on, as it is the default.

- And instantly we have an old looking photo.

- You can leave it as it, but if what you want is a steampunk image, read on.
- Decide if you want to let Defocus on after reading the next few steps. In this example, it was left on, as it is the default.
-
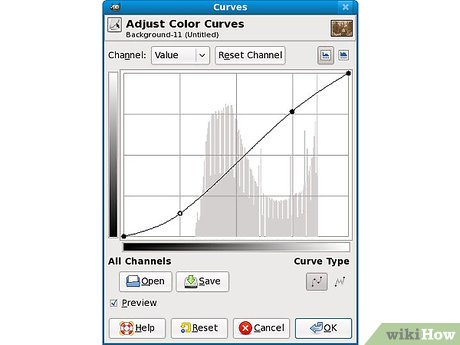
 Adjust the curves. Adjust the color curves to make it more vivid.
 -
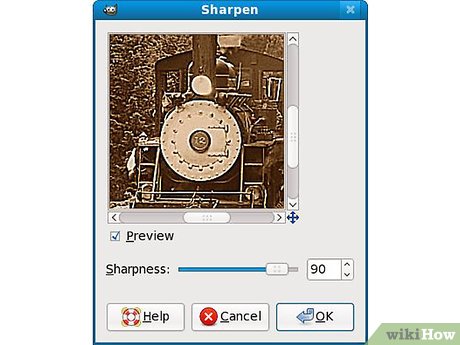
 Sharpen the image. The defocus option in applying the filter was a nice touch in making the photo look old, but you want to experiment with taking it into the opposite direction and apply a heavy sharpen.
 -
 Add a few coffee stains (Filters > Décor > Coffee Stain) to the photo (accidents happen with old photos, after all). The stains are drawn randomly, so try a few times until you get something you like.
 -
 Here's the final result, which we obtained only with pre-built effects.
Method 2 of 2:
Beyond the Basics
-
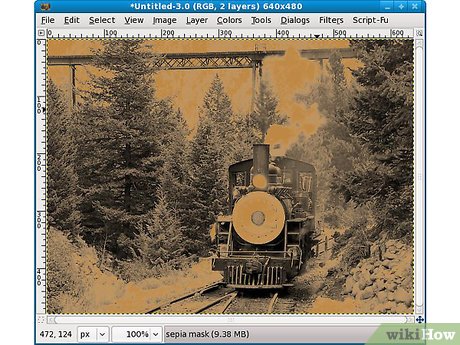
 Start with the original photo. Sure, applying the sepia effect automatically was easy, but with manual control we can get something much better, so let's redo that step manually.
 -
 Turn it into black and white (a quick way is to desaturate it - Colors > Desaturate, but you can also use convert to grayscale and then back to RGB).
 -
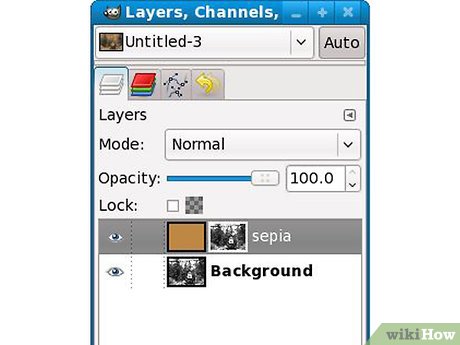
 Select a light brown as foreground (painting) color, add a new layer, fill it with that light brown.
- Optionally rename the layer "sepia" to help you identify it.

- Optionally rename the layer "sepia" to help you identify it.
-
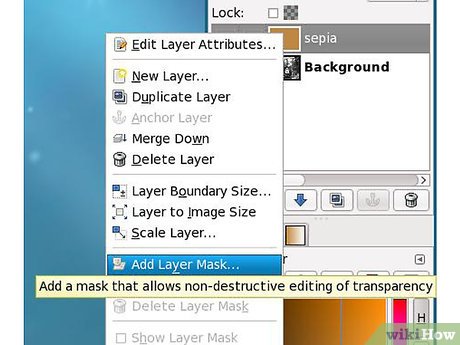
 Add a Layer Mask to the brown layer and leave it white (full opacity).
 -
 Now go to the background (photo) layer, select everything, go back to the sepia layer, select its mask and paste (paste into the mask, not into the image layer).
 -
 Anchor the selection.
- The result will look funny, but do not get scared, it's ok.

- The result will look funny, but do not get scared, it's ok.
-
 Just change the layer mode from "Normal" to "Color".
- And you will have a good looking sepia image.

- And you will have a good looking sepia image.
- Merge the layers.
-
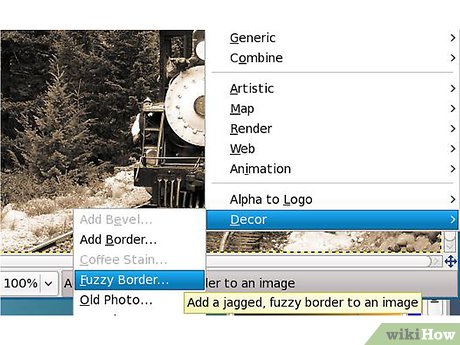
 Add a border. Use the Fuzzy Border filter (Filters > Décor > Fuzzy Border).
- Take care to select a good color for it (use the color picker and take a sample from the picture) and a good size.

- And the result is something like this.

- Take care to select a good color for it (use the color picker and take a sample from the picture) and a good size.
-
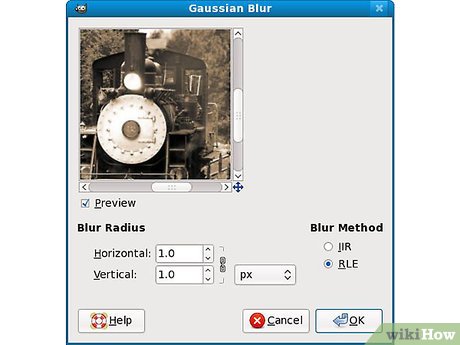
 If you want to defocus, add a little Gaussian Blur or if you want to go the opposite way, just sharpen it.
 -
 You can also play with the Color Curves.











 How to Make a Fake ID
  The truth is full of surprises behind the legendary background image of Windows XP
  How to adjust black and white artwork on iPhone
  How to get the Facebook post id
  50+ best Facebook cover photos
  How to extract audio from Live Photo on iPhone