How to create professional presentations in Canva
Today, there are many options for creating presentations at work, from extremely familiar tools like Microsoft PowerPoint to relatively new names like Google Slides. Besides, there is another platform that you can use to create a presentation is Canva.
As a template design website where you can create beautiful documents, Canva performs simple presentation tasks like Google Slides (sometimes even simpler). This is how to design a presentation with Canva.
Instructions for creating presentations with Canva
- Step 1: Launch Canva
- Step 2: Select a page design and change the text section
- Step 3: Adjust visual elements
- Step 4: Add page notes
- Step 5: Add a new page
- Step 6: Add chart
- Step 7: Check the presentation and add transitions
- Step 8: Download the presentation
Step 1: Launch Canva

If you don't have a Canva account, create a new one. If you already have an account, log in and go to your home page.
In the Create a design section , click Presentation.
You can also find Presentation in the search bar, underneath the section with Design anything .
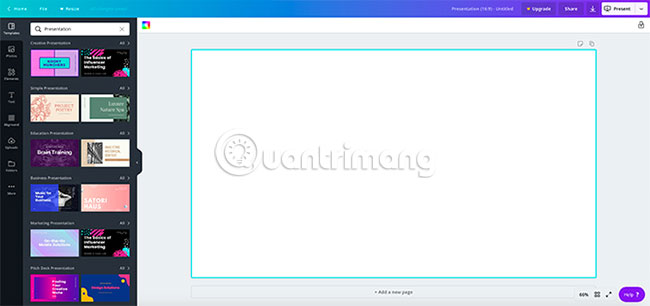
After clicking Presentation, you will be taken to an empty workspace. Like all Canva workspaces, you'll see a collection of pre-created templates along the left side.
- Template usage in Canva
If you want to create a presentation from scratch, you can also do it.TipsMake.com has a great tutorial on how to create a resume from scratch using Canva and the principles of designing presentations are the same.
If you are creating a presentation for your work, but don't have a lot of time, it's probably best to choose an existing template.
Canva divides these templates based on the purpose. For this tutorial, we will choose the Professional Presentation section, because it has templates that are very suitable for the purpose of the article. Choose the one you like.
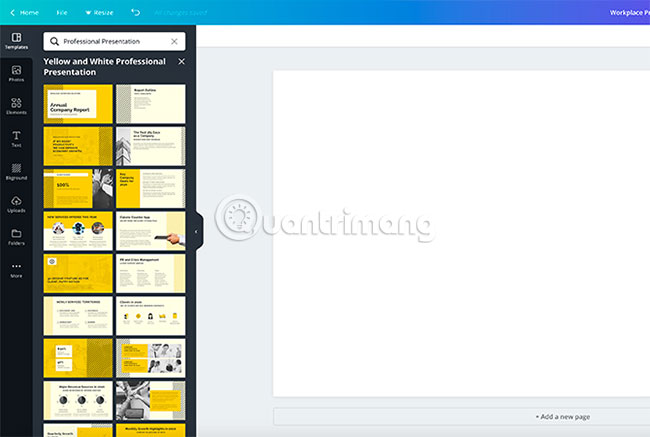
When clicking on the design, you will see a series of different pages displayed along the sidebar. Each of these pages has a slightly different layout, but they all use the same elements and colors.
Step 2: Select a page design and change the text section
The great thing about Canva is that there is no order to sort these individual pages. You can use one or several designs multiple times or never use them.
To apply a design to the first page, simply click on the blank workspace for the page to be activated. Then click on one of the pre-created designs on the left. Canva will automatically load it into the page and you can start modifying it.
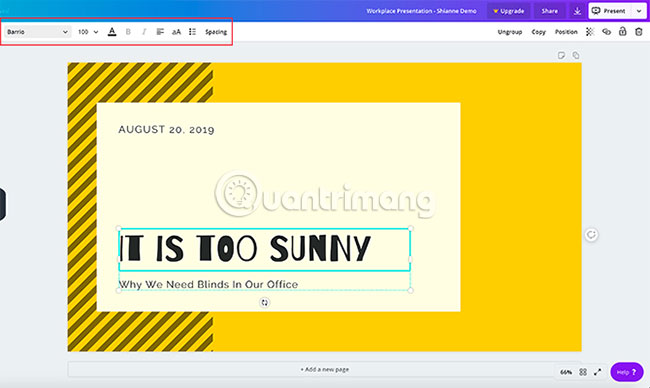
For this tutorial, we will choose a design that works well as a title page. By clicking on the individual text boxes on this page, you can delete the text in the placeholder and enter your own content.
If you want to adjust the size, color and spacing, you can do so in the Text editing box (highlighted in red in the picture).
Step 3: Adjust visual elements
Having the right text (but not greedily stuffing too much content) is one of the most important things you can consider, when incorporating elements of your presentation. Ensuring proper visual elements are also really important.
In Canva, you can keep or delete many graphic elements you want. You can also move them to another location if needed.
To delete an element, click it to show the bounding box, then click Delete.
To move an element, click and drag it to a new position.
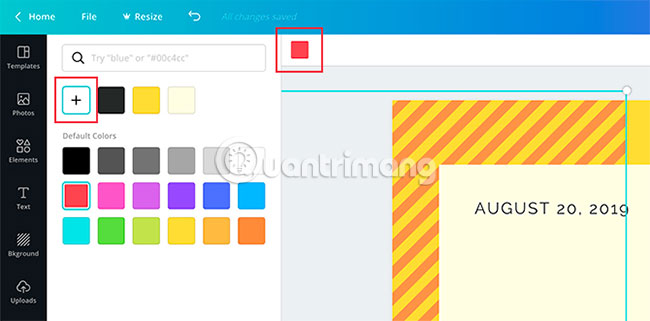
If you want to change the color of an element, go to the color swatch icon at the top of the screen. You can select a template from the palette or get a custom color with the Color Picker tool by clicking on + .
Step 4: Add page notes
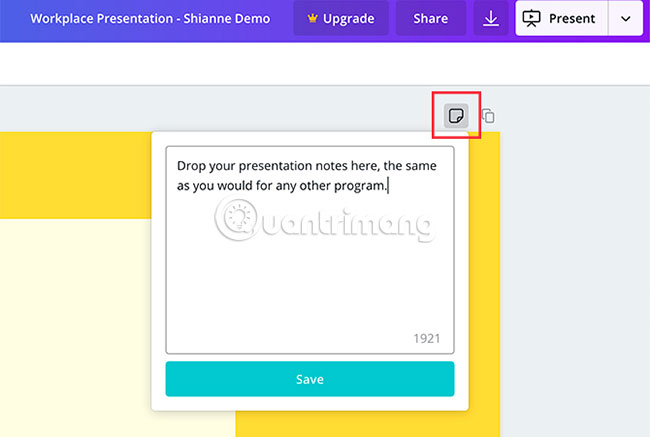
One of the last things you might want to add to your page is a presentation note. Of course, there is not necessarily a note, but they can help you remember what you will say, especially if you present to a group.
To add notes in Canva, go to the top right corner of the page and click the Add notes icon. When you do so, another pop-up box will appear.
Start typing your notes in the box. Of course, there is a limit to the number of words entered, but perhaps your content will not exceed this level. When you're done, click Save.
Step 5: Add a new page

The common point of slideshow is that you can display a series of pages. For example, if you only have one page, technically it will be a poster, so chances are you'll want more pages.
After you finish your first page, go to the end of the workspace and click + Add a new page . Canva will add another page to your presentation.
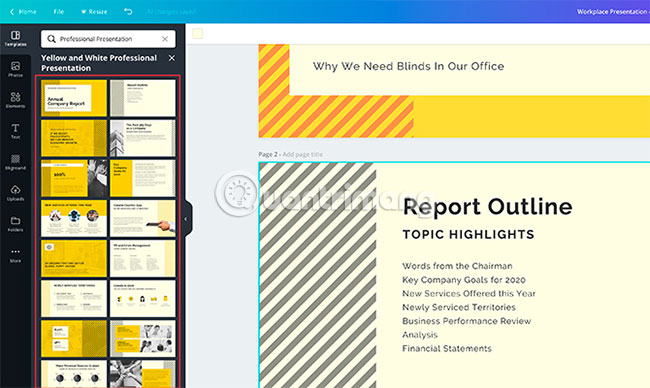
If you want to move this page to another page, go to the page design on the left side of the screen. Click on the option you want.
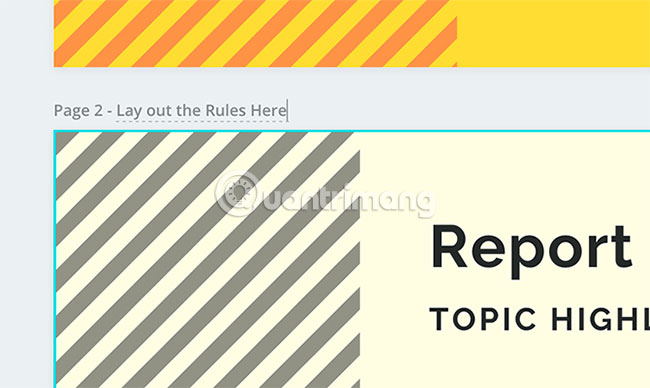
When creating multiple pages, you may want to label them to keep the workspace organized.
To label pages, go to the top left corner of the working page, where you see the dotted line. Click on it and start typing a new title.
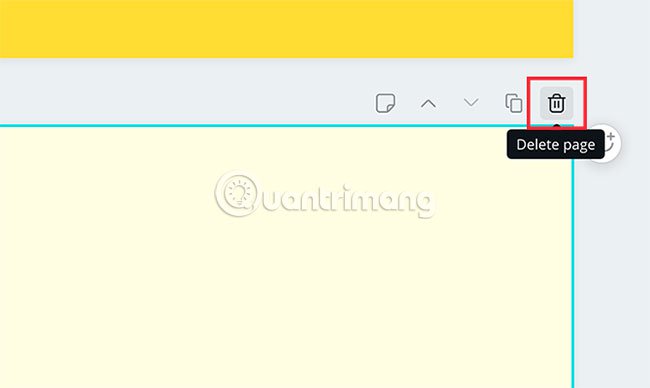
If you are not happy with this new page, you can delete the entire page. In the top right corner of the page, you will see the trash icon. Click it.
If you accidentally delete or change your mind after deleting it, don't worry! Just use the Undo button in the top left corner of the workspace.
Step 6: Add chart
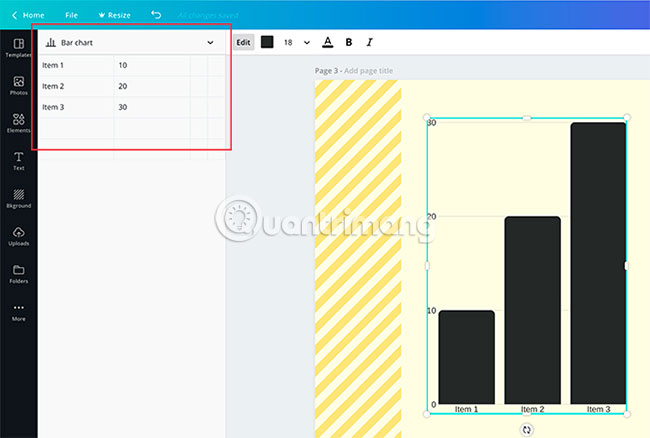
One of the best features in Canva is the ability to easily insert charts into presentations. Then it allows you to customize the chart according to your needs.
To add a chart, find a page design with a chart in it. When that page is applied to your presentation, double-click the chart inside the page so that its bounding box lights up.
In the left toolbar, you will see the chart control functions appear. At the top of the control functions is the drop-down menu that shows you the type of chart to use. Below that is a list of items, along with their value.
To change the names of these items, click on each individual box and start typing a new name. To change the values, click on the corresponding box and insert the appropriate number.
Every time you change these values, Canva will automatically update your chart in real time, so you can see how it looks.
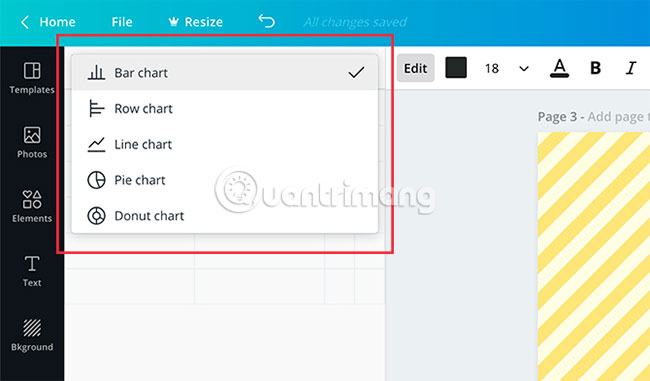
If you want to change the type of chart you're using, click the drop-down menu and select another chart. Canva will automatically change the appearance of the chart, while maintaining its value.
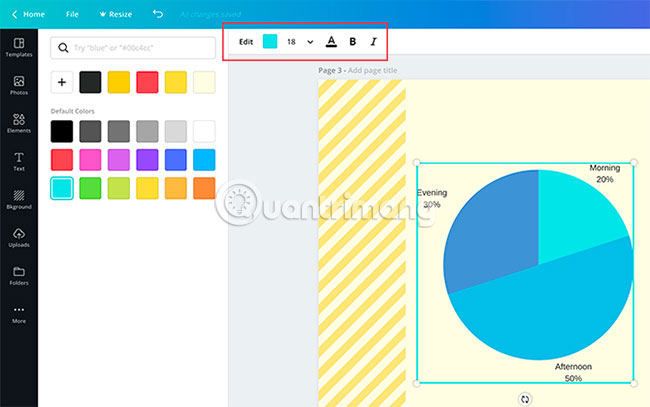
Finally, you can also adjust the color of the chart as you like.
Make sure your chart limit box is active, then go to Edit controls in the upper left corner of the screen. Start experimenting with them to get the right effect.
Step 7: Check the presentation and add transitions
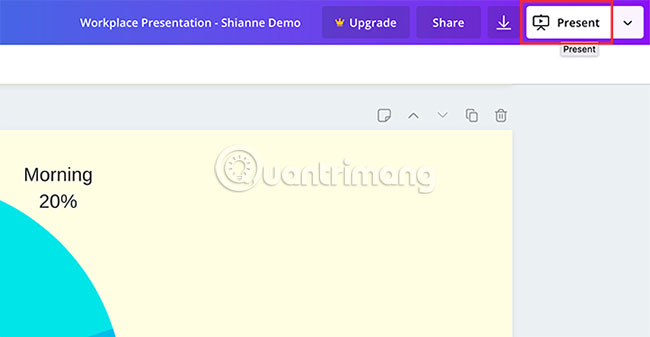
When you finish everything, you will want to check the presentation for errors. You may also want to add transitions between pages.
To add transitions, go to the Present button in the upper right corner of the screen. Click on that icon.
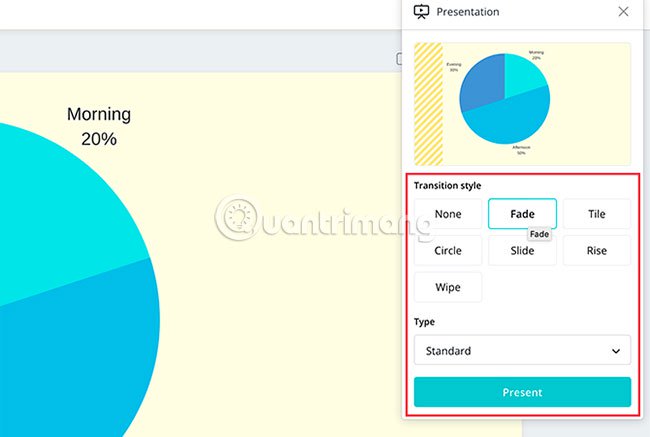
When you click on that icon, Canva will open a drop-down menu where you can choose the type of Transition you want.
After selecting the Transition type , you can also select Type. Type allows you to control the presentation speed.
When you have completed all these tasks, click on the green Present button to view the slideshow shown. It will take you to the full screen version of the presentation, where you can control the error.
When you have finished checking the presentation to find the error, press the Escape key to exit the window. Make any changes you need, then complete the design.
Step 8: Download the presentation
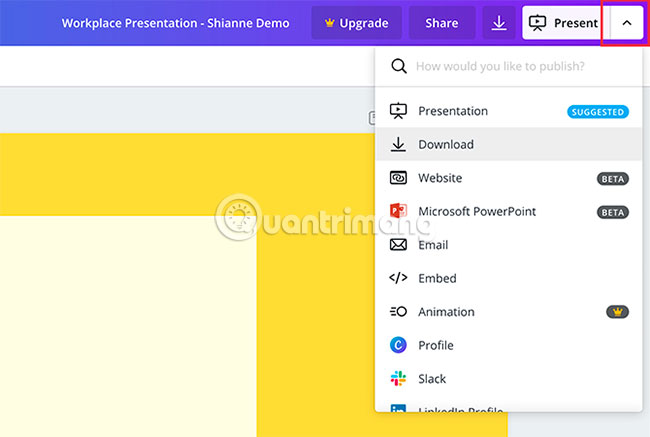
After the presentation is over, you are ready to download it. To download a presentation or use it in another format, click the drop-down menu next to the Present button .
Most of these options are free to use with a basic account, but for advanced options, you'll see a golden crown icon next to it. In addition, there are many options, from downloading files, emailing colleagues or embedding files on other platforms.
You have completed all necessary operations!
Now, you have seen how to combine a presentation with Canva. You can start exploring in your own way. There are a lot of customization options, so the best way is to learn the settings yourself.
If you are looking for other things that can be designed with Canva, please refer to the following articles:
- How to create leaflets using Canva
- How to design iPhone logos and cards with Canva
- 10 things you can create with Canva
Hope you are succesful.