Table of Contents
This updated guide explains how to Create Exams on Microsoft Forms through clear steps, practical examples, and important checks that help prevent common errors.
Instructions for Creating Online Exams on Microsoft Forms
Step 1:
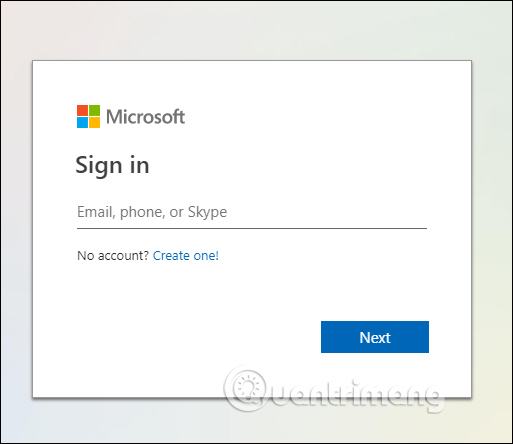
First, the teachers go to the link below and log in with the Microsoft account or Office 365 account provided by the school.
- Access Microsoft Forms
Step 2:
In the next interface, click New Quiz to create a new test for students.

Click Next and Untitled quiz to start creating the quiz.

Step 3:
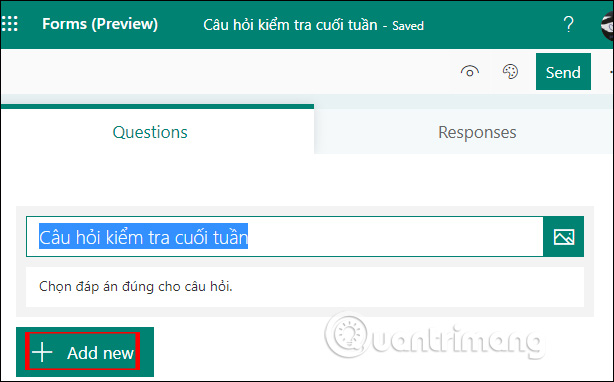
In this new interface, teachers enter the subject name of a subject question , click the image icon if you may need to upload photos, enter a description of the test if necessary and click Add new to add a sentence type. ask.
There will be many types such as choice questions, questions about dates, ranking questions. Each question will have different input.
Step 4:
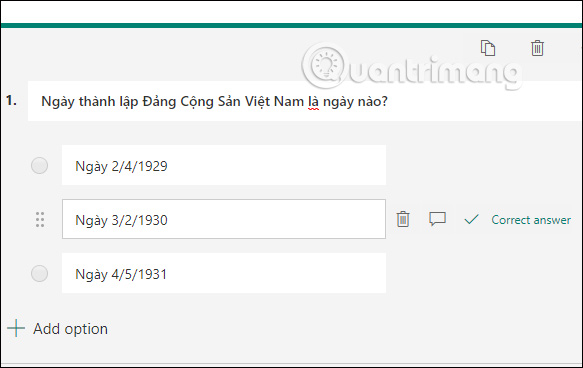
For example, create a question select the answer , enter a question and answer options, and then choose the correct answer for the question by checking the question. You can move the options and click the Add option to add options.
Step 5:
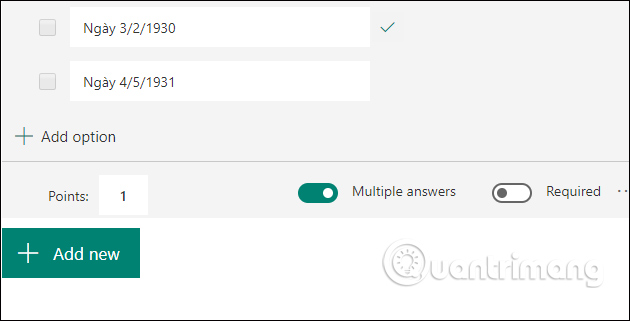
Next, go to the Point section and enter the correct score . If the question has many answers, then you activate Multiple answers and select the correct option in the question you are entering. Require to force students to answer the question.
Step 6:
Click outside to save the question, then click Add new to add a new question. The teachers continue to enter other questions for the test.
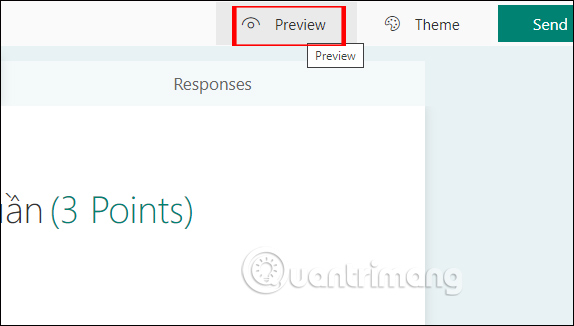
After you finish, click Preview in the upper corner to preview how the multiple choice test interface will look, including the interface on computers and phones. Click Back to return to the interface.
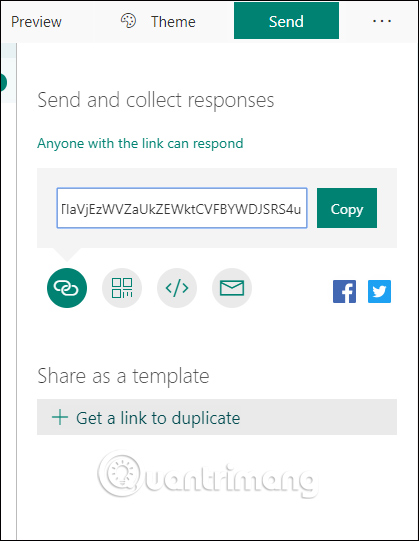
Then click Send to proceed to send the test to the student via link or via email. Students log into the account, answer the question and click Submit to submit. When the answer is completed, you can review immediately the results you choose right or wrong
Step 7:
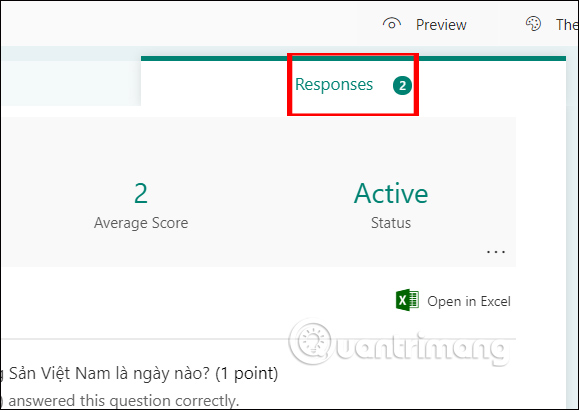
When students answer and send the test about the teacher, they will see it in Responses . Here the teachers can see students' answers.
FAQ
What is the easiest way to Create Exams on Microsoft Forms?
Start with the requirements in this guide, then follow each step in order. Check the result after every major change so problems are easier to identify.
Can beginners follow these instructions?
Yes. The process is organized into practical steps, and you can repeat any step before moving forward.
What should I check if the method does not work?
Confirm your software or device version, permissions, settings, file format, and internet connection when the task depends on online services.
Related Articles
 How to Create Exams on Microsoft Teams: Step-by-Step Guide3 minutes read
 How to Using Microsoft Forms7 minutes read
 Guide to creating exams using AI on AutoExam5 minutes read
 How to Add Branches or Nested Questions in Google Forms4 minutes read
 How to Use Microsoft Forms to Create Professional Surveys9 minutes read
 Instructions on Creating Automated Exam Scoring Sheets Using Gemini1 minutes read
Reader Comments 0
Sign in with email or Google to join the discussion.