How to create a cover page in Google Docs
Designing a cover page in Google Docs does not have the same options available as when you design a cover page in Word, but users need to combine a lot of options together..
The cover page in Google Docs also has information like the title, author's name, and other essential details, depending on what type of document you're working on. Here are instructions for creating a cover page in Google Docs.
Instructions for creating a cover page in Google Docs
Step 1:
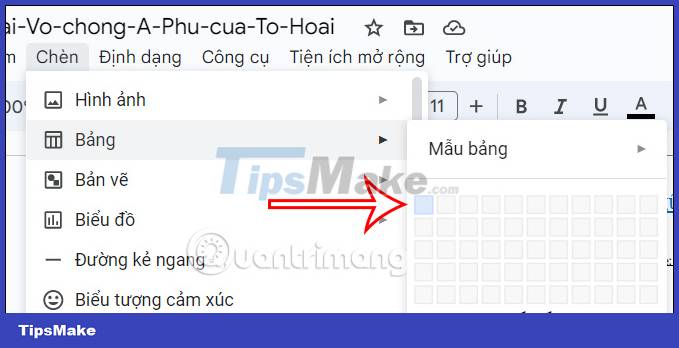
First we will have to create the cover border. You click Insert and then select Table in the displayed list.
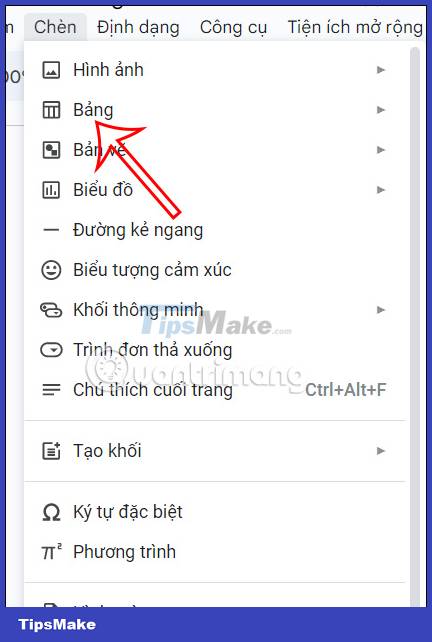
Then we select 1 square to form the cover border.
Step 2:
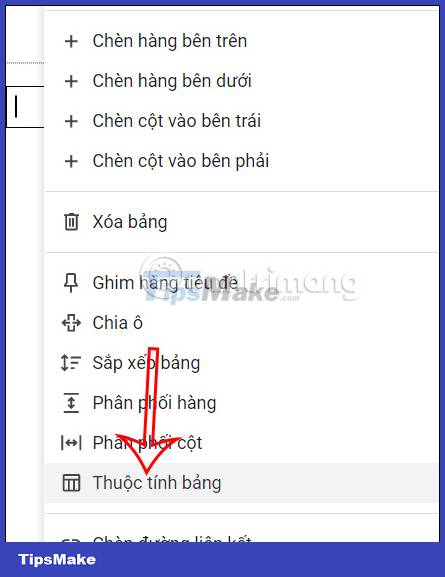
Once you have a table, right-click on the table and select Table Properties in the list displayed as shown.
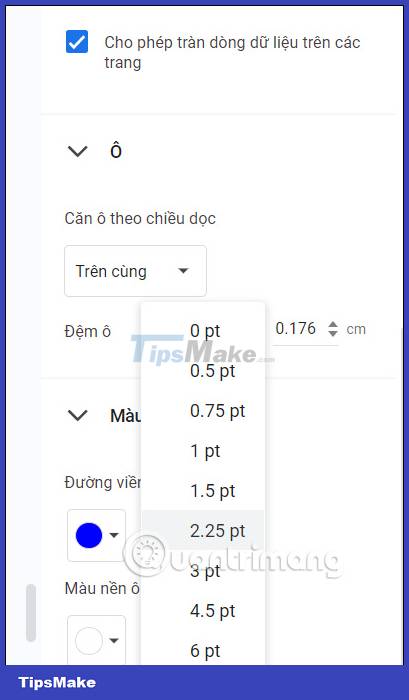
Looking to the right edge, the user will adjust the color and thickness for this border. You click on Color and then choose the thickness for the border and then choose the color for the border.
Step 3:
Now drag that table to the full length of the page , or to any position you want. So we have created a simple cover page in Google Docs with a cover border. Now you can insert icons into this border area to create the cover you like.

How to insert images and text on the cover of Google Docs
In case you want to insert an image on the cover page and write text, you need to use the drawing tool in Google Docs.
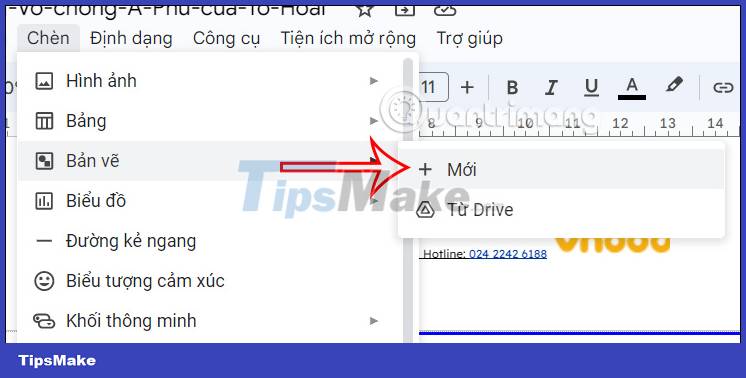
Step 1:
Click inside the border area. Click Insert , then select Drawing and click New to open the drawing interface on Docs.
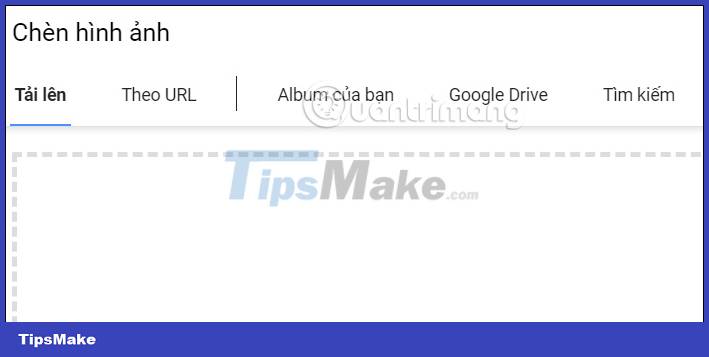
Step 2:
In the drawing interface, click on the image icon and then insert the image you want to create as the cover image. The user chooses the location of the image for us to upload to the drawing. You can find border templates for the cover.
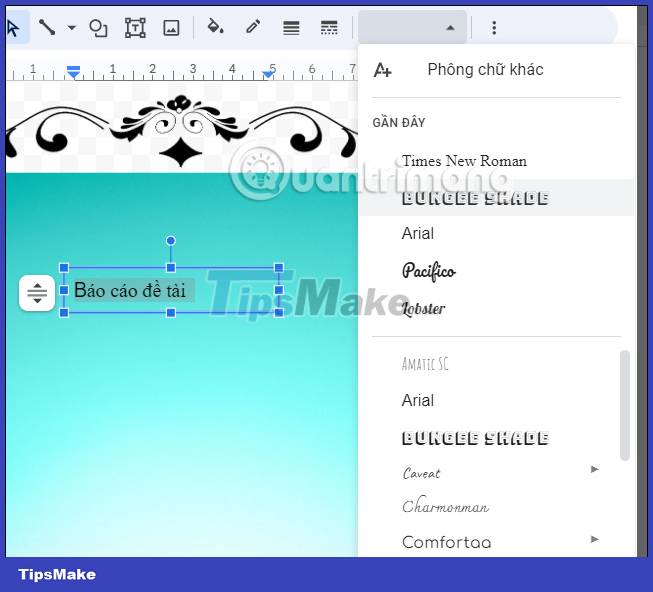
Step 3:
Next, the user clicks on the text box icon to proceed to write text on the image.
Or you can write text in the cover area. Then click Save and close to insert it in the cover page.
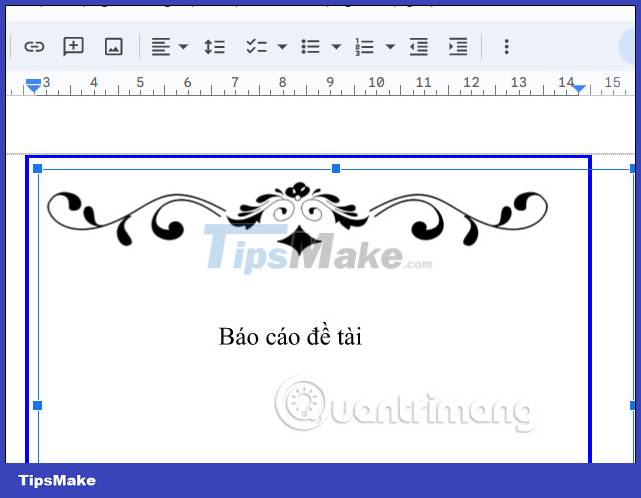
As a result we get the cover page in Google Docs as shown below.
In general, doing on Google Docs requires a lot of extra steps, not as simple as when you create a cover page in Word.