How to Create a Brochure Using Google Docs
You can access Google Docs for free and easily, this service is very useful for those who want to create brochures (brochures). There are also templates available on Docs for you to use. However, you can completely set up other formats to suit your needs. Use column, table, and text dialog boxes to customize your brochure. Let's start from step 1..
Document setup
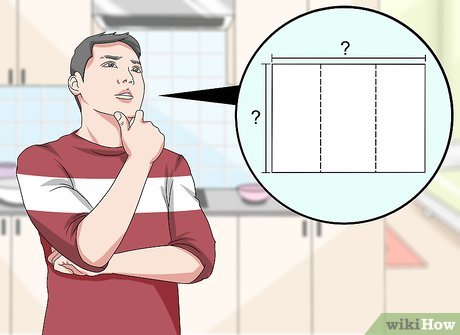
Decide on the look of the brochure. Brochures come in many shapes and sizes. Do you want to create a multi-page brochure the size of a letter or a leaflet the size of an envelope? Do you want to insert more text or more images? It's best to sketch before proceeding
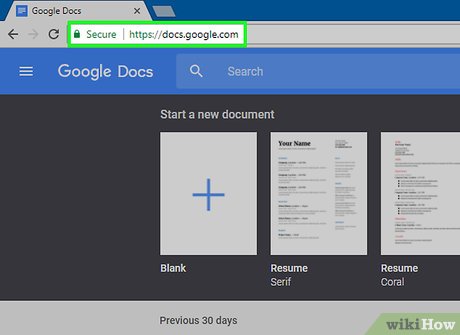
Visit http://docs.google.com in a Web browser.
Sign in with your Google address and password if required.
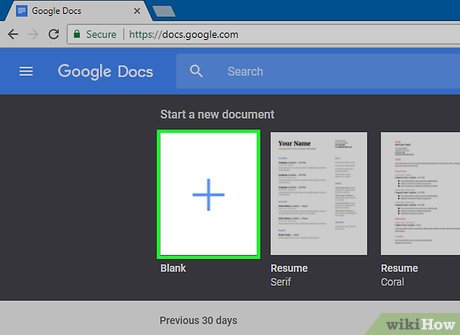
Click on the blue ➕ button. If you're in a "Blank" document, this button is in the upper left corner of the screen.
If you want to use Google's available templates instead of creating your own brochure, click on TEMPLATE GALLERY in the upper right corner of the window, scroll down to find the "Work" section and select the template you like.
If you don't see the template at the top of the window, click ≡ in the upper left corner of the screen, select Settings , and check Display recent templates on home screens .

Click "Untitled Document" in the top left corner of the screen.

Enter the brochure name.
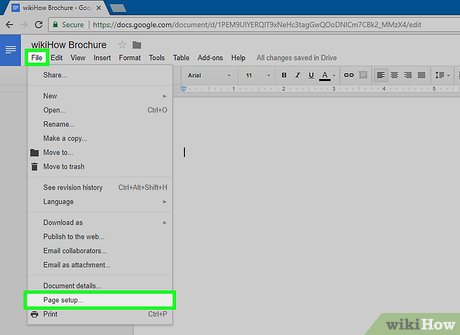
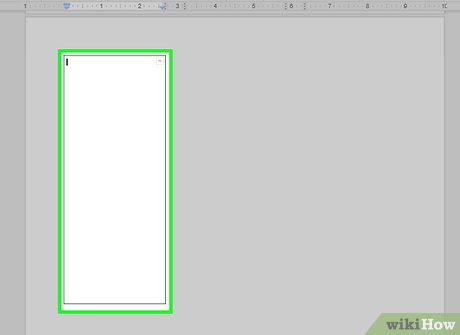
Click File on the toolbar and Page Setup … . This opens a dialog box that allows you to set page size, orientation, and alignment.
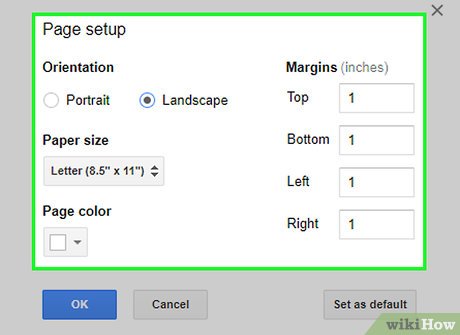
Adjust page setup. Edit the settings until you get a pleasing brochure.
For example, if you want to create a standard, 2-sided folding brochure, you must change the page orientation to "Landscape", page size to "Letter", and reduce the margin to 0.25", if set to -- 1 " then it would be a waste of space to fold the paper into thirds.
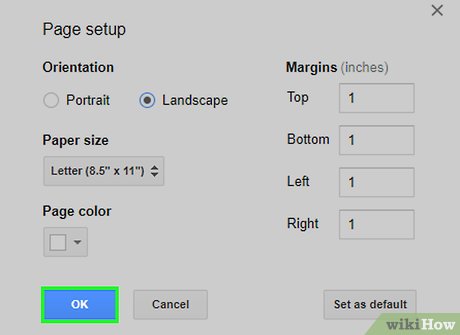
Click the OK button .
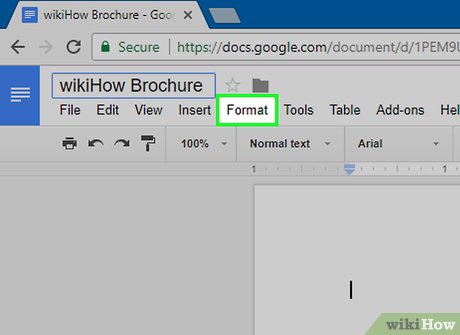
Click Format in the toolbar.
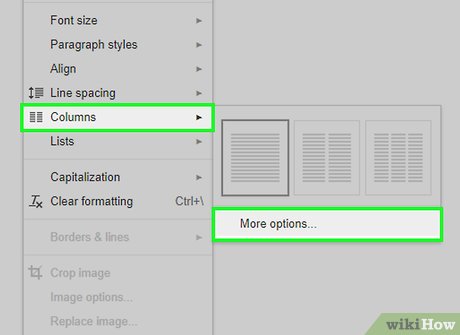
Click on Columns and More options… (More options… ). This opens a dialog box that sets the number of columns in the document and the space between them ("gutter(s)").
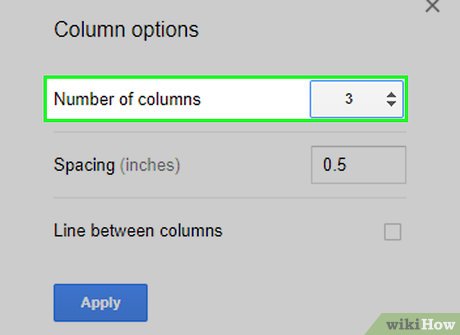
Set the number of columns. Adjust the parameters until you get the desired brochure.
Continuing with the tri-fold brochure example, you set the number of columns to 3 and the gutter to .5" -- when folded, each panel is aligned .25".
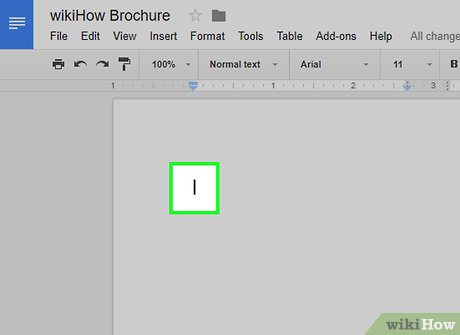
Click on the first row of the first column.
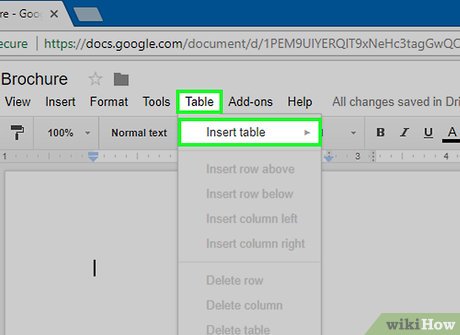
Click Table on the toolbar and select Insert Table .
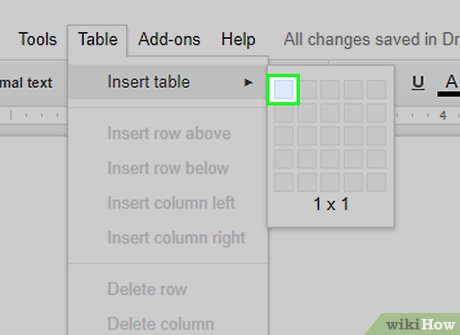
Click on the first square (1x1) in the drop-down menu.
Click on the table border and drag it to the bottom of the first column.
Repeat the above steps for each column in the brochure.
Create brochure covers
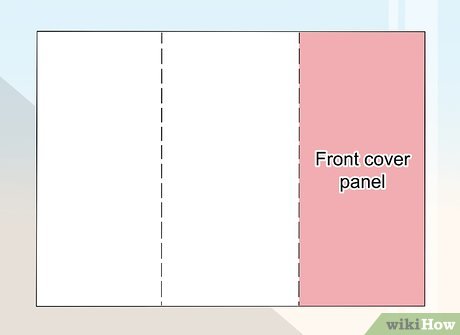
Open the front cover control panel. Due to the way 2-sided work is printed, the position of the front cover panel will depend on the number of pages or folds.
The front cover of a tri-fold brochure is the rightmost column of the first page.
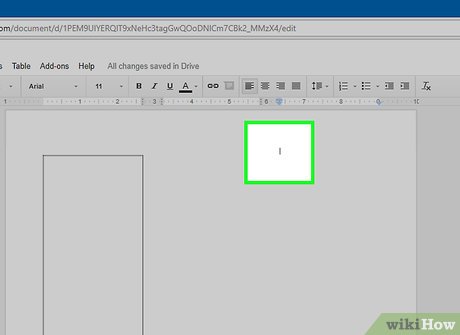
Click above the front cover panel.
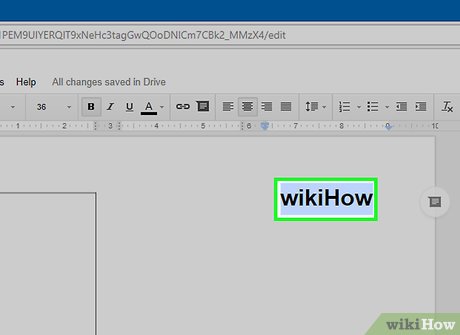
Enter a title for the brochure. The title is typical text, larger and bolder than the rest of the text. The cover title is usually the largest and boldest in the brochure. You should make the title catchy and include brochure information.
Use tools to adjust style (bold, italic, underline), color, size, and title alignment. Titles are usually centered.
Add cover photo. The cover photo is an important part that shows the content of the brochure, as well as attracts the attention of readers.
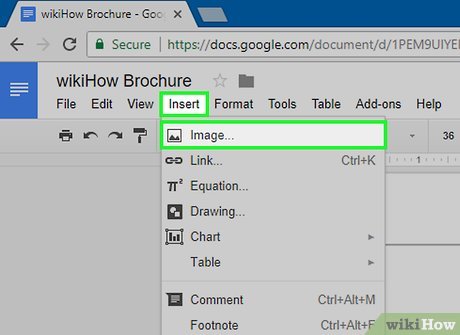
To add an image, click Insert on the toolbar, then select Image… .
Select or take a photo, then use your mouse or touchpad to move and resize it as appropriate.
Click on the surround option. Continuing with the folded brochure example, you want the text to wrap around the image, click Wrap text below the image you just inserted. If you select Break text , the text will display above and below the image. There are also other options, especially with the small panels of tri-fold brochures. If Inline is selected , the image will be pasted between the text, some brochures may have formatting errors.
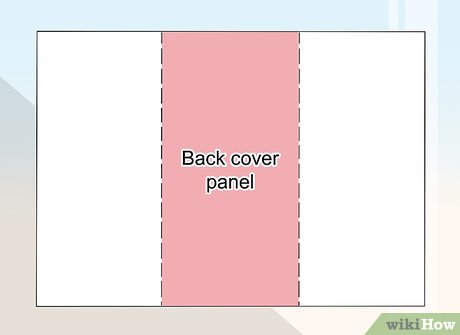
Open the back cover panel. Due to the way 2-sided work is printed, the position of the front cover panel will depend on the number of pages or folds.
The back cover of a tri-fold brochure is the middle column of the first page.
Click on the back cover panel.
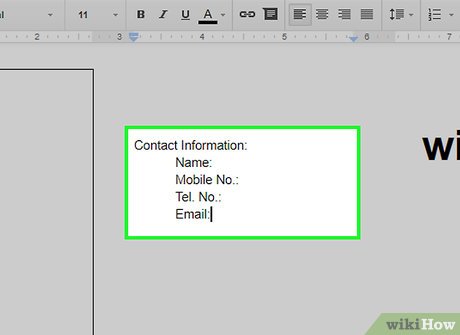
Add contact information. The back cover of a brochure often contains information about next steps or how to contact the organization publishing the brochure. Sometimes, the brochure is designed into a letter, which you can send without using an envelope.

Add photos. The photo on the back cover makes the brochure more eye-catching and attracts readers.
Open the inside control panel
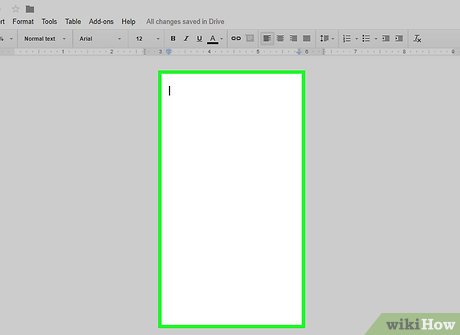
Click on the first panel inside. This is where you add text and images containing the content you want to show in the brochure.
In the folding brochure example, the panel might be the leftmost column on page two or the first page, since the reader will see 2 pages when opening the brochure.

Type or paste the brochure text into the dialog box.
Adjust text. You highlight text with your mouse pointer and use the tools at the top of the page.
The title above the article is often placed in bold or italic text, or uses a different font than the brochure content.
The font size in the body is usually 10 or 12. The title will have a larger font size.
Use the alignment button to align the text.
Content text in columns is usually left-aligned or justified on both sides.
Titles are usually aligned left, centered, or justified on both sides.

Add photos. Photos will emphasize the content conveyed in the text and make readers more interested in reading.
To add an image, click Insert on the toolbar, select Image… .
Select or take a photo, then use your mouse or touchpad to move and resize it accordingly.
Click on the surround option. Continuing with the folded brochure example, you want the text to wrap around the image, click Wrap text below the image you just inserted. If you select Break text , the text will display above and below the image. There are also other options, especially with the small panels of tri-fold brochures. If Inline is selected , the image will be pasted between the text, some brochures may have formatting errors.
Print or share files. When you're ready to print your brochure, click File in the toolbar and select Print . From the file menu, you can download the document in another format or email it to a printer or colleague.
Google Docs will automatically save the file.