How to Connect Time Capsule to Mac
This wikiHow teaches you how to connect and set up the AirPort Time Capsule to a Mac computer. The Time Capsule is a two-in-one device that acts as a Wi-Fi router and an external hard drive which automatically backs up all the computers on...
Table of Contents
Part 1 of 3:
Connecting Time Capsule to the Modem
-
 Connect an Ethernet cable to the Time Capsule. Use the provided Ethernet cable to connect to the WAN port on the Time Capsule.
 -
 Connect the Ethernet cable to the broadband modem or router. A typical broadband modem has four WAN ports on the back that you can connect an Ethernet cable too. Connect the other end of the Ethernet cable connected to your Time Capsule to the broadband modem.[2]
 -
 Plug the Time Capsule into a power outlet. Use the AC adapter to plug the Time Capsule into an open power outlet on the wall. Make sure you have a free outlet near your broadband modem to connect your Time Capsule.
- It's recommended that you plug the Time Capsule (and all your valued electronics) into a surge protector to prevent any damage in the event of an electrical surge.
Part 2 of 3:
Setting Up the Wireless Network
-
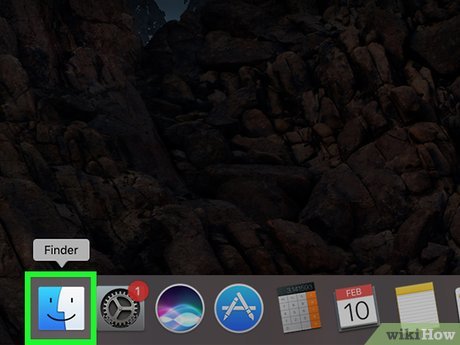 Open the Finderon your Mac. The Finder is the app that has a blue and white image with a smiley face. The Finder is used to browse files and applications on your Mac.
-
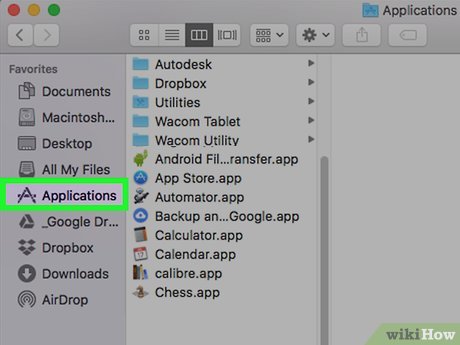 Click Applications. It's in the sidebar to the left in the Finder. This will display all the applications installed on your Mac.
 -
 Double-click the Utilities folder. It's the blue folder with the icon of a wrench and screwdriver on it at the bottom of the page. This is where all your Mac's system applications are stored.
 -
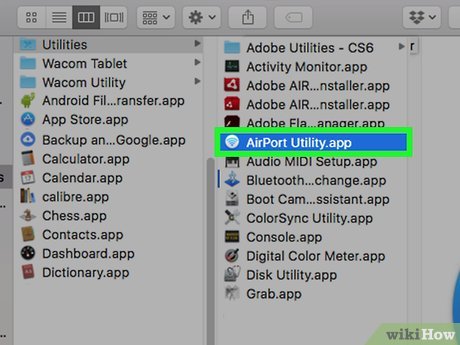 Double-click AirPort Utility. It's the app with a blue Wi-Fi symbol on a white background. It's located near the top of the page when displayed alphabetically.
 -
 Click Other wireless devices. It's in the upper-left corner of the AirPort Utility app.
 -
 Click AirPort Time Capsule. It's in the menu for Other wireless devices in AirPort Time Capsule. You may see six letters and numbers after "AirPort Time Capsule" like "fea88c" or something similar.
 -
 Select Create New Network and click Next. You will see a list of options when you click on the Time Capsule in AirPort Utility. Click the radial button next to "Create New Network" at the top of the list of options. Click "Next" when you are done.
 -
 Name the network. Click the text box next to "Network Name" and type a name for the network. You can name the network anything you want. You can name it your last name, or something clever.
 -
 Name the base station. Click the box next to "Base Station Name" and type a name. The base station is the name for the Time Capsule. Having a separate name for the Time Capsule is useful if you ever get another Time Capsule to expand your network.
 -
 Create a password. Use the text boxes next to "Network Password" and "Verify Password" to create a password. Make sure the password is identical for both boxes.
- To create a separate password for the Time Capsule, uncheck "Use a single password" This will give you two more boxes to create a password for the individual Time Capsule. This is useful if you have more than one Time Capsule and you want to create a password for a guest house or guest room.
-
 Click Next. It's in the lower-right corner of the AirPort Utility app.
 -
 Restart your modem. Now you will be asked to reboot your modem. Unplug it for about a minute and plug it back in and wait for it to fully restart.
 -
 Create a guest network (optional). If you wish to enable a guest network, check the checkbox next to "Enable guest network" and then type a name for the guest network. This allows guests to be able to access your network without being able to access all the computers on the network. If you don't want to have a guest network, don't click the checkbox.
 -
 Click Next. It's in the lower-right corner of the AirPort Utility app.
 -
 Enable diagnostics & usage data to be sent to Apple (optional). If you want your Time Capsule to send diagnostics and usage data to Apple, click the radial button next to "Send diagnostics & usage data to Apple". All data sent to Apple is anonymous. If you don't wish to send diagnostics and usage data to Apple, click the radial button next to "Don't Send".
 -
 Click Next. It's in the lower-right corner of the AirPort Utility app. AirPort Utility will now configure your network.
 -
 Click Done. You network setup is now complete.
Part 3 of 3:
Accessing the Time Capsule Data
-
 Click the Apple icon. It's in the menu bar in the upper-left corner of the screen.
-
 Click System Preferences…. This is where you access your system preferences applications.
 -
 Open Time Machine. Time Machine is the app that has a green icon that resembles a clock.
 -
 Check the checkbox for "Back Up Automatically". Click the checkbox next to "Back Up Automatically". This will ensure that your computer is backed up automatically so that you don't forget to backup your system.
 -
 Click Select Backup Disk. You will see a popup menu with all the Time Capsules connected to your network.
 -
 Select the Time Capsule. This will select the Time Capsule as your backup disk, and allow access the data portion of your Time Capsule.
Was this article helpful?
Your feedback helps us improve.
Related Articles
 Suggesting 5 best coffee capsule models for home and office7 minutes read
 The Little-Known Dark History of Time Capsules4 minutes read
 How to Clean a Nespresso Capsule Coffee Maker8 minutes read
 KDE Connect - Download the latest KDE Connect here3 minutes read
 A forgotten coding puzzle has a decoded 20-year life span6 minutes read
 How to Connect iPhone to Linux PC Using KDE Connect7 minutes read
Reader Comments 0
Sign in with email or Google to join the discussion.