Table of Contents
This updated guide explains how to Change Your Apple ID through clear steps, practical examples, and important checks that help prevent common errors.
Method 1 of 2:
Using a Web Browser
-
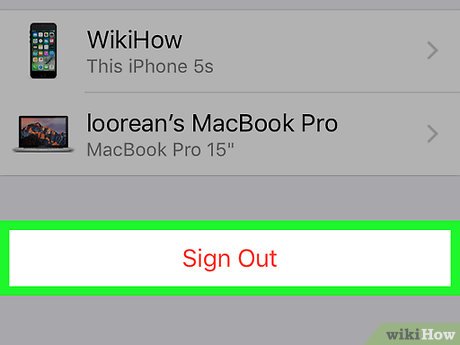 Sign out of Apple ID. Do so on all devices and services, such as iCloud and iTunes, that you're signed into with your current Apple ID.
 -
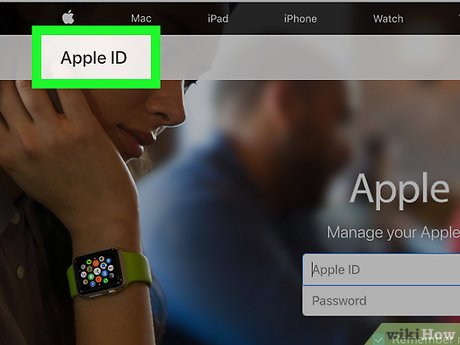 Go to the Apple ID website. Do so by clicking the link to the left or by typing appleid. apple. com in the search field of any Internet-connected Web browser.
 -
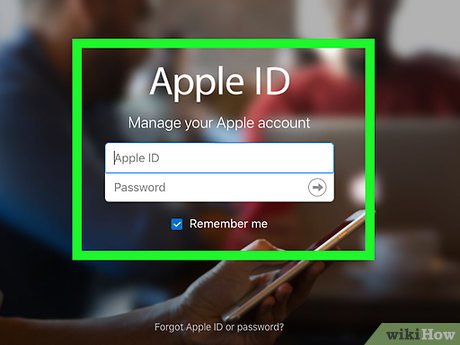 Enter your current Apple ID and password in the labeled fields.
 -
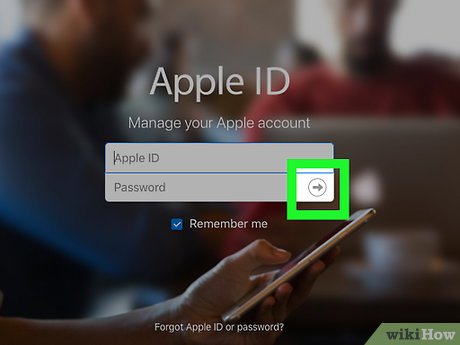 click or tap ➲. It's on the right side of the "Password" field.
- If you have two-step verification enabled, tap or click "Allow" on another device, then enter the six-digit code in the spaces on the screen.
-
 click or tap Edit. It's a blue link on the right side of the screen under the "Account" section.
 -
 click or tap Change Email Address. It's next to the email address under the "APPLE ID" section at the top of the window.
- If your Apple ID ends in @mac. com, @me. com, or @iCloud. com, you will not see this option.
-
 Enter a new email address. Use an address that's neither already associated with an Apple ID nor likely to change soon.
- If prompted, answer the security questions you set up with your Apple ID.
-
 click or tap Next. Apple will send an email with a verification code to your new email address.
- The button may read Continue , depending on the browser you're using.
-
 Check your email. Look for the message sent by Apple.
 -
 Enter the verification code. Type the code from the email message in the spaces that appear in the browser window.
 -
 Sign in with your new Apple ID. You can now sign back in to your devices and Apple services with your new Apple ID.
- If you have two-step verification enabled, tap or click "Allow" on another device, then enter the six-digit code in the spaces on the screen.
Method 2 of 2:
Using iPhone or iPad Running iOS 10.3
-
 Sign out of Apple ID. Do so on all devices and services, such as iCloud and iTunes, that you're signed into with your current Apple ID, EXCEPT the device you're using to change your Apple ID.
 -
 Open Settings. It's a gray app with gears (⚙️) that's typically located on your home screen.
 -
 Tap your Apple ID. It's the section at the top of the screen that contains your name and image, if you've added one.
 -
 Tap Name, Phone Numbers, Email. It's at the top of the first section.
 -
 Tap Edit. It's a blue link on the right side of the screen next to "REACHABLE AT."
 -
 Swipe left on your current Apple ID. It's the first email address in the list, with the words "Apple ID" in small text just below it.
- On some devices, you may need to tap a " - " next to the email address rather than swiping left.
- If your Apple ID ends in @mac. com, @me. com, or @iCloud. com, you will not be able to swipe left.
-
 Tap Delete. It's a red button to the right of your Apple ID.
 -
 Tap Continue. You'll be prompted to choose another email address already associated with your Apple ID, if there is one, or to enter a new email address.
 -
 Enter a new email address. Use an address that's neither already associated with an Apple ID nor likely to change soon.
- If prompted, answer the security questions you set up with your Apple ID or your Apple ID password.
-
 click Next. Apple will send an email with a verification code to your new email address.
 -
 Check your email. Look for the message sent by Apple.
 -
 Enter the verification code. Type the code from the email message in the spaces that appear on your device's screen.
 -
 Sign in with your new Apple ID. You can now sign back in to your devices and Apple services with your new Apple ID.
- If you have two-step verification enabled, tap or click "Allow" on another device, then enter the six-digit code in the spaces on the screen.
FAQ
What is the easiest way to Change Your Apple ID?
Start with the requirements in this guide, then follow each step in order. Check the result after every major change so problems are easier to identify.
Can beginners follow these instructions?
Yes. The process is organized into practical steps, and you can repeat any step before moving forward.
What should I check if the method does not work?
Confirm your software or device version, permissions, settings, file format, and internet connection when the task depends on online services.
Related Articles
 How to Change Apple ID Password?9 minutes read
 How to Change DNS Settings on Apple TV4 minutes read
 Fix Apple ID Error Disabled: Password Reset Apple Password Id8 minutes read
 How to Change Apple ID from 3rd Party Email to Apple Email5 minutes read
 How to Change the Interface of Apple Watch Background4 minutes read
 How to Change Apple Watch Name4 minutes read
Reader Comments 0
Sign in with email or Google to join the discussion.