Table of Contents
This practical guide explains how to change the boot logo of windows 10 and windows 11 with clear steps and useful context. It also covers common requirements, potential problems, and the details that can help you get better results.
Part 1: Some Notes
Before starting the installation, I have a few notes for you:
- You need to have a basic knowledge of Windows because the installation process does not always go smoothly.
- This method works with both Windows 10 and Windows 11.
- You should check System Information, if the machine already has UEFI, then proceed with the installation. If you do not have UEFI, you need to install UEFI first.


Part 2: Adjust Secure Boot in BIOS
In this section, you need to access BIOS then disable Secure Boot:
Step 1: You need to press and hold the SHIFT button then press Restart the machine and then follow the steps in the video below to access the BIOS. Or you can also refer to how to access BIOS in the article: Instructions to enter BIOS on different computer lines.

Step 2: You find and disable (Disabled) the Secure Boot option.
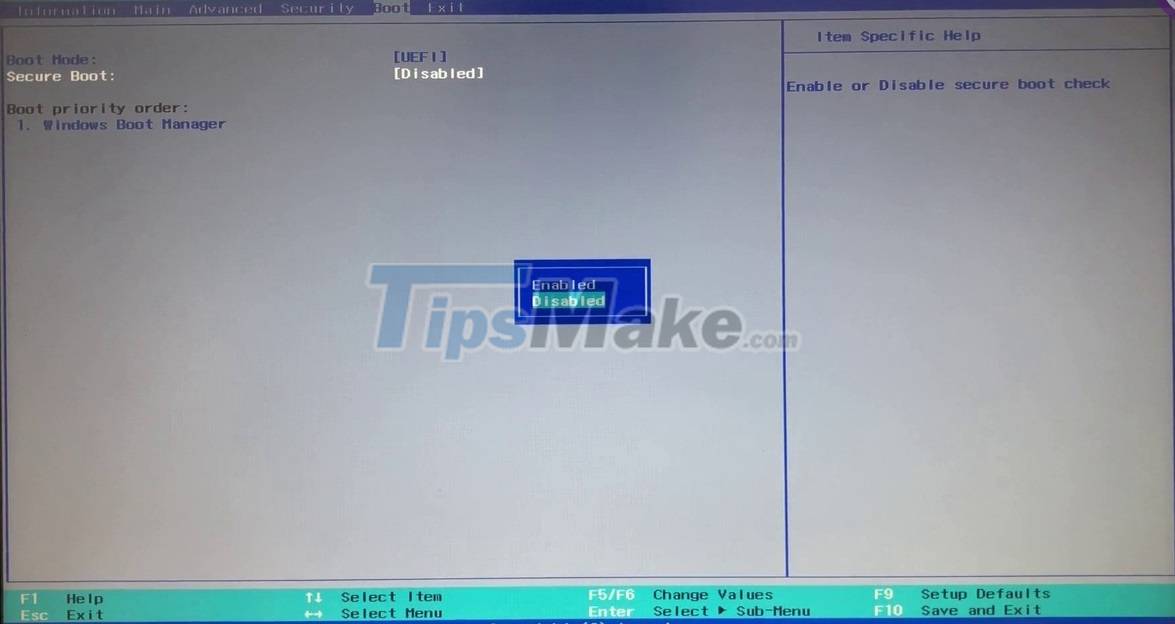
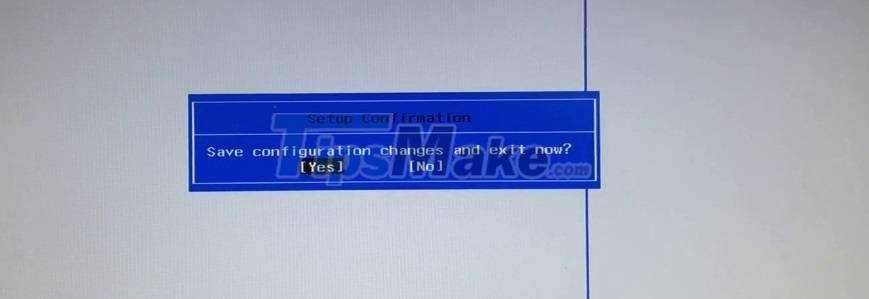
Step 3: Press F10 and Enter to save the settings and exit the BIOS.
Part 3: Install the Tool
The steps to install the tool are quite simple:
Step 1: Visit the GitHub page below to download and install the HackBGRT tool,
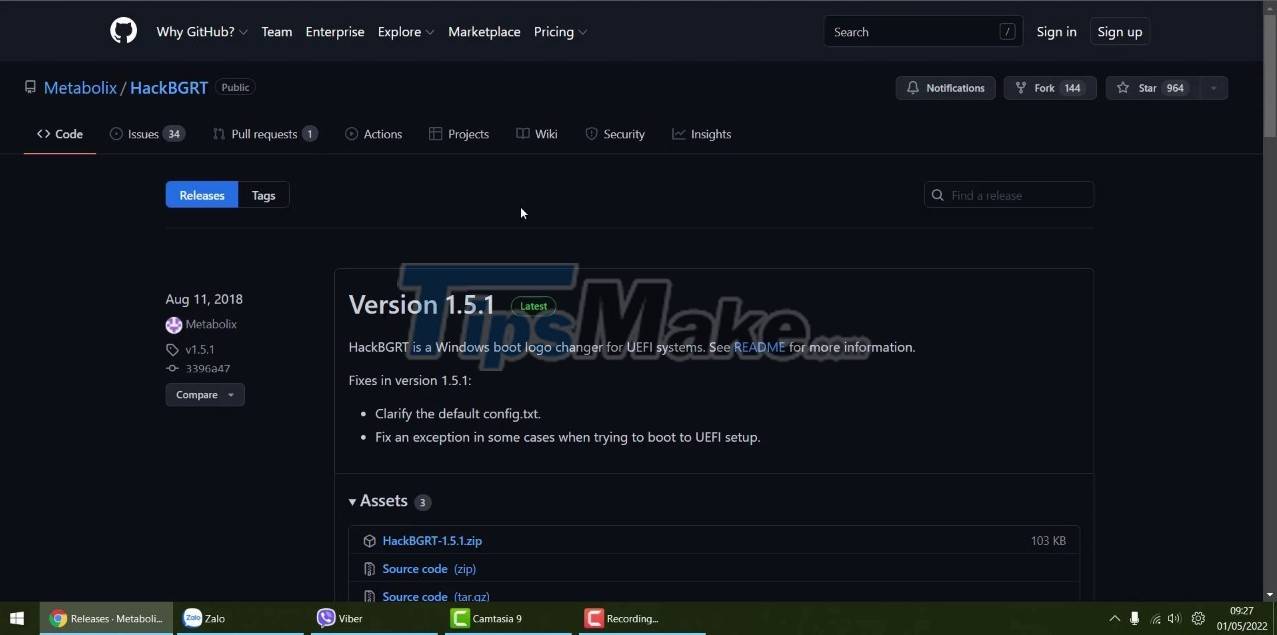
Step 2: Extract the tool, then open it and leave it temporarily.

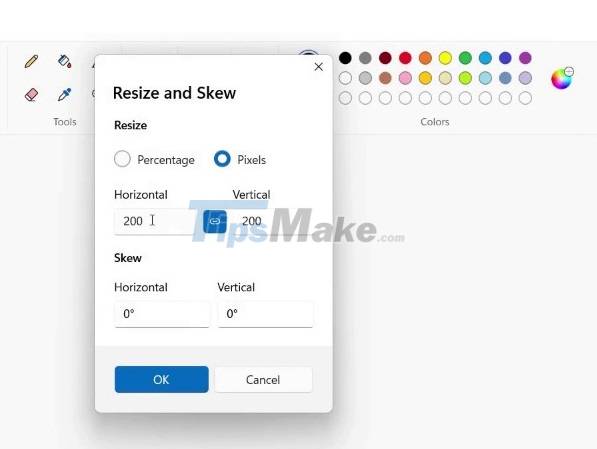
Step 3: Adjust the image you want to use as a logo with Paint to the optimal size of 200x200px. Press Ctrl + A to select and then press Ctrl + C to copy the image.
Step 4: Open the splash.bmp file in the folder of the HackBGRT tool with Paint. Resize the image to 200x200px then press Ctrl + V to paste your image in. Press Ctrl + S to save then close the Paint windows.
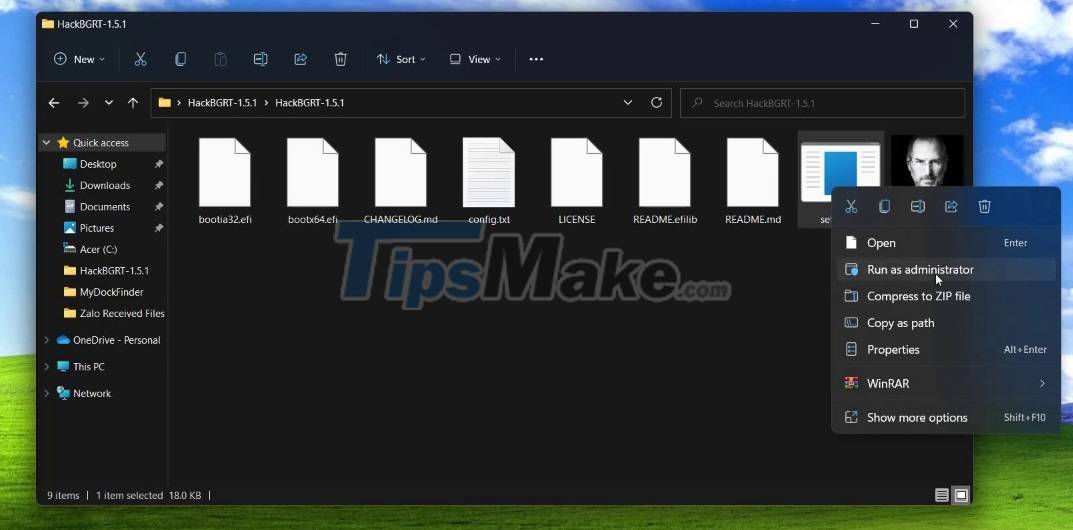
Step 5: Right-click the setup.exe file and select Run as administrator and then click Yes to confirm opening the tool.
Conclusion
Understanding Change Windows Boot Logo makes it easier to compare options, avoid common mistakes, and apply the information in this guide more effectively. Review the relevant requirements before making changes or choosing a solution.
FAQ
How do you change the boot logo of windows 10 and windows 11?
Follow the steps in this guide in order, confirm the required settings or tools, and verify the result before making additional changes.
Is it safe to change the boot logo of windows 10 and windows 11?
It is generally safe when you follow the recommended instructions, use trusted tools, and avoid changing settings you do not understand.
What should you do if the process does not work?
Recheck the requirements, restart the device or application when appropriate, and review each step for missed settings or compatibility issues.
Related Articles
 How to Change the Windows 10 Boot Logo: Step-by-Step Guide6 minutes read
 How to Change the Logo and OEM Name in Windows 10/8/75 minutes read
 Firefox Launched a New Flat-design Logo with 23 Beta Version4 minutes read
 The New Fluent Design Style Logo from Microsoft Is Starting to3 minutes read
 The Mac Won't Boot and This Is the Fix11 minutes read
 Instructions for Changing the Google Logo on the New Tab Page4 minutes read
Reader Comments 0
Sign in with email or Google to join the discussion.