Snipping Tool on Windows 11 added useful screen recording feature
The Snipping Tool is one of the most commonly used applications on Windows..
Last month, news of the Snipping Tool app - Windows 11's default screen capture and recording tool - adding the ability to save recordings as GIFs attracted a lot of attention. Today, Microsoft officially announced that this feature is being deployed to users in the Windows Insider program on the Dev and Canary channels. Notably, the latest update also improves the context menu and adds accessibility features.
How to export GIF files easily
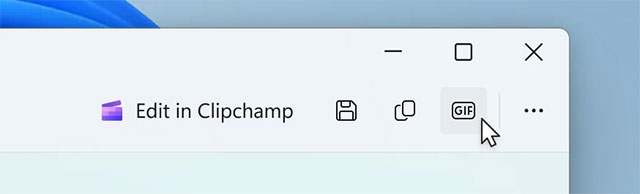
Start the screen recording as usual, once done click the GIF button in the top right corner of the editor. The app will ask you to choose the GIF quality and display the size information: duration, resolution and frame rate (FPS). Just hit Export (save as file) or Copy (put to clipboard).
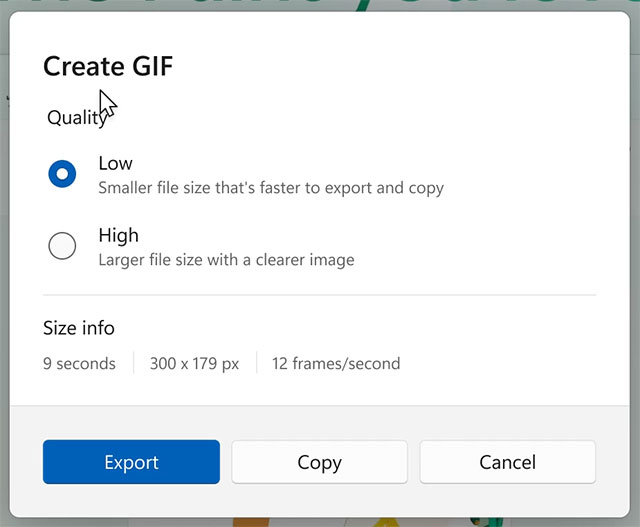
However, currently, the GIF export feature only supports videos up to 30 seconds long. For longer recordings, the app will automatically trim to keep only the first 30 seconds.
Manual deployments and activations
This feature is available since Snipping Tool version 11.2505.21.0. If you haven't received this update even though your computer is in the Canary/Dev channel, you can manually enable it using the ViveTool:
- Download ViveTool from GitHub and extract to an easily accessible folder
- Open Command Prompt with Administrator rights
- Use the CD command to navigate to the folder containing ViveTool (e.g. CD C:Vive )
- Enter the command: vivetool /enable /id:47081492 and press Enter
- Restart your computer
Official information about the new feature has been posted on Windows Blogs. Previously, Snipping Tool also added the "Perfect Screenshot" feature - automatically aligning the capture area according to the shape of objects such as tables and charts.