How to use CasaOS to manage Homelab server
CasaOS is a powerful home server operating system (OS) that provides a simple way to run services on a local network.
Table of Contents
CasaOS is a powerful home server operating system (OS) that provides a simple way to run services on a local network. It is available for x86 and ARM devices, making it easy to work with even low-power SoCs like the Raspberry Pi. This article will show you what makes CasaOS work, how to install it on a home server, and how to use it to easily install a variety of self-hosted applications.
Why use CasaOS as your home server operating system?
CasaOS's biggest advantage is that it's an all-in-one package that can install, monitor, and manage server applications. It has a simple dashboard and a rich collection of "one-click install" Docker containers through its marketplace.

One unique thing about CasaOS is that it is an overlay system that runs on top of an existing Debian Linux installation. This means that you don't have to redo your existing setup just to run the home server operating system. This makes CasaOS easier to try out and deploy than other home server operating systems.
One of my favorite features of CasaOS is that it allows you to configure and run your own Docker containers. If you are an avid Docker user, this feature is extremely appealing because it allows you to run custom services without having to rely on package developers for it.
Note : If you are still using a regular Linux system as your home server, learn how you can deploy Docker on your Linux operating system today!
Prepare and install CasaOS
Assumptions : This article assumes that you are installing CasaOS on a Debian 12 system. However, the following instructions will also work with the latest version of Raspberry Pi OS and Ubuntu 20.04.
The first step in deploying CasaOS locally is to make sure your base system is fully up to date:
sudo apt update && sudo apt upgradeMake sure you have the curl utility on your base system:
sudo apt install curlFind the Quick Installation script for CasaOS and use UNIX pipe to run it on your system:
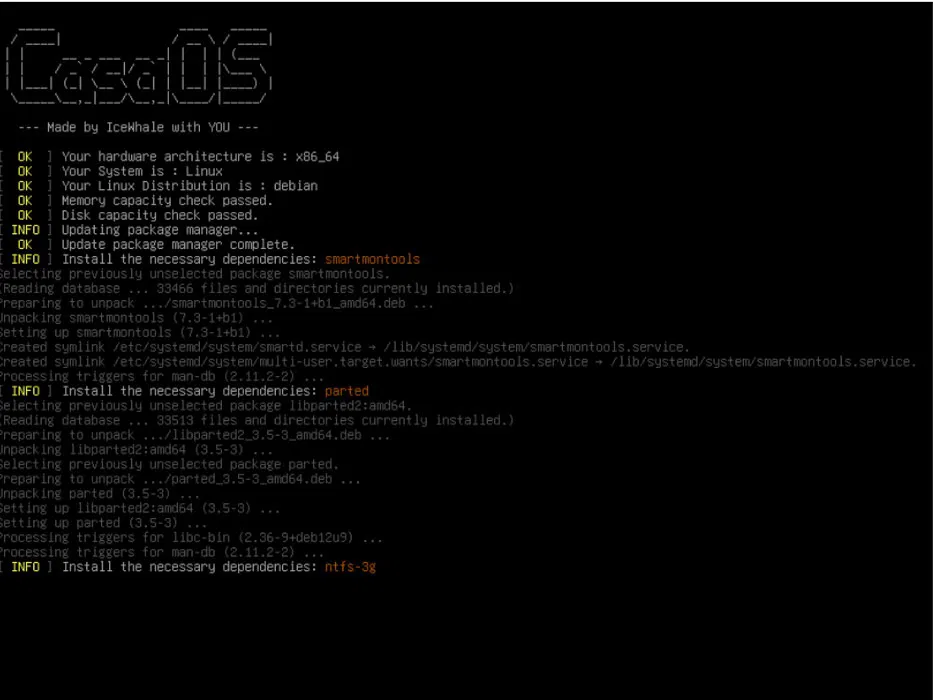
curl -fsSL https://get.casaos.io | sudo bashDoing this will automatically download and configure CasaOS for your system. Depending on your hardware, this process may take 5-10 minutes.
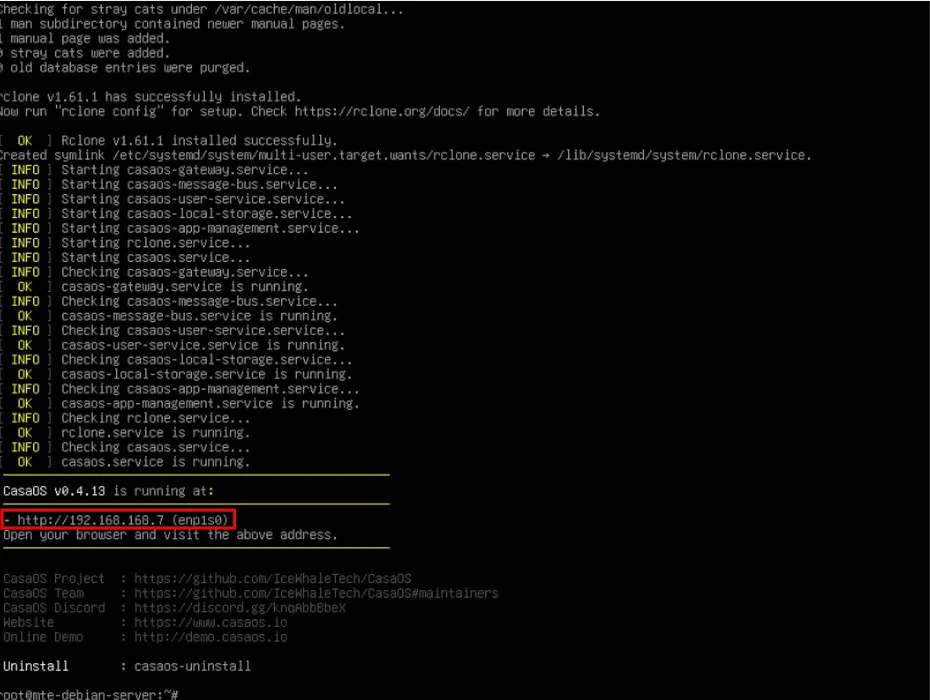
Once complete, the installation script will print the local IP address of the CasaOS installation. Go to the client computer, then open the address in a web browser window.
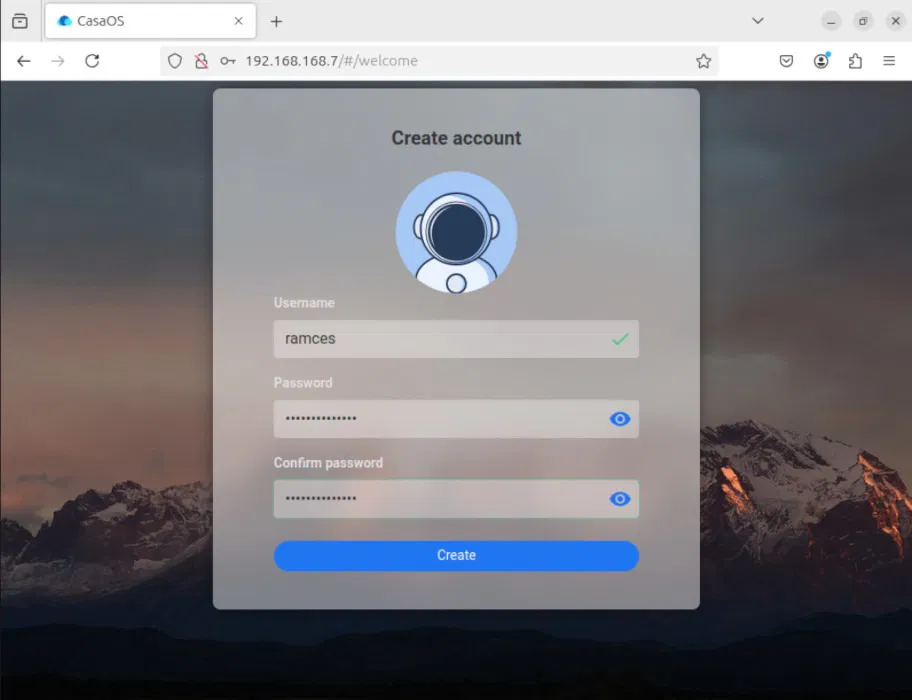
Click Go to begin the initial setup process.
Provide the username and password you want for your CasaOS instance.
Click Accept to ensure you are up to date with the latest CasaOS news.
Install and run your first CasaOS app
With the new version of CasaOS up and running, you can now start installing your favorite self-hosted apps. To do so, click on the App Store icon on your dashboard.
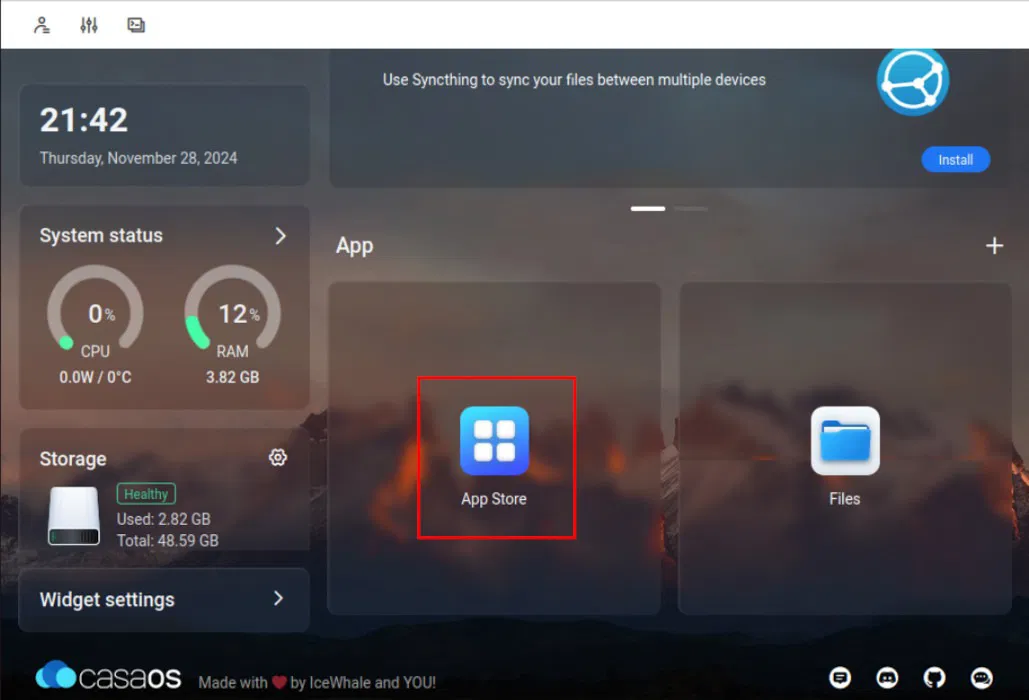
This will open a pop-up window that shows the services that CasaOS distributes in its repository. To install an application, click the search box, then provide the name of the service you want. For example, we will install Nextcloud on our CasaOS instance.
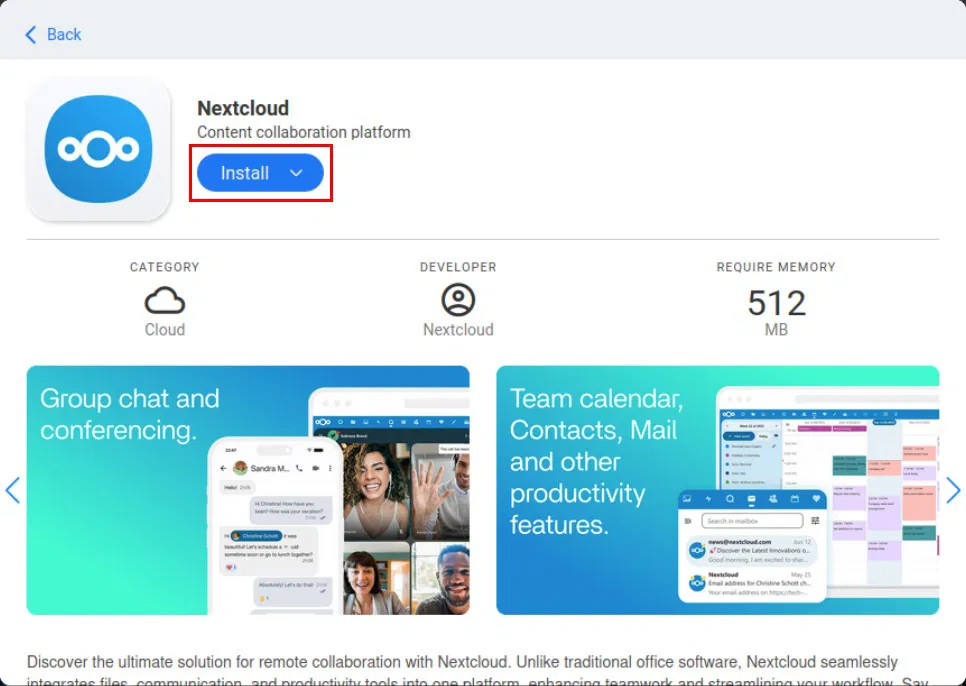
Click on the service icon, then select Install to start the installation process.
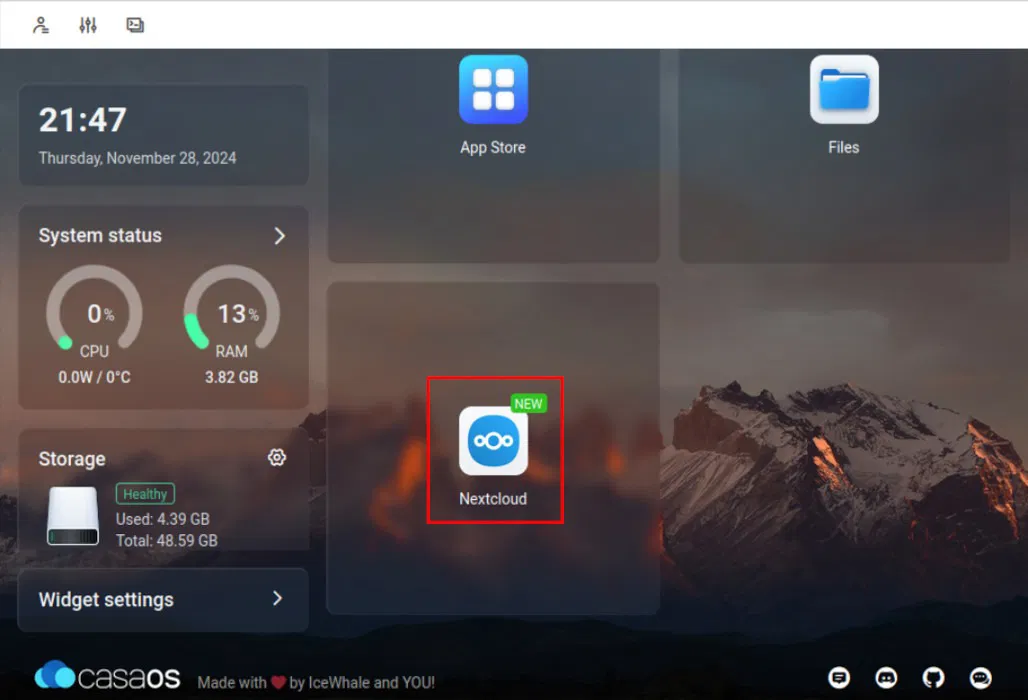
Once complete, confirm that your new service is running properly by clicking on its icon on the CasaOS dashboard.
Application Configuration
In addition to being easy to install and run, CasaOS also provides a way to quickly access the internals of the server container. This makes it incredibly easy to customize the application to your needs.
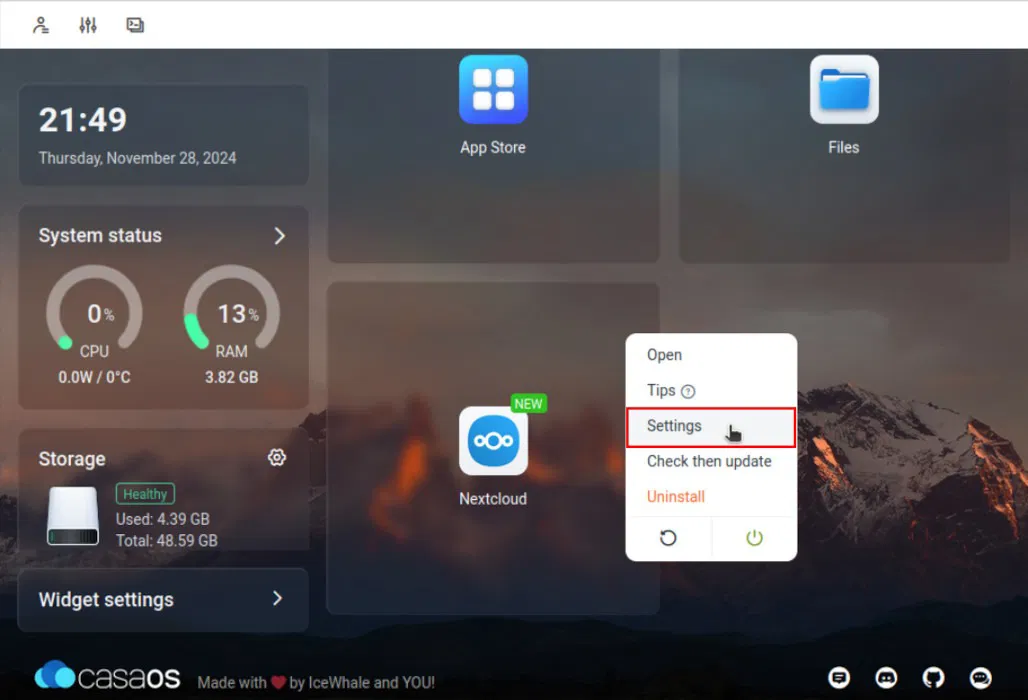
To configure an existing server application, go to the CasaOS dashboard and look for the server application icon.
Hover your mouse over the icon, then click the three dots in the upper right corner of the icon.
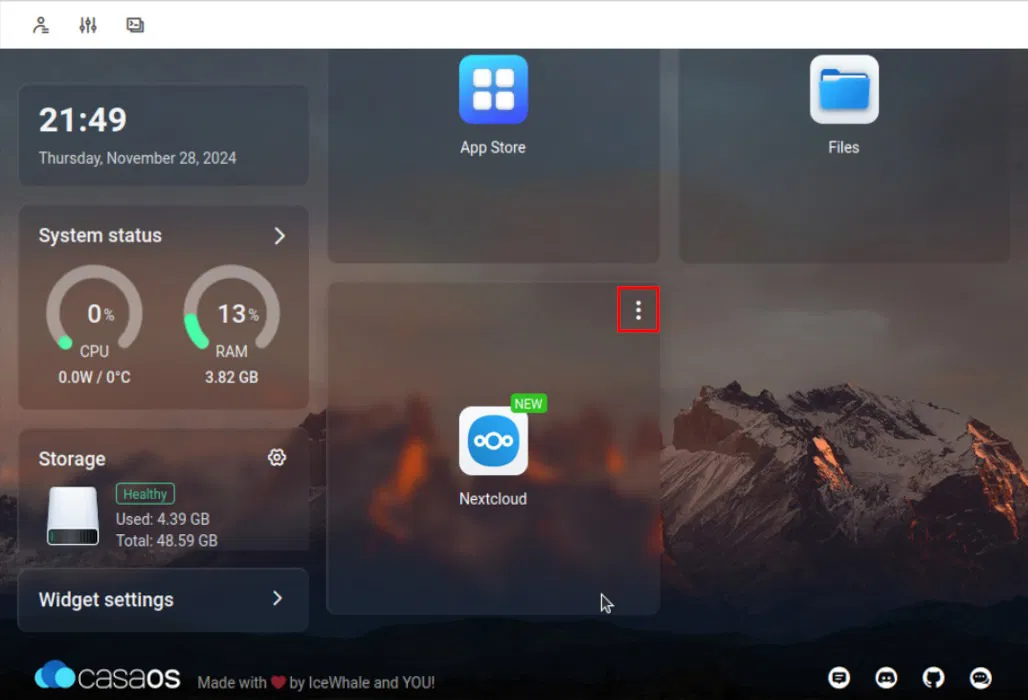
Select Settings from the context menu. This will open a small pop-up window showing details about your application's Docker container.
Here you can change almost every aspect of your server application configuration. For example, adjust the amount of memory the container can use via a simple slider option.
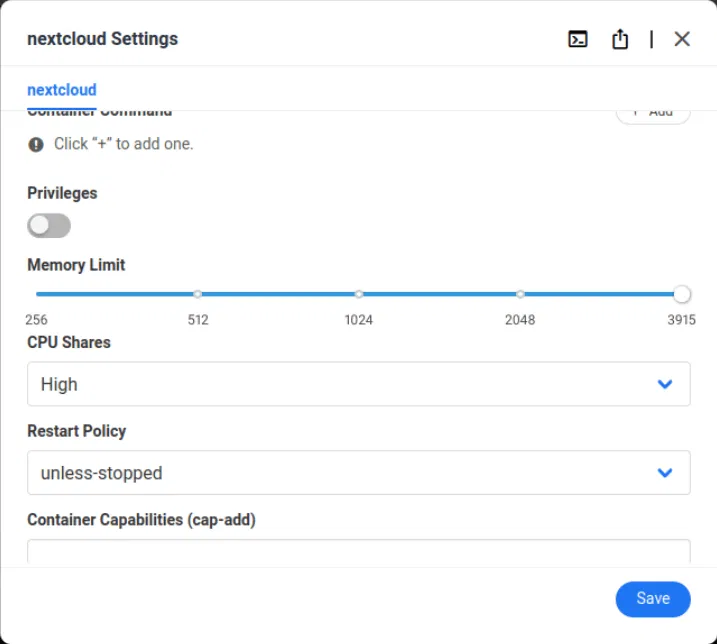
Once you have completed the changes, click the Save button to apply them to the server application.
Create custom server application
In addition to running and configuring pre-built server applications, the CasaOS dashboard can also deploy your own custom Docker containers. This is useful if you have a Docker service that is not currently available on the CasaOS app store.
Go to your CasaOS dashboard, then click the + icon next to the App heading .
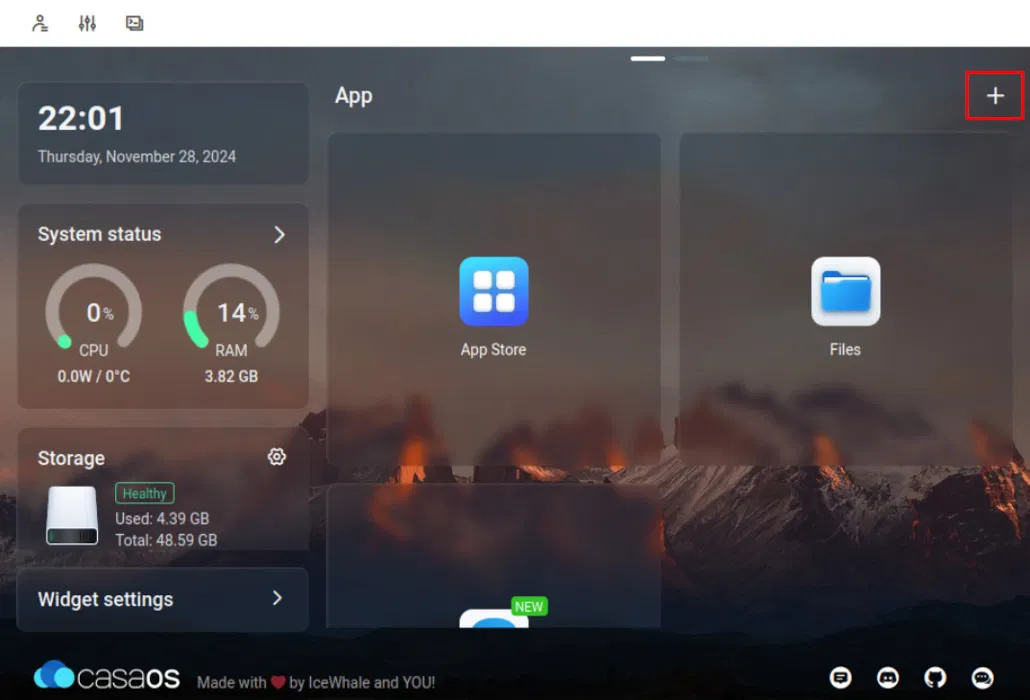
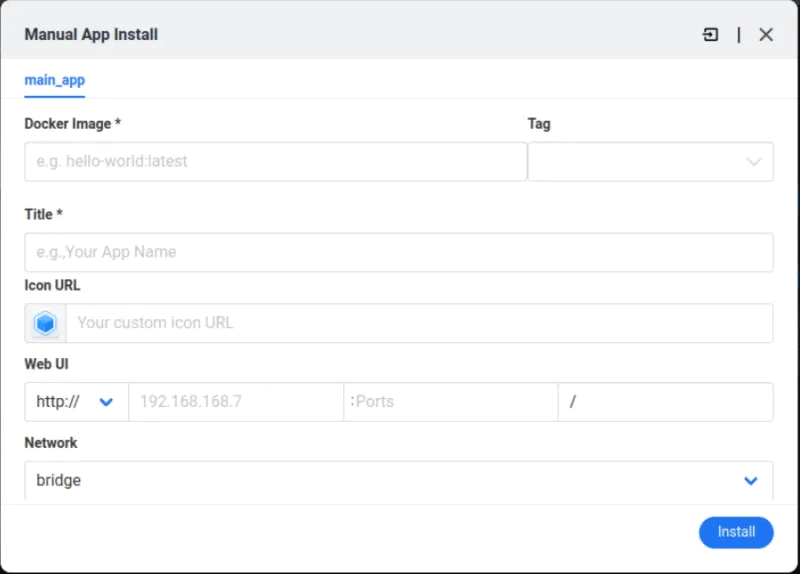
Select Install a customized app from the pop-up menu. This will open a blank application details window for your new Docker container.
Click the Import button in the upper right corner of the window.
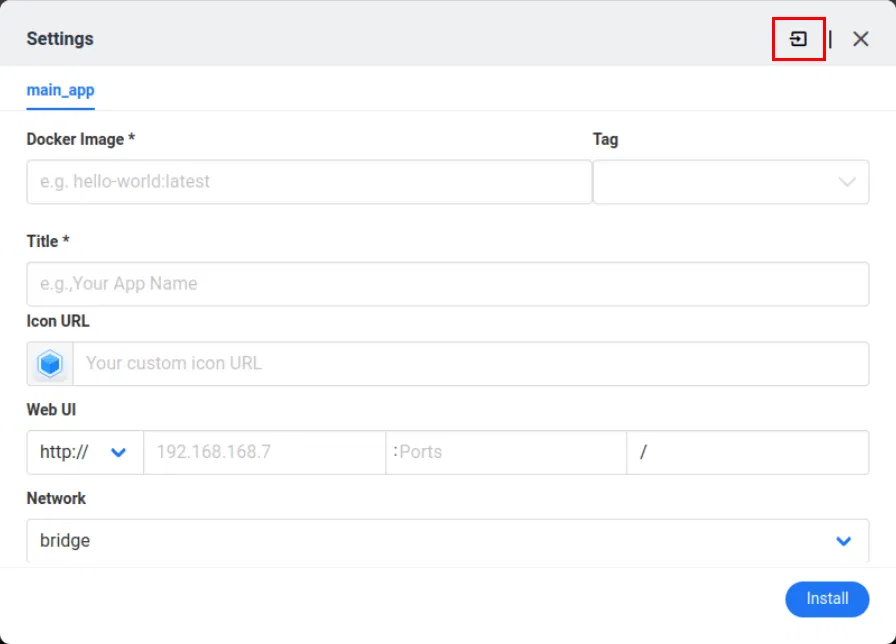
Paste the service's "docker-compose.yml" content into the text box. For example, if you want to run a Webcord instance on a CasaOS box.
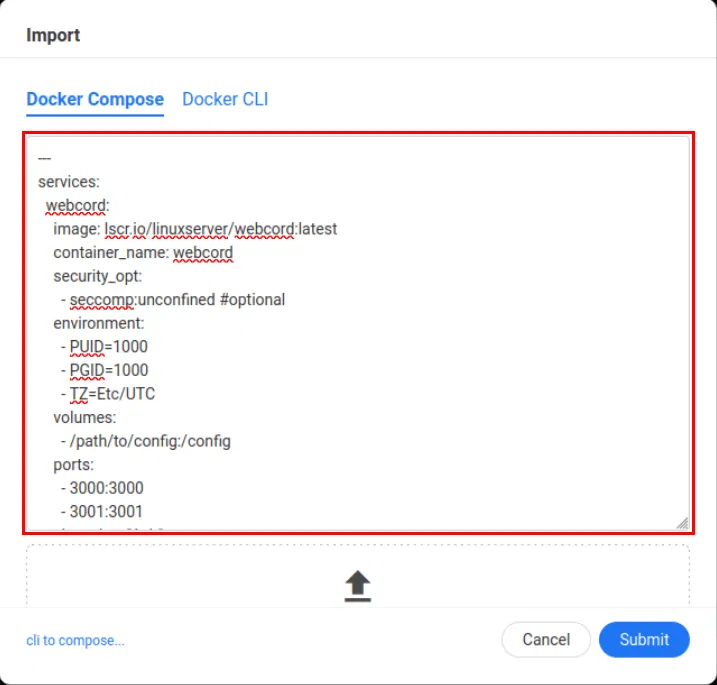
Click Submit to convert the editor configuration to CasaOS app format.
Scroll down the app configuration window, then make sure the server ports shown don't conflict with anything on your CasaOS instance. For example, I'll set the Webcord instance's ports to "9095" and "9096" since those don't conflict with any running services.

Scroll up to the application configuration window, provide a name for your new custom application, then set the Web UI port to one of your exposed container ports.
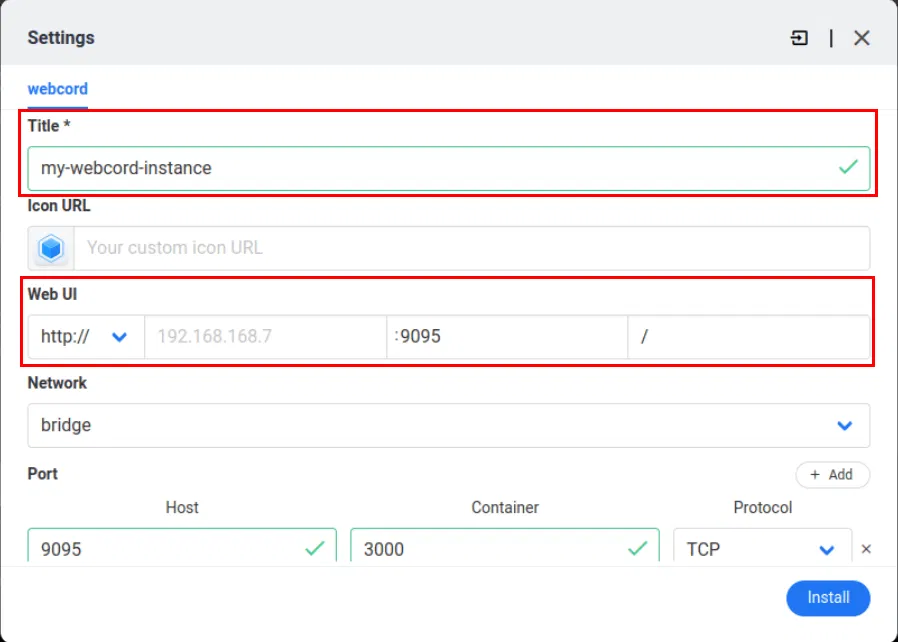
Click Install to start the import process.
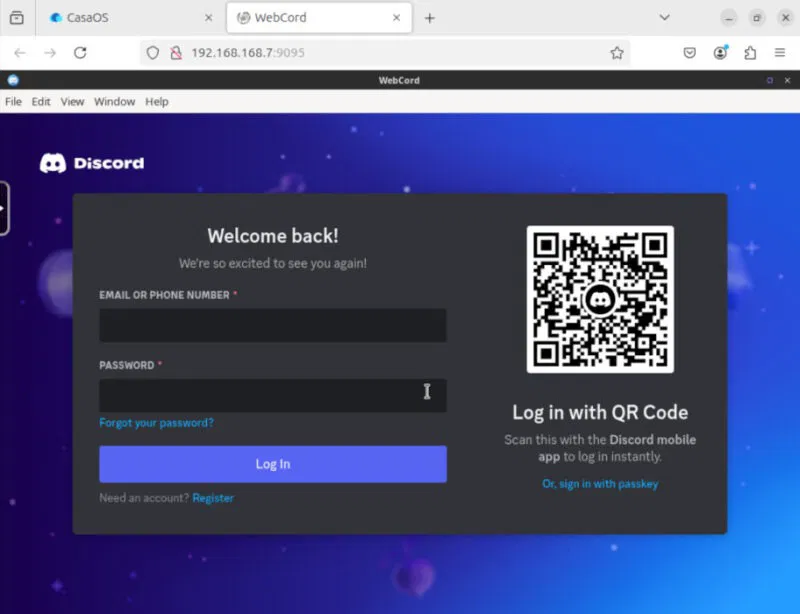
Once complete, confirm that your custom server app is working properly by clicking on the app's icon on the CasaOS dashboard.
Learning how to install CasaOS as well as deploying local server applications are just some of the possibilities that can be achieved with a home server operating system.
Was this article helpful?
Your feedback helps us improve.
Related Articles
 What is a Homelab and how to start building your own?5 minutes read
 How to manage remote Linux server using SSH11 minutes read
 Instructions for setting up and managing FTP Server on Windows 108 minutes read
 Manage the Exchange Server 2007 log files - Part 38 minutes read
 How to connect to an FTP Server from Windows Explorer?3 minutes read
 Use Web browser to connect FTP Server3 minutes read
Reader Comments 0
Sign in with email or Google to join the discussion.