How to add System Configuration (msconfig) to Control Panel
If Control Panel and System Configuration are the tools you use often, how do you add msconfig to Control Panel?.
If Control Panel and System Configuration are the tools you use often, how do you add msconfig to Control Panel? In the Registry, you can add System Configuration to the Control Panel on Windows 10. Microsoft has moved most features to Windows Settings. However, Control Panel is still an important part, and if you often use it on your computer, you should add many other options. Instead of running msconfig via the Run prompt, you can add it to the Control Panel.
By default setting on Windows, System Configuration is not in Control Panel, as shown below:
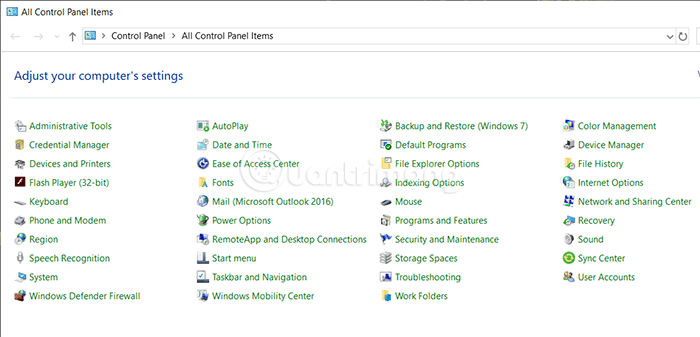 The default options in Control Panel
The System Configuration tool will tell you changes like the Startup selection, Safe boot, etc. And don't forget to export the Registry file and create a system restore point before changing anything in the Registry Editor.
Add System Configuration to the Control Panel
Follow these steps to add the msconfig tool to the Control Panel on Windows 10
- Open Notepad
- Paste the Registry value into it
- Choose File> Save As
- Choose where you want to save the file
- Name it with the .reg extension
- Select All Files from Save as type
- Click Save
- Double click on the file
- Select Yes in the UAC prompt
- Select Yes to complete the addition
Details of the steps are as follows.
First, you need to create a .reg file with the appropriate Registry values. To do so, open Notepad on your computer and paste the following commands:
Windows Registry Editor Version 5.00 [HKEY_LOCAL_MACHINESOFTWAREClassesCLSID{D14ED2E1-C75B-443c-BD7C-FC03B2F08C15}] @="System Configuration" "InfoTip"="Perform advanced troubleshooting and system configuration" "System.ControlPanel.Category"="5" [HKEY_LOCAL_MACHINESOFTWAREClassesCLSID{D14ED2E1-C75B-443c-BD7C-FC03B2F08C15}DefaultIcon] @="msconfig.exe" [HKEY_LOCAL_MACHINESOFTWAREClassesCLSID{D14ED2E1-C75B-443c-BD7C-FC03B2F08C15}ShellOpenCommand] @="msconfig.exe" [HKEY_LOCAL_MACHINESOFTWAREMicrosoftWindowsCurrentVersionExplorerControlPanelNameSpace{D14ED2E1-C75B-443c-BD7C-FC03B2F08C15}] @="System Configuration"Now, go to File , select Save As . You can press Ctrl + Shift + S instead.
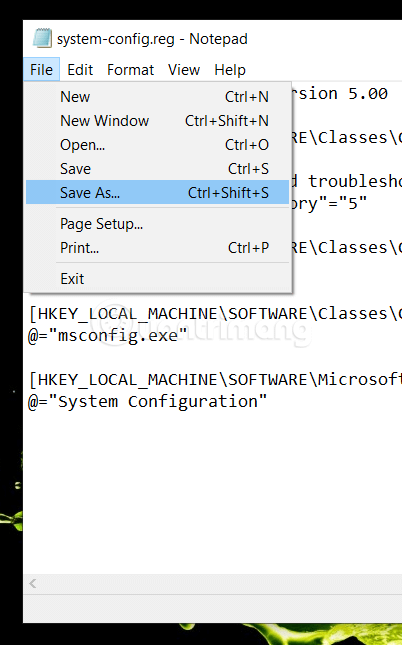 Paste the command into Notepad> File> Save As .
Then, choose where you want to save the file, name it with the .reg extension , then select All Files in the Save as type list , press the Save button .
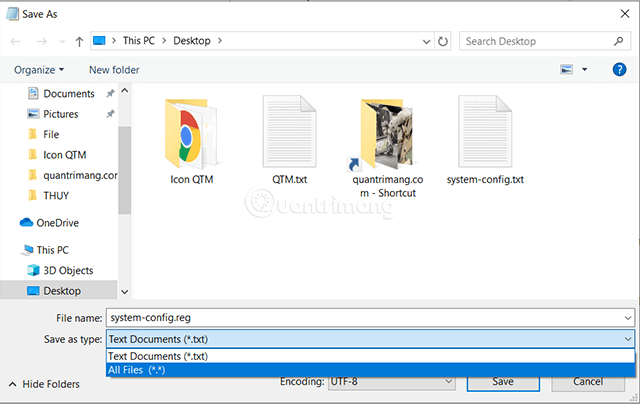 Name the file with the extension .reg
Next, open the .reg file just saved in your computer by double clicking.
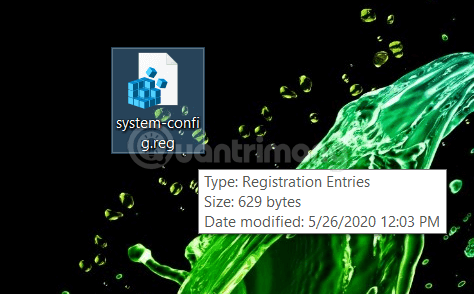 Double click the newly created .reg file
The UAC prompt window will appear. Select Yes twice so Registry values are added to the Registry Editor.
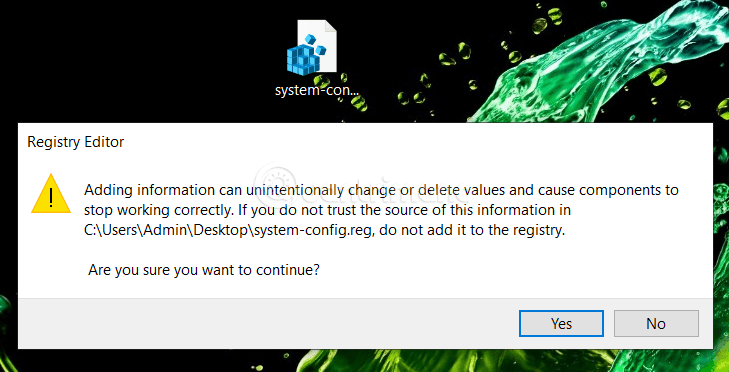 Click Yes in the UAC message and Yes in the image above
When completed and successful, you will receive the following message:
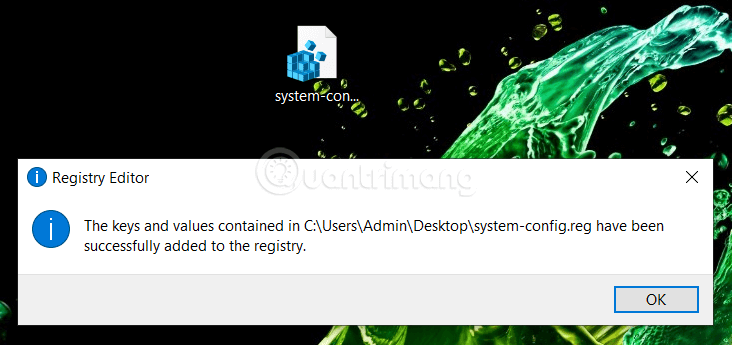 The .reg file has been successfully added to the Registry
Now, open the Control Panel (if you've opened it before, close and reopen), you'll see the System Configuration option has been added.
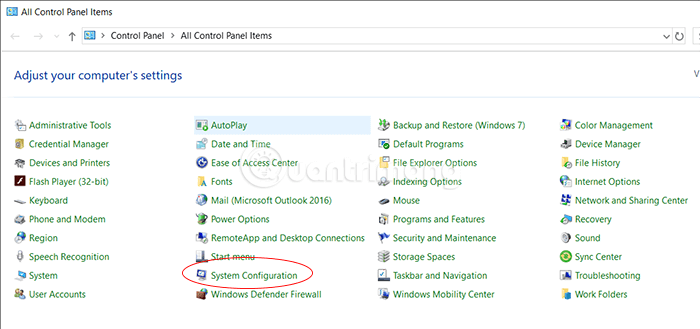 System Configuration already in Control Panel
Delete System Configuration in Control Panel
In case you want to delete System Configuration from Control Panel, you can move to Registry Editor.
HKEY_LOCAL_MACHINESOFTWAREClassesCLSIDAnd delete the range {D14ED2E1-C75B-443c-BD7C-FC03B2F08C15} .
Right-click on this range, select Delete and click Yes to confirm.
Hope the article is helpful to you, wish you all the best of luck!