Table of Contents
To add a GPX route or track to Google Maps, import the file into Google My Maps on a computer. My Maps accepts GPX files directly, so conversion to KML is normally unnecessary. After the import, you can style the route, add places, and view the saved custom map while signed in to the same Google account.
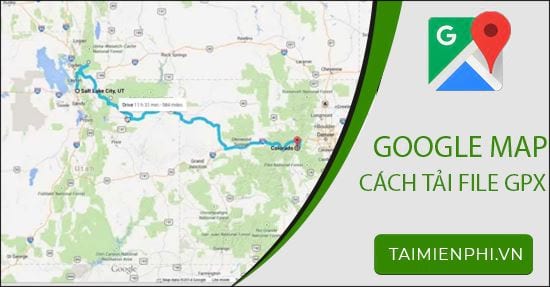
Import a GPX file into Google My Maps
- Open Google My Maps in a desktop browser and sign in.
- Select Create a new map. If you already have a custom map for this trip or project, open it instead.
- In the left panel, select Import under the layer where you want the route to appear.
- Choose the GPX file from your computer, or drag it into the upload window.
- Wait for My Maps to process the track, route, and waypoints. Rename the layer and the map so they are easy to identify later.
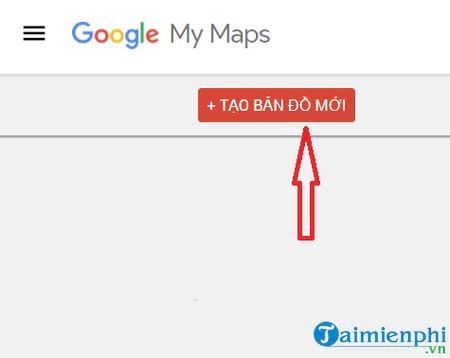
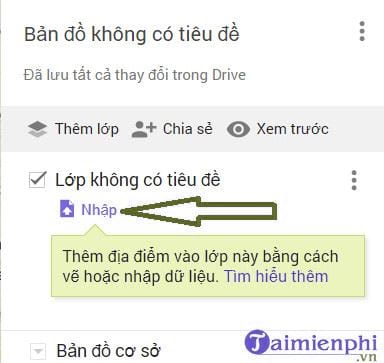

Google's My Maps import instructions list GPX among the supported formats. The imported data becomes part of a custom map; it does not replace Google Maps navigation data or automatically become a turn-by-turn route.
Organize and check the imported track
Zoom in along the complete route before relying on it. A GPX file can contain tracks, routes, waypoints, or a combination of these, and different apps may export them differently. Check that the start and end points, intermediate segments, and waypoint names survived the import.
- Use the layer menu to rename the imported layer.
- Select Style to change line color or marker appearance.
- Place unrelated routes in separate layers so they can be shown or hidden independently.
- Add notes to important markers, but do not publish sensitive locations such as a private home or an unannounced event site.
Open the custom map on another device
My Maps is primarily an editing tool for desktop browsers. Save the map while signed in, then use the same Google account on your other device. In Google Maps, open the saved or custom-map area available in your version of the app and select the map by name. If it does not appear immediately, open the map's sharing link in a browser.
Custom My Maps content is best for reference and sharing. If you need live navigation, select a destination in the regular Google Maps app and start directions there. An imported GPX line may not follow routable roads, and Google Maps may calculate a different path.
Optional: convert GPX to KML
Direct GPX import is the simplest method. Conversion can still help when My Maps rejects a file, when another mapping tool specifically requires KML, or when you need to simplify or edit GPS data first. A third-party converter receives the coordinates in your file, so avoid uploading sensitive location history unless you trust the service.
The older workflow below uses GPS Visualizer. Open GPS Visualizer, choose a KML or Google Maps-compatible output, upload the GPX file, and create the converted file.

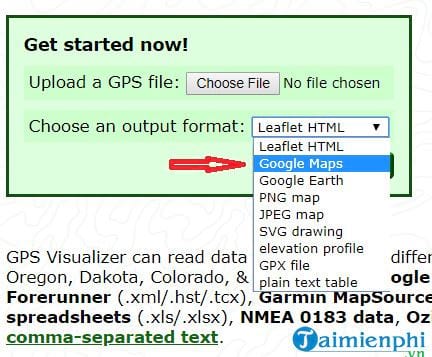
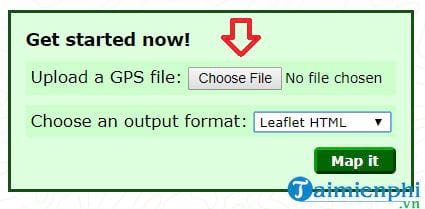
Download the result, return to My Maps, select Import, and choose the KML file. Do not upload the converted file to the regular Google Maps search box; imports belong in My Maps.
If the GPX file will not import
- Confirm the extension: the filename should end in
.gpx, not a ZIP archive that merely contains a GPX file. - Open the file in another GPS app: if it fails there too, export it again from the source app or device.
- Reduce the data: very detailed recordings can contain excessive track points. Simplify the track or divide it into smaller files before importing.
- Try a new empty layer: an existing layer may already contain unrelated or excessive data.
- Check the account: ensure you are editing the intended Google account and have permission to change the map.
- Convert only as a fallback: use KML when direct import consistently fails, then recheck the route for missing points.
For related map tasks, see how to find your current location in Google Maps or compare Organic Maps as an offline alternative.
Related Articles
 How to Find the Way to Google Maps for Motorcycles5 minutes read
 How Does Google Maps Work?: Why Google Created Google Maps12 minutes read
 Steps to Export and Download Google Maps Data5 minutes read
 Tips for Using Google Maps on Android11 minutes read
 How to Preview Images Where Needed on Google Maps6 minutes read
 How to Find Your Way with Google Maps on Your Phone5 minutes read
Reader Comments 0
Sign in with email or Google to join the discussion.