Table of Contents
The reliable way to put an eligible business on Google Maps is to create or claim a Google Business Profile. Search for the business first to avoid a duplicate listing, then enter accurate real-world information and complete the verification option Google offers. Adding a missing place can suggest a map edit, but it does not by itself give you control of the business profile.
Before you add the business
- Use the business name shown on permanent signage, stationery, and other real-world branding. Do not add services, cities, phone numbers, or promotional phrases to the name.
- Choose the most specific primary category that describes the business itself.
- Enter an address only if customers can visit that location during stated hours. A service-area business that travels to customers should normally hide its address and list its service area instead.
- Prepare a phone number, website, opening hours, and clear photos that belong to the business.
- Use a Google account controlled by the business, not a former employee or an outside marketing agency.
1. Search for an existing profile
Open Google Search or Google Maps while signed in and search for the exact business name plus the city. Check the address, phone number, category, and photos carefully. A profile may already exist even if nobody at the business created it.
If the correct listing appears, select Claim this business or Own this business?, then choose Manage now. If Google says someone else manages the profile, request access instead of creating a duplicate.
2. Create a new Google Business Profile
If no matching profile exists, go to Add your business to Google and follow the prompts. Enter the business name and category, then choose the location type that matches how customers interact with the business:
- Storefront: customers visit a staffed physical location.
- Service-area business: the business visits or delivers to customers and does not serve them at its address.
- Hybrid business: customers can visit the staffed location and the business also serves an area.
For a storefront or hybrid business, enter the complete official address. For a service-area business, add the cities, postal codes, or other service areas the profile form accepts and do not display a private residence merely to gain a map pin.
3. Set the address and map pin accurately
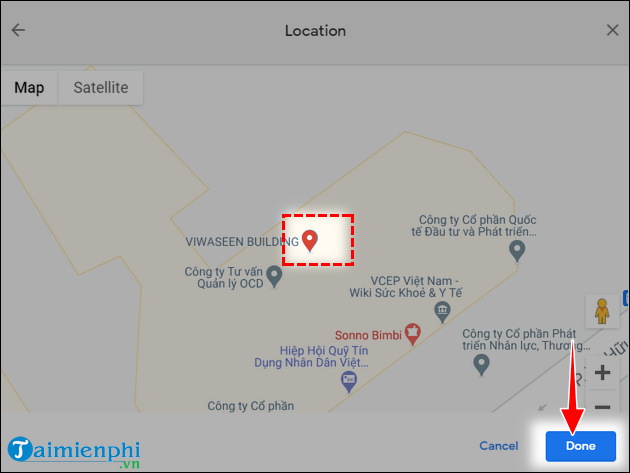
Google may place the pin automatically from the address. If the result points to the wrong entrance, building, or side of the road, choose Adjust, move the map so the pin sits on the business location, and save it. The pin should help a customer reach the correct place; it should not be moved toward a busier street or nearby landmark for visibility.
Google's current business address instructions also explain how to edit the address or pin later. Major address changes can trigger another verification.
4. Add useful customer information
Complete the profile with information customers can act on:
- regular and special opening hours;
- a direct local phone number when available;
- the official website;
- the opening date, if known;
- photos of the storefront, entrance, interior, products, or work;
- accessibility, service, and appointment details offered by the profile editor.
Keep these details consistent with the website and real-world signage. A complete profile is useful only when the information is accurate. Update holiday hours and temporary closures instead of leaving customers to discover a locked door.
5. Verify the business
Select Get verified and use one of the methods shown in your profile. Google decides which methods are available; they can include video recording, phone or text, email, live video, or mail. You cannot always choose every method.
Follow the evidence requirements exactly. A verification video may need to show the surrounding location, permanent business signage, and proof that you are authorized to manage the business. If mail verification is offered, do not publish or share the code. Google states that it will not ask you to give that code to another person.
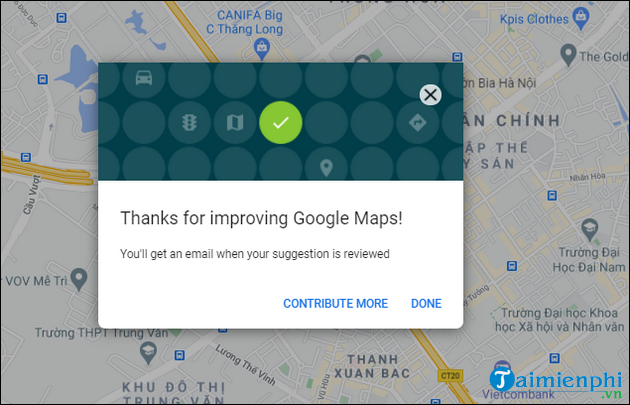
Verification is not guaranteed immediately, and edits can be reviewed before appearing publicly. Use the status shown in the Business Profile instead of repeatedly creating listings or requesting new codes.
Older Google Maps “Add a missing place” method
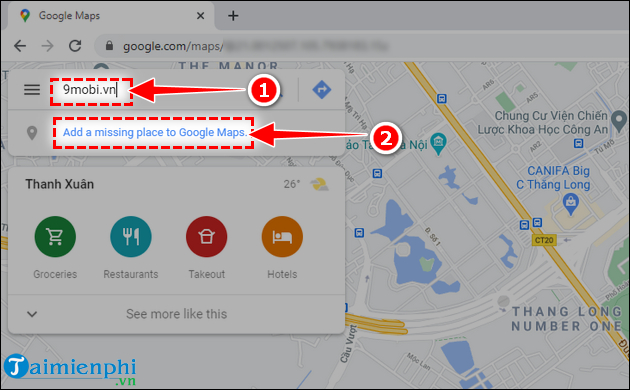
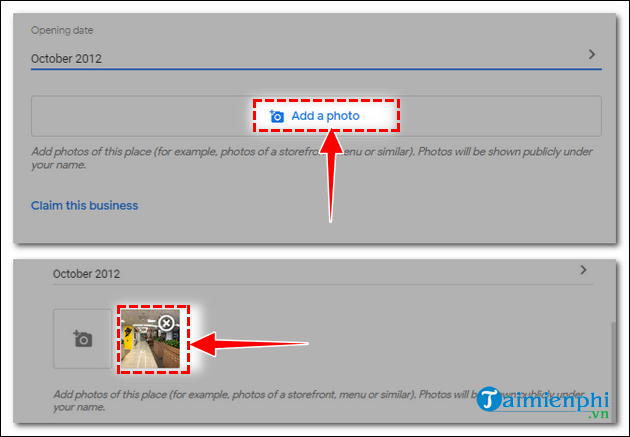
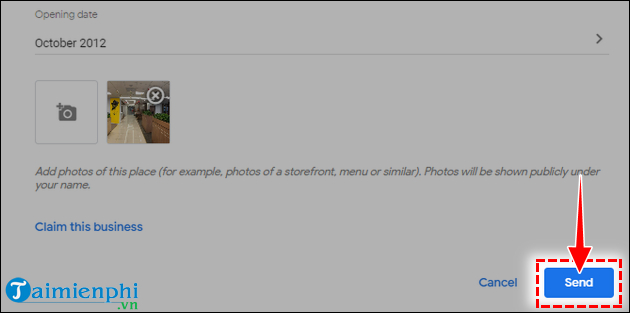
The screenshots below show an older Maps submission interface. This path can still be useful for suggesting a genuinely missing public place, but an owner should use Google Business Profile to claim and verify management rights.
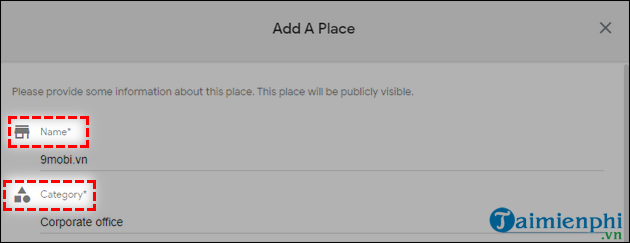
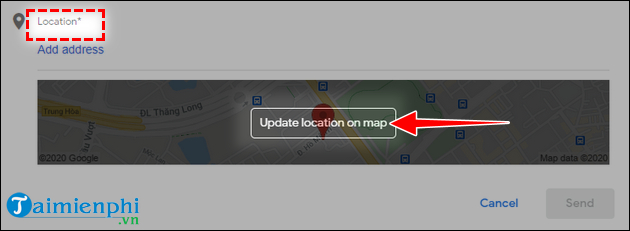
In the older interface, searching for a business and selecting Add a missing place opened a form for the name, category, and location.
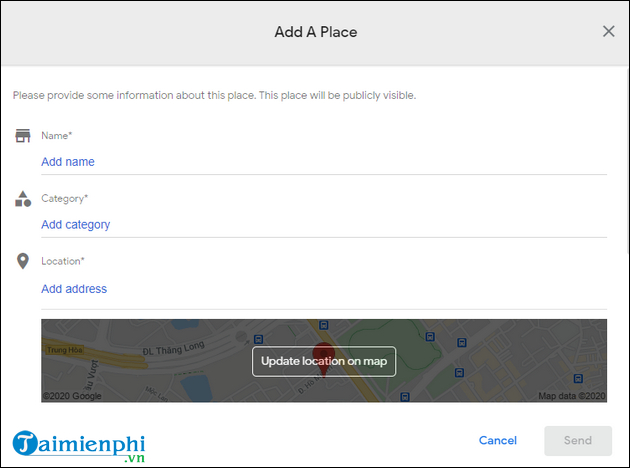
The location control allowed the submitter to adjust the map pin before saving.
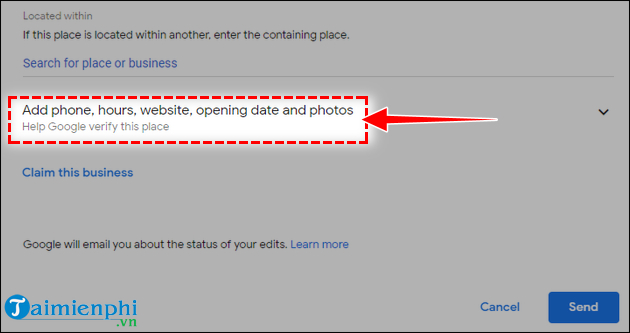
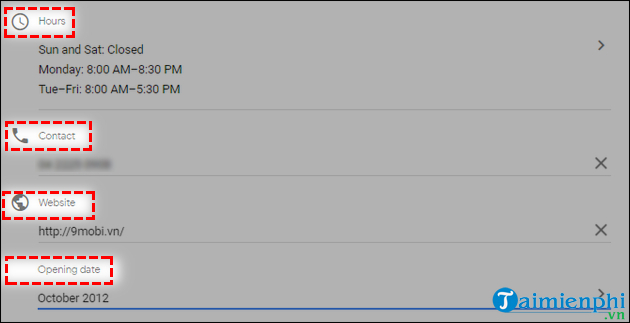
Additional fields covered opening hours, phone number, website, opening date, and photos. These details now belong in the Business Profile editor for a claimed listing.
Common problems
- A duplicate already exists: claim the accurate profile or request ownership; do not make another listing with a slightly different name.
- The address is rejected: use the official, complete address and remove unnecessary directions from the address fields. Adjust the pin only after entering the best postal address available.
- The profile is managed by someone else: submit an ownership request through the existing profile and monitor the confirmation email.
- Verification is unavailable or fails: use only the methods shown, make sure the profile follows Google's eligibility and address rules, and use Business Profile support if the on-screen process cannot be completed.
- Changes do not appear: check the edit status. Google may review the name, category, address, photos, and other changes before publication.
After the profile is live, verify the public pin from a customer’s perspective. The steps for checking a location in Google Maps can help when diagnosing a misplaced pin. Business owners can also review these useful Google Maps features to understand how customers save, search for, and share places.
Related Articles
 Google Maps Has Been Added with a Convenient New Messaging Tool3 minutes read
 Instructions for Sending Google Maps Location on PC to Smartphone4 minutes read
 How to Find the Way to Google Maps for Motorcycles5 minutes read
 How Does Google Maps Work?: Why Google Created Google Maps12 minutes read
 Please Download the My Business App from Google's Own, Free for Small and Medium Enterprises4 minutes read
 Tips for Using Google Maps on Android11 minutes read
Reader Comments 0
Sign in with email or Google to join the discussion.