Steps to calculate area in AutoCAD
In AutoCAD, we can quickly calculate the area without having to apply formulas and calculate manually with the calculator. In the article below, let's explore how to calculate area in Cad.
Table of Contents
In AutoCAD, we can quickly calculate the area without having to apply formulas and calculate manually with the calculator. In the article below, let's explore how to calculate area in Cad.
1. Calculate the total area with the command aa
1.1. Calculate the area of the polygon
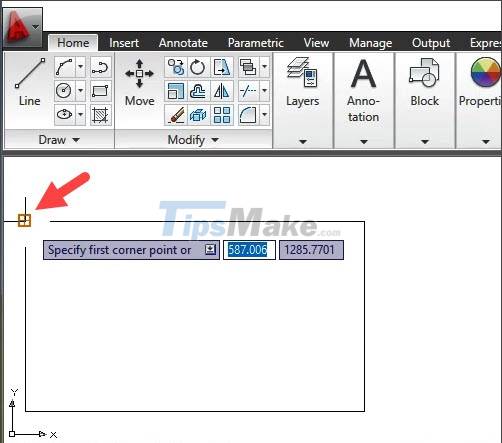
Step 1: Enter the command aa and press Enter.

Step 2: Click on the first point of the image to select the area to be calculated.
Note: To easily click on points of the shape, enable Object Snap (shortcut F3) and Object Snap Tracking (shortcut F11).
Next, you click on the second point.

Then you click on the 3rd point of the drawing.
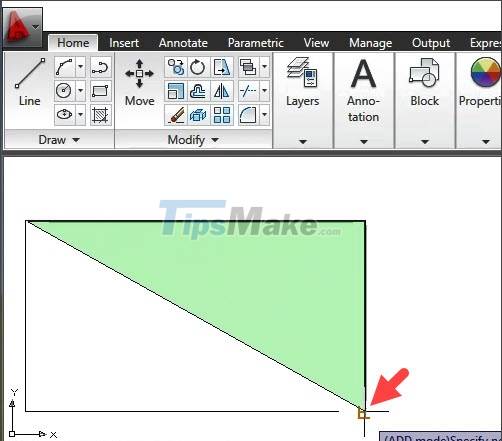
And finally, click on the end of the drawing to zone the area to be measured.
Step 3: You press Enter to calculate. The area will be shown in the command line area in the Total area section.

1.2. Calculate the area of a circle
Step 1: You enter the command aa => Enter.

Step 2: You enter the command O => Enter.
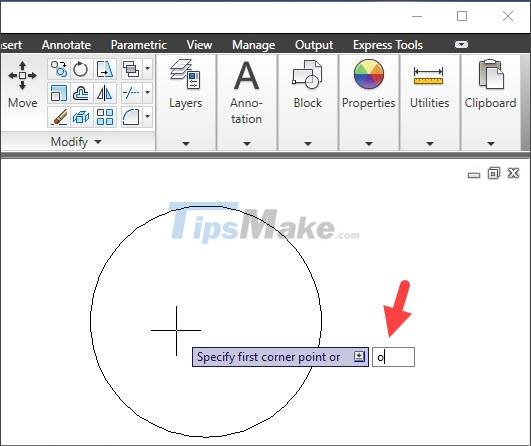
Step 3: Click on the circle to calculate the area.

Then you will see the circle area data in the command line as shown below:

2. Calculate the area minus the part of the figure that does not need to be calculated
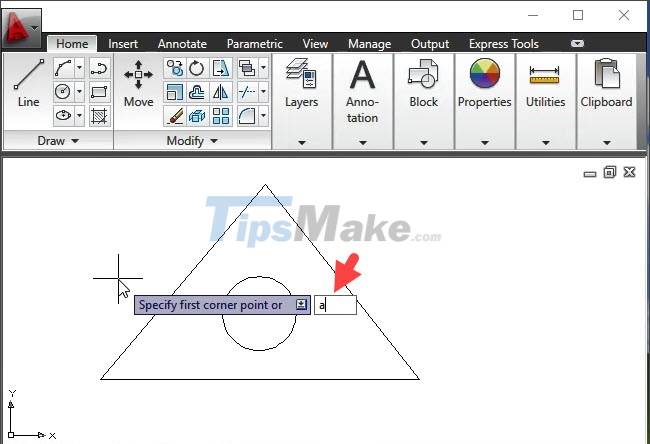
Step 1: You enter the command aa => Enter.

Step 2: You enter the command a => Enter to Add the selection to calculate the area.
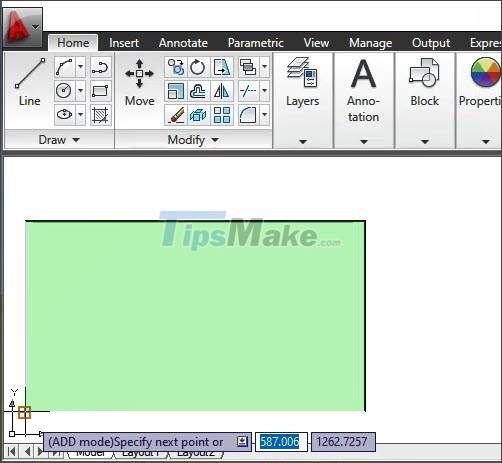
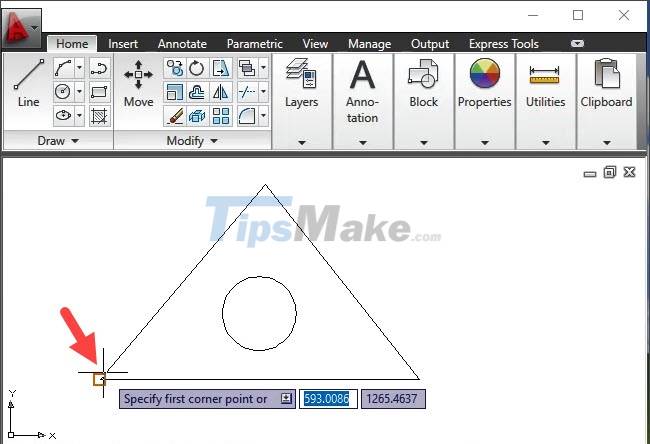
Step 3: Click on the first selection point of the image.
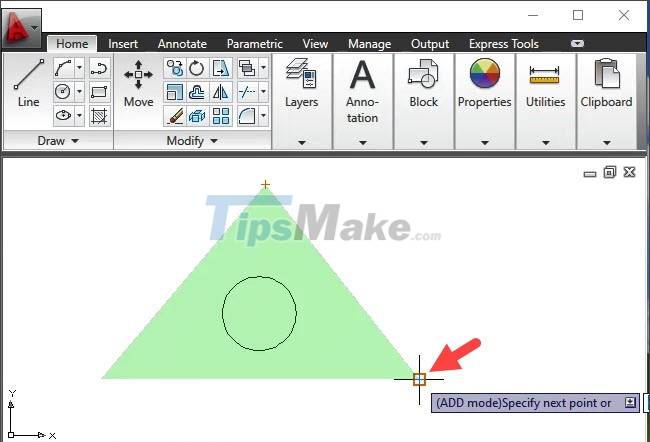
Next, you click on the second point of the shape.

And finally, you click on the end of the shape to measure the area. Press Enter to display the results.
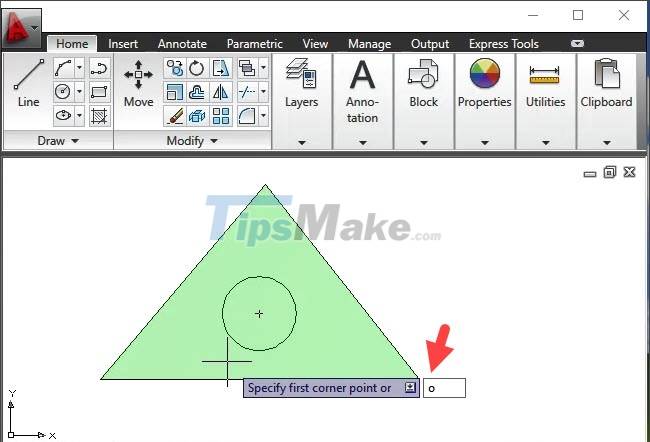
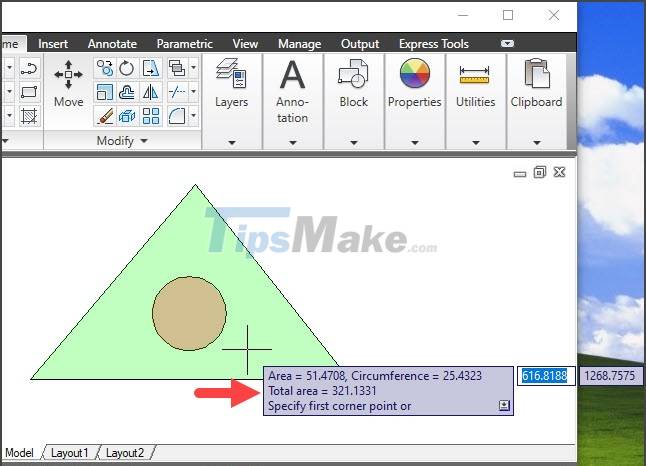
Step 4: After having the area result of the overall drawing, enter the command s => Enter to use the Subtract command to exclude the inner drawing area.

Step 5: You enter the command o => Enter to select the inner circle.
Note: If the image inside is a polygon (triangle, square, rectangle .) then enter the command a => Enter to add the drawing to be removed.
Step 6: You click on the drawing area to be removed and press Enter to calculate.

Once done, you will see the calculated area in the Total area.
With the simple and common area calculation in the article, you will not need to calculate outside but just use the command in Cad. Good luck!
Was this article helpful?
Your feedback helps us improve.
Related Articles
 Cornering steps in AutoCAD trong3 minutes read
 Formula to calculate the area of a triangle: square, regular, balanced, and even5 minutes read
 The formula for calculating rectangular box area, rectangular box volume3 minutes read
 5 best AutoCAD alternatives9 minutes read
 Copyright AutoCAD 3 years, register now2 minutes read
 Steps to retrieve unsaved AutoCAD files3 minutes read
Reader Comments 0
Sign in with email or Google to join the discussion.