Configure Exchange 2007 or 2010 to forward email to the secondary domain
Recently, the most frequently asked request is to ask how to configure Exchange Server to receive and distribute email to a subdomain..
TipsMake.com - Recently, the most frequently asked request is to ask how to configure Exchange Server to receive and distribute email for a subdomain. The reason may be due to mail merge, change in name or user may simply store multiple domains in a single Exchange Organization. To do this you can use an Authoritative Domain. However, there are two other types of accepted domain created using Exchange Server and below are detailed information:
Accepted Domain Types
There are 3 types of accepted domains in Exchange:
- Authoritative Domain - It is used when recipients are configured within Exchange, such as when configuring users within your organization with a secondary email address
- Internal Relay - It is used when you want to share contact with different email systems. When this type of accepted domain is configured, Exchange Server will receive the email. If there is no mailbox for this address in the Exchange Organization it will forward the mail to another server.
- External Relay - Used when the Exchange Organization is responsible for receiving an email, but will then forward it to another system. In this case, there will be no mailboxes within the Exchange Organization for this domain.
Authoritative Domain
To configure an authoritative domain, we can use either Exchange Management Console or Exchange Management Shell. In this tutorial we will use the Exchange Management Console.
Use Exchange Management Console to navigate to Configuration Configuration > Hub Transport > Accepted Domain . In the Action pane on the right, select New Accepted Domain . It will start the wizard, allowing you to configure Exchange for a new domain.

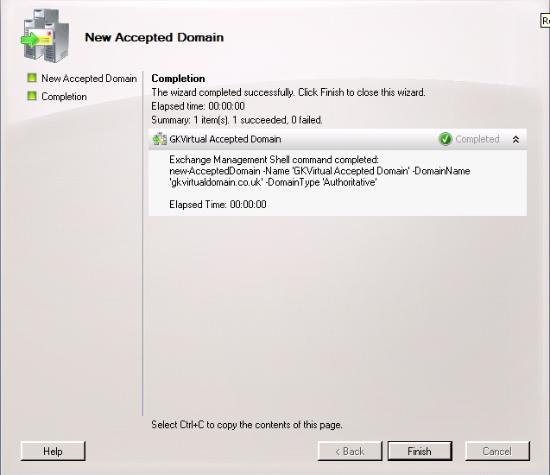
Enter a name for the accepted domain. No matter what the name is, it doesn't matter but make sure that this name will help you identify it later. If you have more than one name, you'll find it difficult to identify what you need. Then, in the accepted domain section, enter the domain name you want Exchange Server to accept the email to. Click Next .
You will then see a screen confirming the information on the previous screen. Click Finish. The process of creating an Accepted Domain used for Internal or External routes is similar except for the first screen when you will have to choose either Internal or External .
Internal or External Relay
Once you have created an Internal or External Relay domain, you need to configure a Send Connector so that Exchange knows where to route emails for this domain.
To do this, use the Exchange Management Console to navigate to Organization Configuration> Hub Transport . In the Action panel on the right hand side, select New Send Connector . It will launch a wizard, allowing you to configure a new connection.
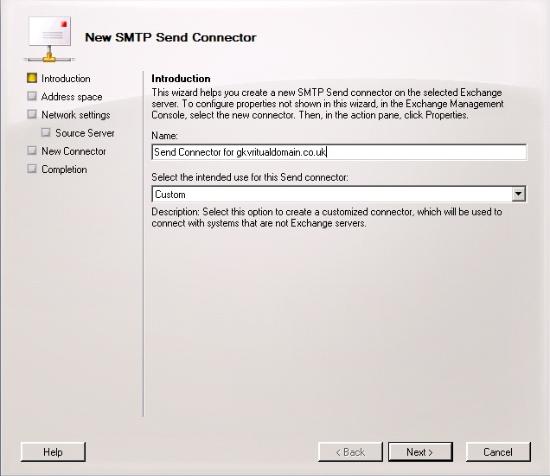
Enter a name for the connection. Again, this name is not important, but make sure you identify the connection easily when you need it. From the drop down list select Custom . Next, click Next .

On the next screen, click the Add button and enter the domain name you want to forward to another server. Users can click on the option to include all sub domains. For example, if you have a domain called mail2.gkvirtualdomain.co.uk and want it to go to the same place, check the box. Next click OK and Next .

On the next screen, the user can enter the IP address of the system that wants to send the email to or the Fully Qualified Domain Name (FQDN) . Click OK and Next .
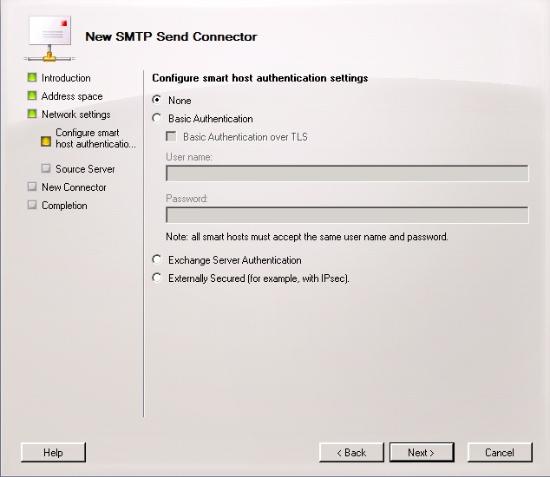
The screen above is where you can enter any confirmation needed to connect to another system. This depends on the system you will email to. Select and click Next .
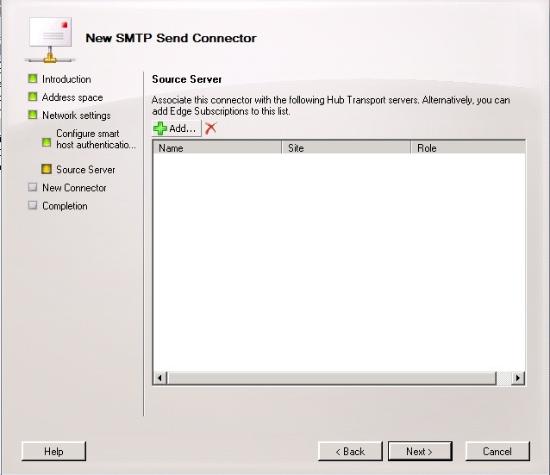
On the Source Server screen, click the Add button and choose from a list of servers in your company that have the Hub Transport role or choose Edge Subscription . Next, click Next .
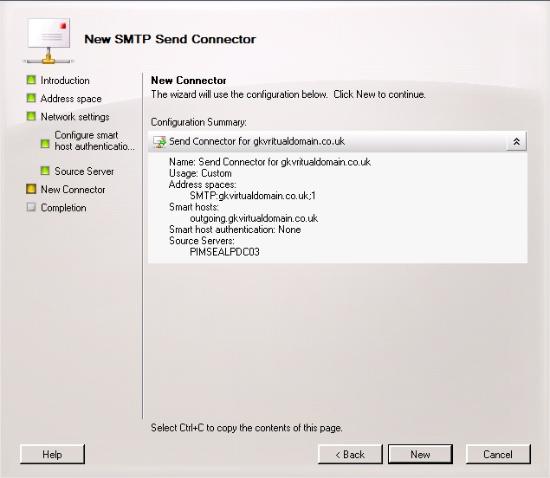
The screen above only confirms the information you entered on the previous screen, review them here and, if necessary, use the Back button to make changes or modifications. When you are satisfied with the information, click the New button.
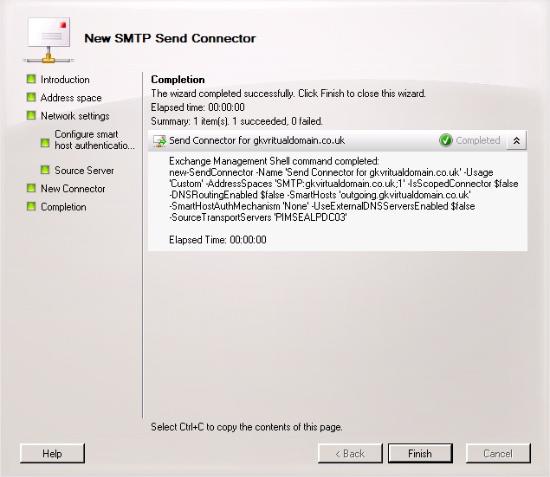
On the final screen, you will receive a confirmation of the Exchange Management Shell that was executed and whether or not it succeeded. Click the Finish button to close the Wizard .
Policy about E-mail address
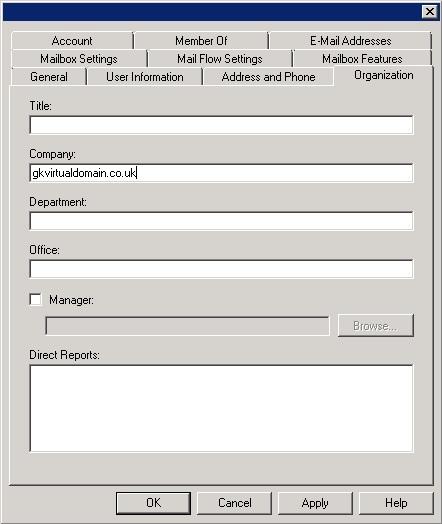
If you have previously configured an Authoritative Domain or Internal Domain, then you may want to automatically create email addresses for existing or new contacts. We often use the Company section under the Organization tab and enter the domain name that this user belongs to. The only thing to note here is that if you write a non-standard email address, you will have to edit the email address policy. Before it is applied, users will not be able to enter any criteria here. Until you finish (policies do not remove email addresses), it will only add extra addresses.
You will then have to configure an e-mail address policy. To do this, go to the Exchange Management Console and navigate to Organization Configuration > Hub transport and in the Action pane on the right, select New e-mail address policy . It will open a wizard to create a new policy.

Name the policy. As mentioned, it doesn't matter what your name is, but make sure you can identify the name of the policy when you need it later. Next, click Next .
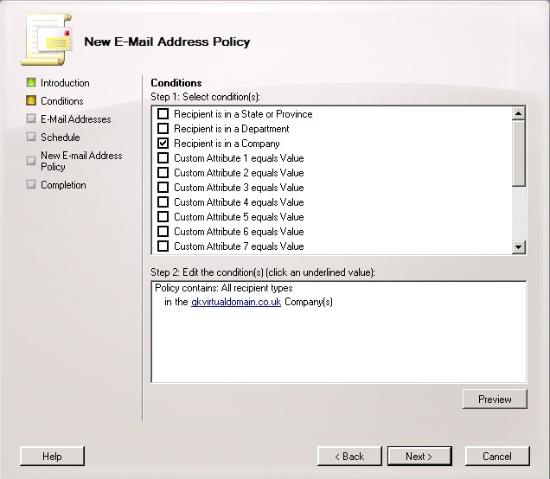
On the Conditions screen, you will have to specify the criteria for the new policy recipient. If you want this policy to apply to all recipients, you should not do anything here. If you are creating a policy for the company, you can check ' Recipients is in a Company '. Click Next .
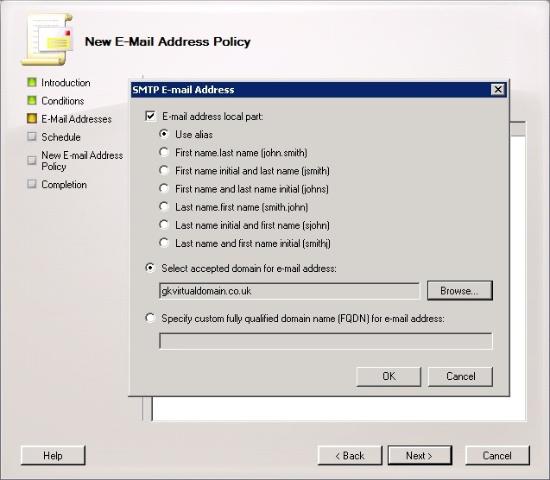
On the E-Mail Addresses screen , you need to specify which email address will be used by this domain. Choose one of the default settings (if no settings match the requirements, you can edit it later), then click the Browse button to select the domain you created earlier as an accepted domain. . Note that if this domain is not listed, Exchange may not have considered it as an accepted domain. Once you have selected the domain, click OK . Once you have returned to the main wizard screen, right-click the email address and it will help you edit the format of the address, allowing you to add a separate section for the address.
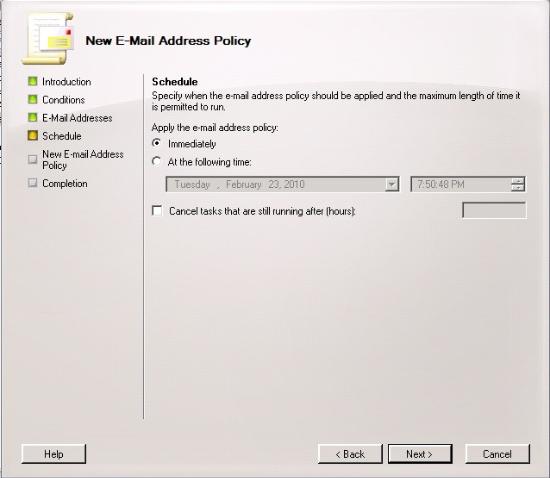
On the Schedule screen, select when you want to run the calendar. This process does not stop any services but if you have a large number of users, it will take a while to apply and potentially cause service errors. Click Next .
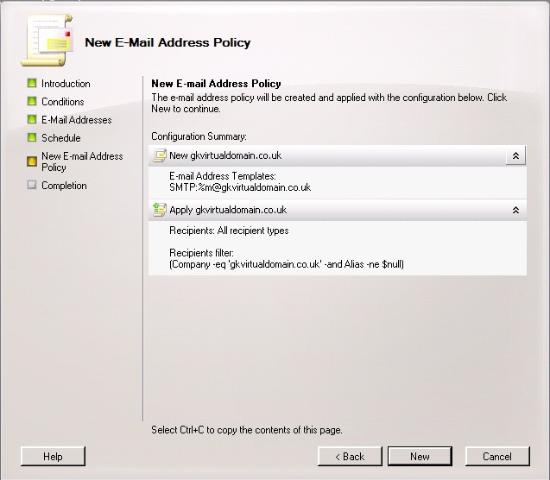
Check the details on the confirmation screen and if all is correct, click New . If there are any changes, click Back .
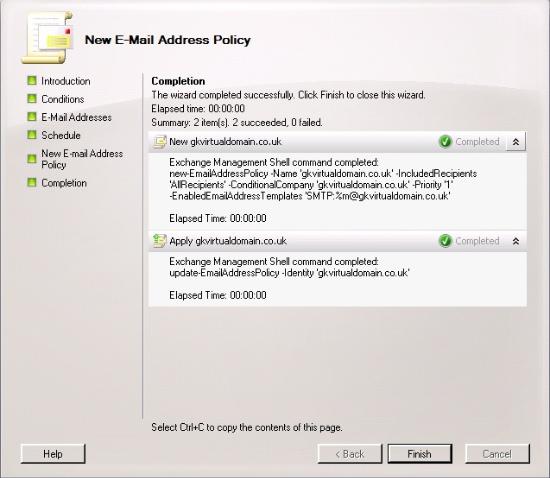
The final page of the wizard will confirm that the Exchange Management Shell command has been run and will notify if the policy creation and application to the recipient were successful. Click Finish to complete the Wizard.
Configure DNS
The last part is DNS configuration. Users will have to configure the MX record for the new domain to use a record that meets the requirements of the rDNS record (PTR). This is the only thing to change. Since the Exchange server will connect to the recipient's SMTP services using the same IP address, no matter which domain you are using, you only need a rDNS record.