Clear the cache for Live Tiles on Windows 10
After using Windows 10 for a while, you might find that Live Tiles become slow or freeze when opening the Start Menu. This is when you need to clear the cache for Live Tiles on Windows 10 because the cache memory is full. The following guide will help you clear the cache for Live Tiles on Windows 10..
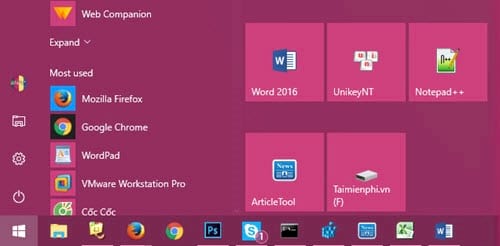
Live Tiles are files, applications, or software displayed directly on the Windows 10 Start Menu. These Live Tiles aren't static; they support direct interaction, like the Mail or Weather applications. Each interaction saves a file to the cache, and this cache isn't unlimited. Similar to web browsers, you should regularly clear the cache in Firefox or Chrome because if it's full, all operations will slow down.
It's not just Firefox or the Live Tiles mentioned in this article that need clearing; even the Windows Store, the app store on Windows 10, is no exception. Clearing the Windows Store cache , or any other application or software cache, is quick and easy. This is a habit you should cultivate if you want your computer to always perform at its best.
Instructions on how to clear the cache for Live Tiles on Windows 10.
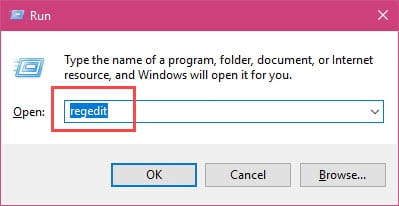
Step 1: First, press the Windows + R key combination , then type " regedit " and press OK to access the Registry Editor.
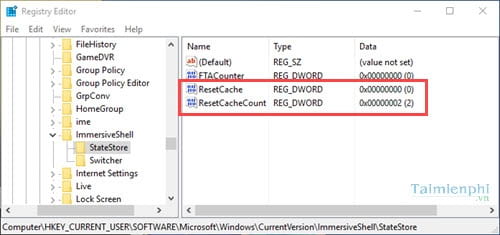
Step 2: In Registry Editor , navigate to the following path: HKEY_CURRENT_USER > Software > Microsoft > Windows > CurrentVersion > ImmersiveShell > StateStore.
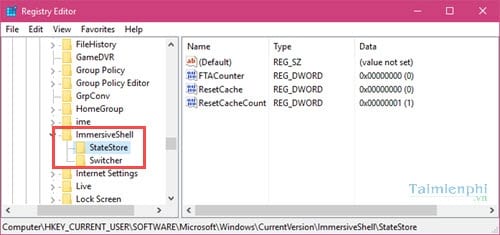
Here we see that the StateStore section has two values: Reset Cache and ResetCacheCount.
- Reset Cache: This value displays the cache on Livetile. If it's 1, it means there is cached data and you need to clear it.
- ResetCacheCount: A counter that shows how many times you have reset the cache.
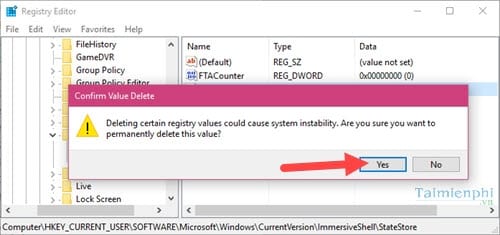
Step 3: To clear the cache, you must first delete ResetCache . Right-click on the value and select Delete .
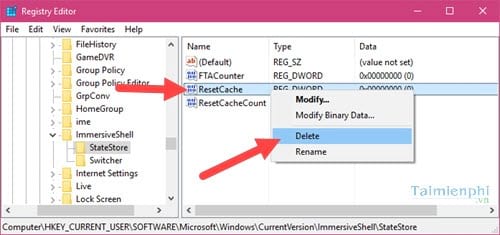
The system will confirm your action; click Yes to continue agreeing to delete.
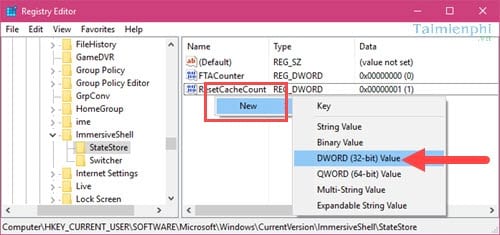
Step 4: Next, click on the blank space and select New > DWORD (32-bit) Value to recreate the ResetCache .
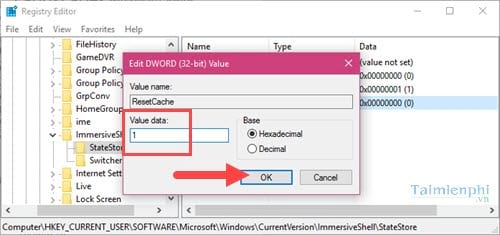
Step 5: Double-click on ResetCache , change the Value data to 1 , and then confirm with OK .
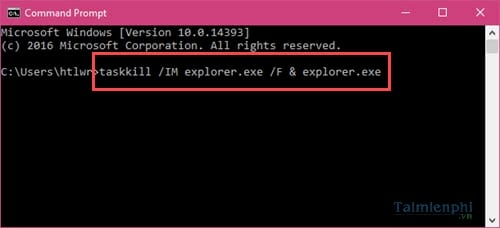
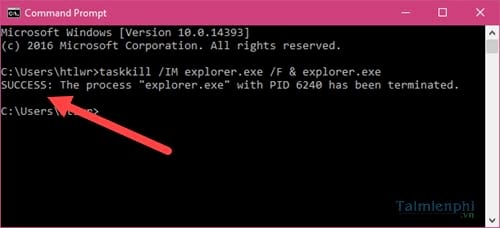
Step 6: Open CMD on your computer by pressing the Windows + R key combination , typing "CMD", and pressing Enter. ( Refer to step 1 for instructions .) Then enter the following command: taskkill /IM explorer.exe /F & explorer.exe and press Enter.
Step 7: Once you see the "Success" message , you will notice the change. Then close CMD and return to the Registry Editor you were using earlier.
At this point, you will see that the ResetCache value is 0 and ResetCacheCount is 2 , which means you have successfully cleared the cache for Live Tiles on Windows 10.
With the instructions above, you can now clear the cache for Live Tiles on Windows 10 yourself. Clearing the cache and cleaning up your computer is something you should do regularly. Don't forget to clean both the outside and inside of your computer to achieve optimal performance when using Windows 10. In addition, cleaning up your computer also helps increase speed and performance by completely removing junk files. These are files generated during the use of software and applications, and over time, we need to clean them up and remove them from the computer, just like clearing the cache for Live Tiles on Windows 10 to prevent Live Tiles from freezing during use.