Why you should rename an audio device in Windows 10 and how
Have you ever felt confused when managing audio devices such as speakers, headphones, microphones… on Windows 10? To make it easier to identify connected audio devices on your system, give each device a specific name..
We'll show you how to do this on your PC.
Why should you rename the audio device on the system?
As mentioned, custom naming for each audio device connected to the system is essential if you own a large number of devices that are difficult to distinguish, For example, if you are connecting a lot of devices. Different speaker systems with your PC, giving each system a unique name, will allow you to quickly select the device you want to use when needed.
Also, renaming devices also helps to fix problems with them. Because you can choose the right device while trying to figure out the problem.
Rename audio output device on Windows 10
First, open the Settings app by pressing the Windows + i key combination.
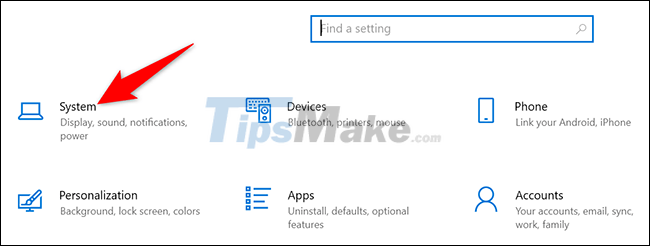
In the Settings application interface that opens, click on the 'System' item.
On the 'System' settings page, click on the 'Sound' item in the list on the left.

In the 'Output' section that appears on the right, click the 'Choose Your Output Device' drop-down menu and select the output audio device you want to rename. Then click on 'Device Properties'.

Next, click in the text field and enter a new name for the device.
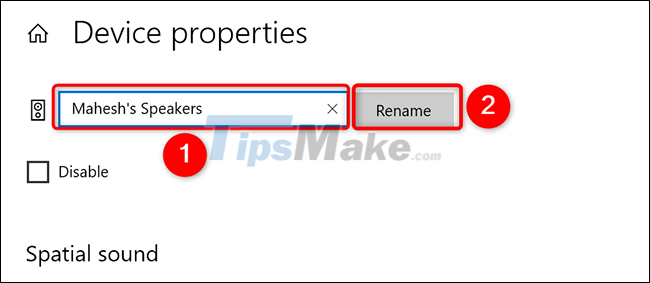
Done, your device now has a new name. Windows 10 will not show any confirmation message, but rest assured that your device has been renamed. You should now see the device's new name appear in the relevant apps.
Rename audio input device on Windows 10
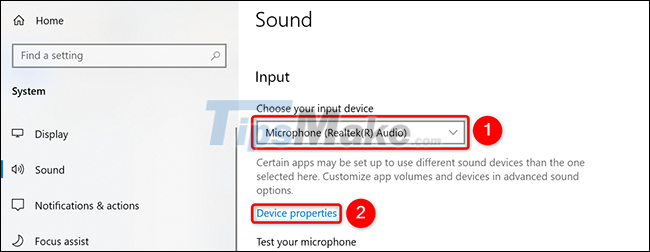
To rename an audio input device on Windows 10, such as a Microphone, follow the same steps above to access the 'Sound' settings. Then, scroll down to the Input section, click the 'Choose Your Input Device' drop-down menu, select the microphone you want to rename, and then click on 'Device Properties'.
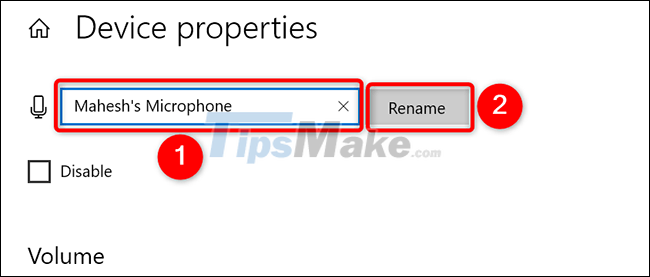
Now click in the text field and enter a new name for your microphone. Then, next to this text field, tap 'Rename'.
That is all. Hope you are succesful.