What is the Google Photos storage feature?
In fact, storing on Google Photos does not take on the task of freeing up or hiding files. So what is storing on Google Photos and how to use it?.
Many people often think that the Google Photos storage feature is a button to delete files, free up space on the Google Photos account or set images to private. However, in reality, storing on Google Photos does not take on these tasks. So what is storing on Google Photos and how to use it?
What does Google Photos Archive do?
Google Photos storage has only one task: to delete images from the main Photos interface.
Although the archive does not show the image in the main Photos interface, there is no security feature so anyone who accesses it can find the image.
The archive is for cleanup purposes only. Archived images are still searchable and still show up in albums. This is useful for cleaning up screenshots and scans that are piling up in the main app library.
How to use storage on Google Photos effectively
To store photos on Google Photos, go to Photos, then click on the image you want to store . Click on the 3-dot icon in the right corner of the image.
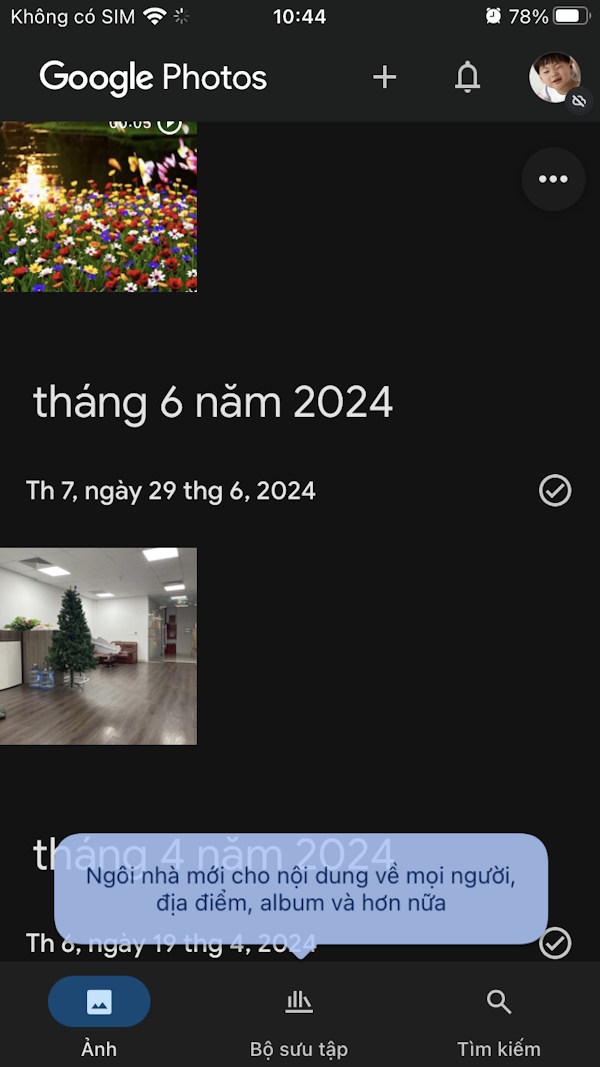
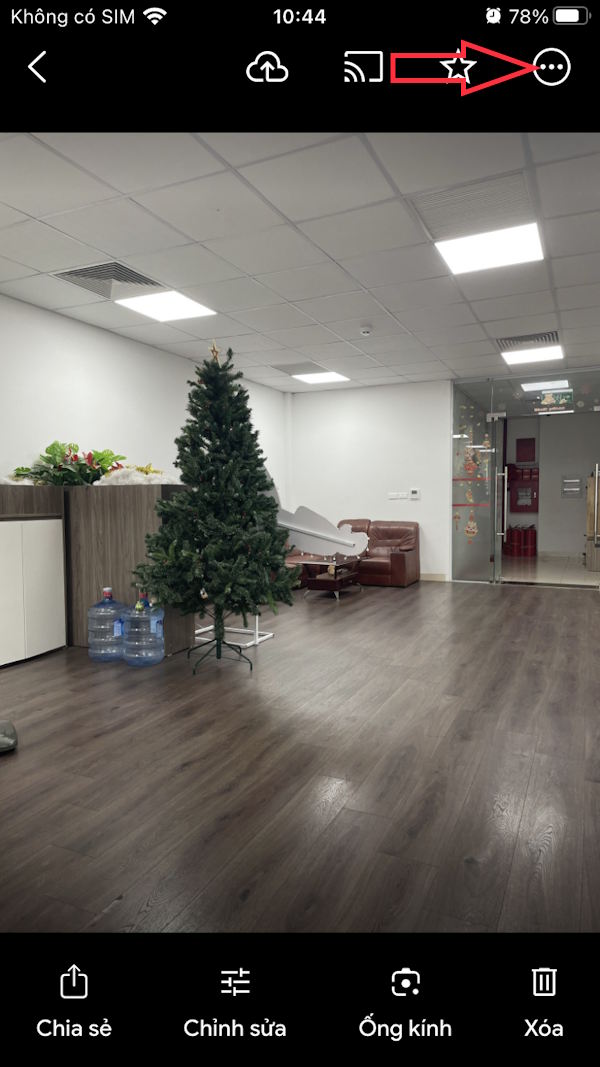
Show the options below you click on Archive . The image will disappear from the main Photo interface of the application. The image result has been stored on the application.


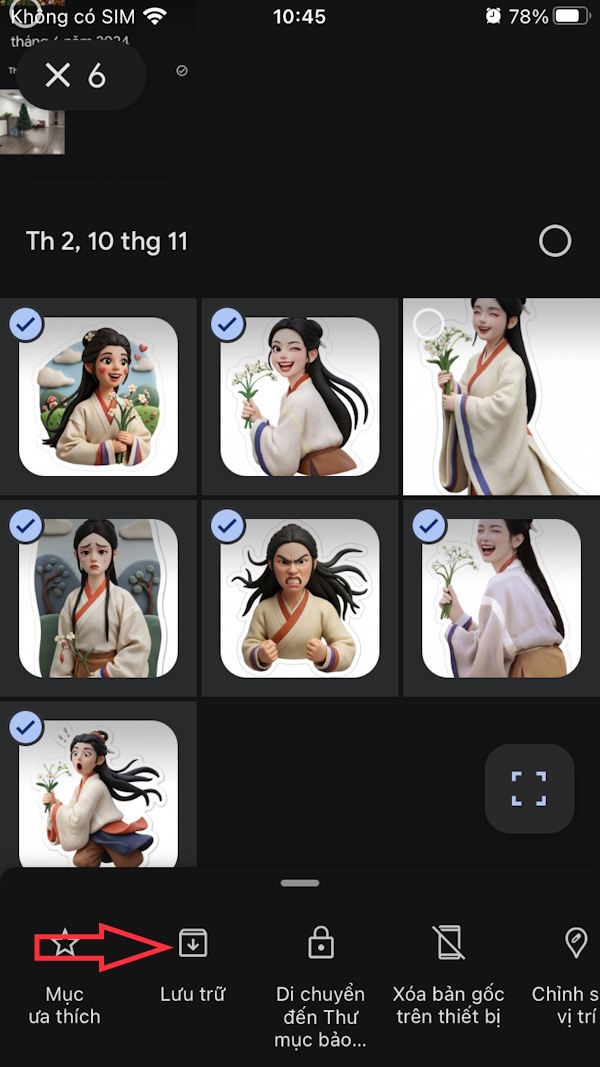
We can also store multiple photos in Google Photos . You click on the photos you want to store. Then below the photo options, click on Store to do so.

Instructions for managing photos stored on Google Photos
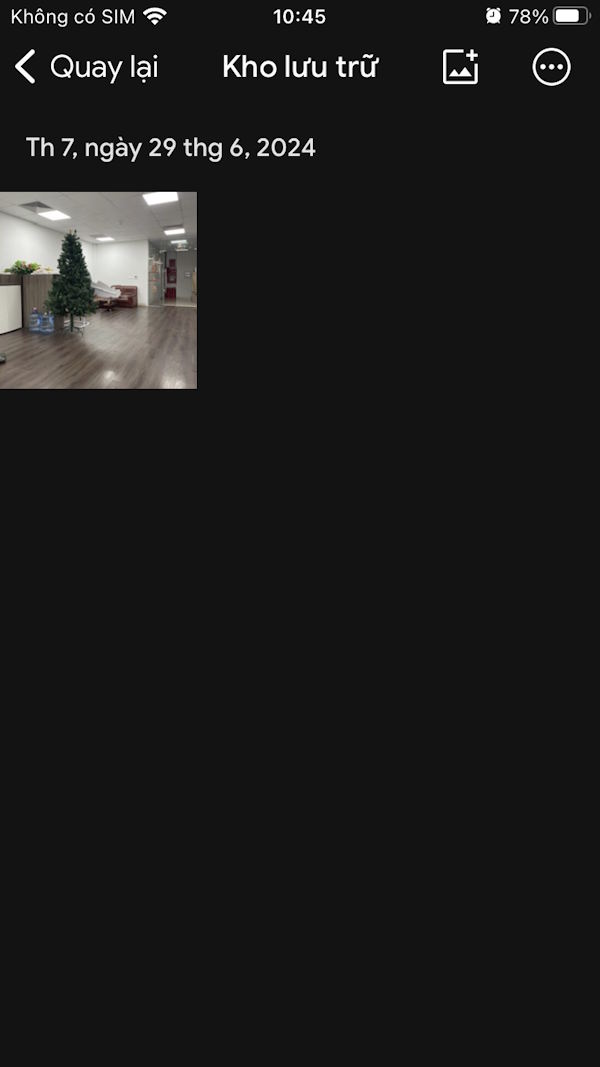
Images after being stored will be added to a separate folder for easy management.
Step 1:
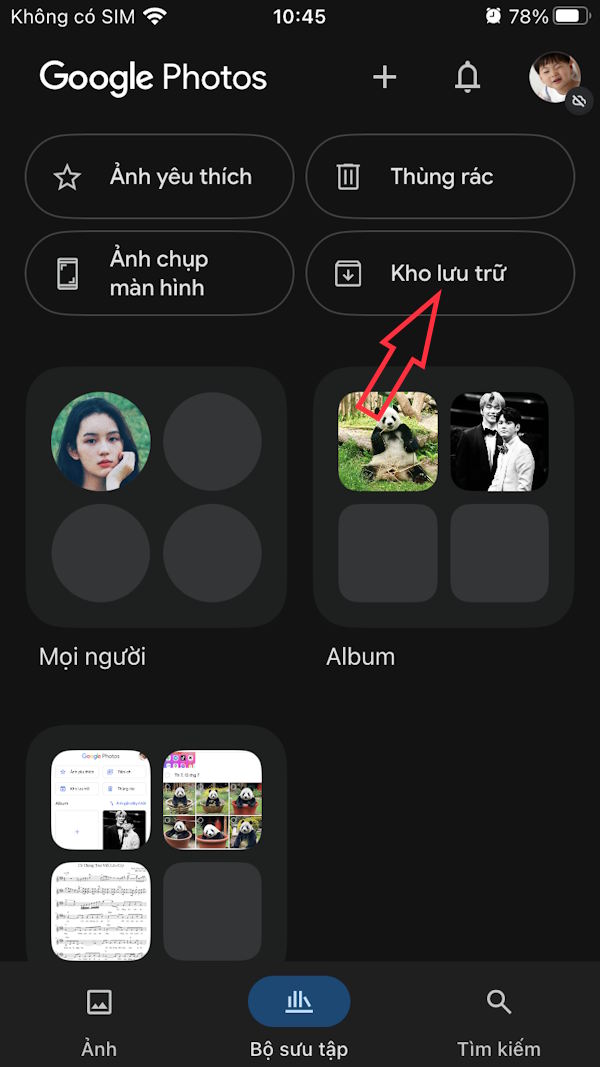
We click on Collection and then click on Archive . Here you will see the stored images or videos.
When you select a photo and tap the 3 dots icon there will be an option to Unarchive if you want.

Step 2:
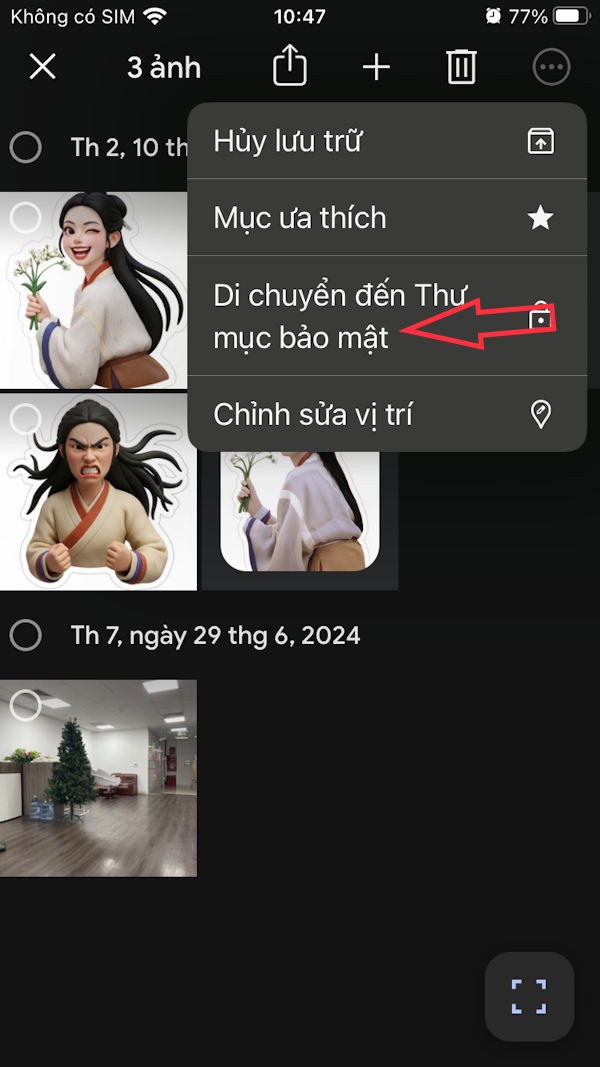
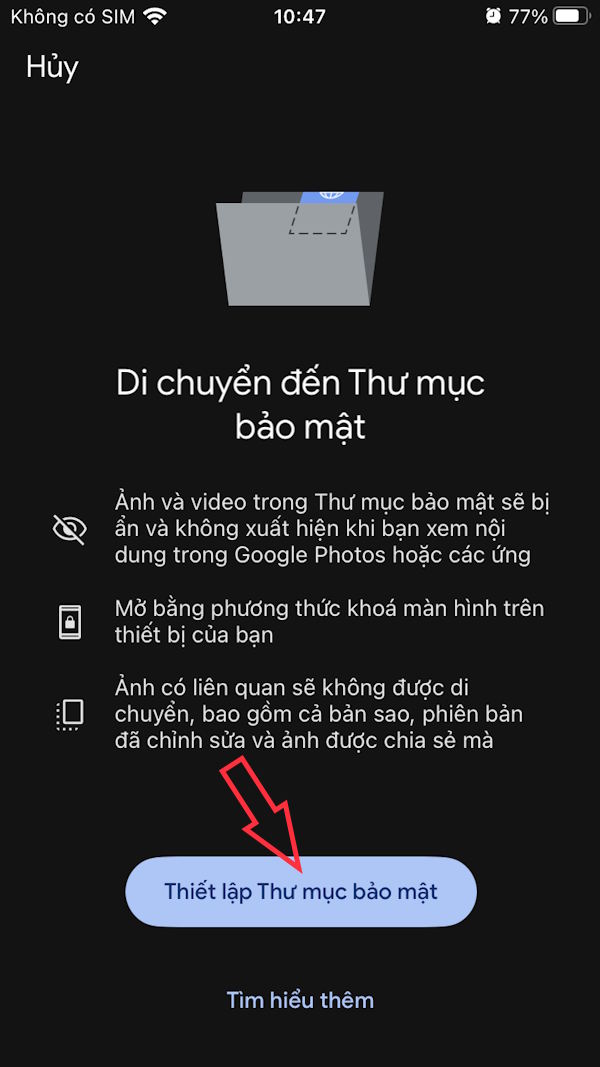
In addition, if you want to hide important photos , you should move the stored photos to a secure folder on Google Photos.
Select the photos you want to add to the secure folder, then tap the 3-dot icon and select Move to Secure Folder . Then you proceed to create the secure folder according to the instructions displayed on the screen.