Show you how to create your own shortcuts in Word very simply
Using keyboard shortcuts in Word helps you save time when performing mouse operations and achieve better work efficiency. The article below will show you how to create your own shortcuts in Word very simply.
Table of Contents
How to create your own keyboard shortcuts in Word
Step 1: Open the Word Options dialog box
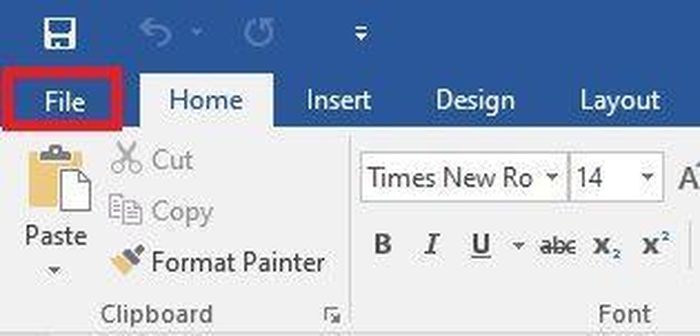
First, click the File tab on the toolbar in the text editor interface.
Then click Options .
Now the Word Options dialog box will appear.
Step 2: Create shortcuts
In the Word Options dialog box , select Customize Ribbon in the menu bar and then select Customize as shown below.
Now a new dialog box opens, which is the Customize Keyboard dialog box . Here, we will set up 3 items:
- Categories : name of the command you want to create a shortcut for.
- Press new shortcut key : where to create a shortcut key for the command.
- Current keys : old shortcuts that were previously installed.
To create a shortcut, select the command in the Categories section , then enter the shortcut into Press new shortcut key (enter the shortcut using the keyboard, do not write the shortcut name). Then select Assign to confirm.
Below is an example of creating a shortcut for the Design Tab command with the keyboard shortcut being Ctrl + D.
After selecting Assign , the newly created shortcut will be moved to the Current keys section .
Click Close to complete. So you have finished creating the shortcut.
If you select a command and see the shortcut appear in the Current keys section , it means that this command has a shortcut previously set. If you want to keep it the same, ignore it. If you want to change it, enter a new one in the Press new shortcut key section , then press Assign .
Some notes when creating shortcuts on Microsoft Word
In Microsoft Word, when creating shortcuts, keep in mind the following points:
– New shortcuts must start with the Ctrl , Shift or Alt keys .
– When installing a new shortcut, in the Press new shortcut key section , do not type the key name but press the shortcut key combination directly on the keyboard.
– Select Reset All if you want to cancel the created shortcuts.
Above are detailed instructions on how to create extremely simple shortcuts on Word. We invite you to read and apply. Good luck.
Was this article helpful?
Your feedback helps us improve.
Related Articles
 How to set up shortcuts on Microsoft Word 2016 yourself3 minutes read
 Create useful shortcuts for Office 20133 minutes read
 Create a Word document shortcut that is unfinished on the Desktop2 minutes read
 Create a quick dot (……………) line in Microsoft Word3 minutes read
 Shortcuts in Word need to know10 minutes read
 Create shortcuts for quick actions in Word 20133 minutes read
Reader Comments 0
Sign in with email or Google to join the discussion.