Send a fax from a Windows XP-based computer
 Instructions for using a computer to perform print and scan tasks
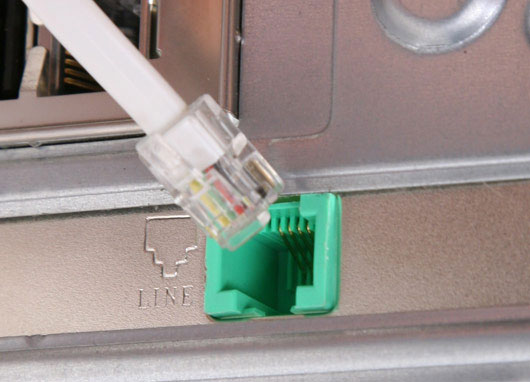
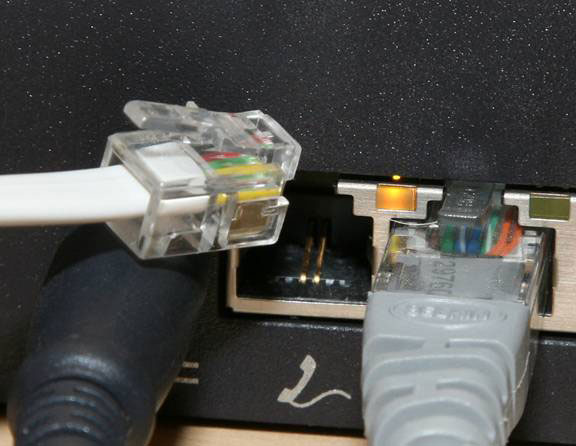
You can send and receive fax documents using a computer fax / modem. If the document you want to fax is in paper, scan it first and then send the scanned image. When you receive a fax, the computer saves it as an image file that you can save and print. To prepare a computer for sending and receiving fax documents, first connect your computer modem to the phone line with a standard phone cable. Then prepare your computer.
Install the Fax component
Fax components need to add software and activate your computer fax / modem.
To install the Fax component
1. Log on to the computer as an administrator. If you are not sure if your account is an administrator, try installing the fax component. If the account does not have computer administrator privileges, you will receive a notification and the installation will be stopped. If that happens, ask someone to set up your account so that this installation can be done.
2. Click Start , and then click Control Panel .

3. In Control Panel , click Add or Remove Programs .

4. Click Add / Remove Windows Components to start the Windows Components Wizard .
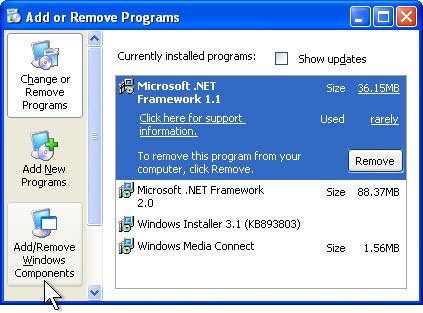
5. In the Components list, check the Fax Services check box, and then click Next . Click Cancel if this check box is selected and you want to uninstall the Fax component.
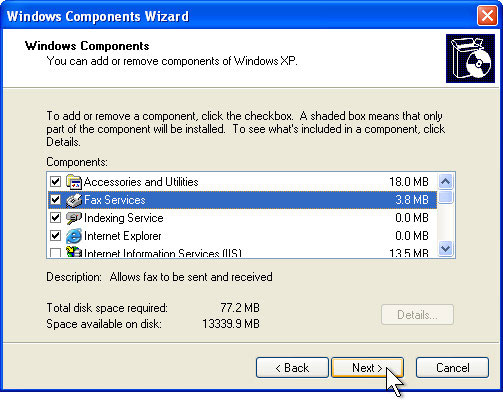
6. The system will install the fax component. If you are prompted when installing, insert the Microsoft Windows XP CD, and then click OK .
7. Click Finish then Close . Switch to the next section to configure the fax service.
Configure fax service
To configure fax service in Windows XP
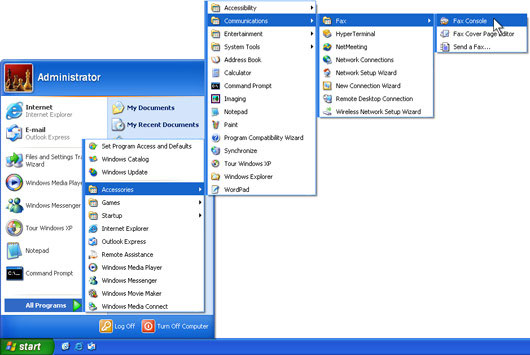
1. Go to Start > All Programs > Accessories > Communications > Fax , and then click Fax Console .
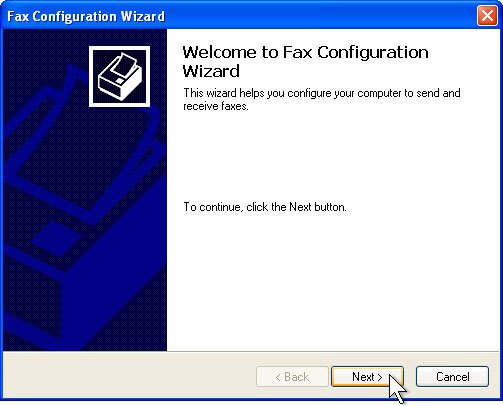
2. When the Fax Configuration Wizard appears, click Next .
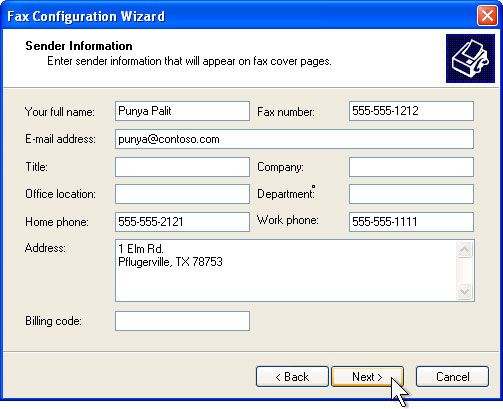
3. On the Sender Information window, type in the information you want to appear on the fax's margin page. It is not necessary to fill in all the fields in it. Click Next to continue.
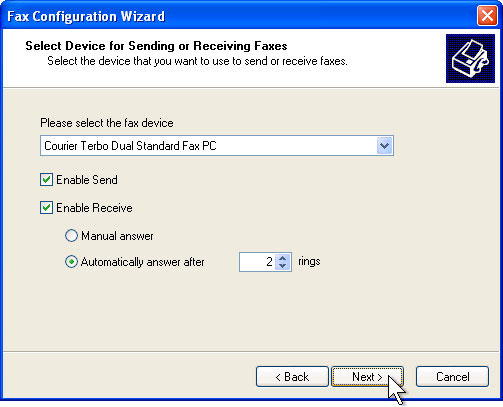
4. The Fax Configuration Wizard will display the Select Device for Sending or Receiving Faxes window . If you want to be able to receive incoming faxes, check the Enable Receive checkbox . If the phone line connects to your computer for fax use only, click Automatically answer after . If you want to manually answer incoming faxes, click Manual answer . Then click Next to continue.
5. On the Transmitting Subscriber Identification (TSID) window, type the information you want to use in the TSID box. Typically, this information usually includes your fax number and business name as well as your name. Then click Next .

6. On the Called Subscriber Identification (CSID) window, type the information in the CSID box. CSID is information that will be displayed on incoming fax numbers. This number will help confirm that you are sending the fax to the correct recipient. CSID is like TSID. Click Next .

7. In the Routing Options window, select whether you want to print faxes automatically. If you do not automatically print incoming faxes, they will be contained in the Fax Console. Check the Print it on checkbox if you want each fax you receive to be printed automatically. Then click Next .

8. On the Completing the Fax Configuration Wizard window, click Finish .
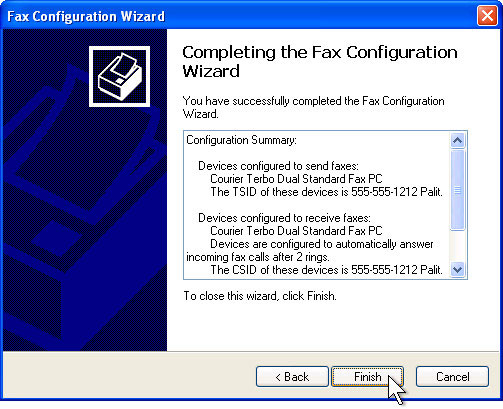
9. The Fax Configuration Wizard will be closed and a Windows Security Alert will appear, click Unblock .

Your computer is now ready for sending (optional), receiving faxes. You can use Fax Console to browse incoming and outgoing faxes, or you can do it manually.
Send fax
To send a fax, follow the instructions below:
1. Open the document, Web page, or email that you want to fax
2. On the File menu, click Print .
3. On the Print dialog box, under Select Printer , click Fax . Then click Print .
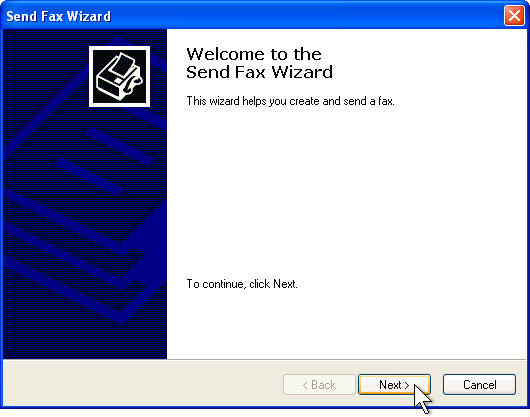
4. On the Welcome to the Send Fax Wizard window, click Next .
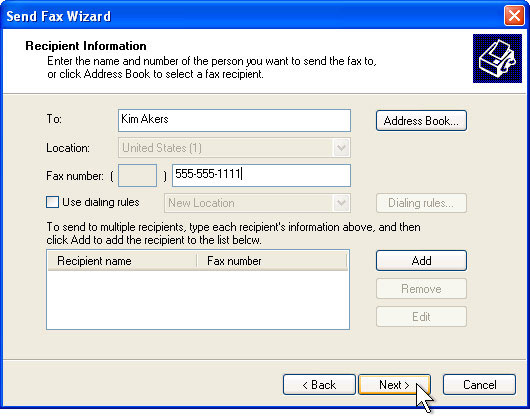
5. In the Recipient Information window, type the recipient's name in the To box. Type the recipient's fax number in the Fax number box. If you want to send faxes to multiple people, type the recipient information in the appropriate boxes and then click Add . The recipient will appear in the list, the boxes are cleared so you can enter additional recipient information. When you have finished adding recipients, click Next .
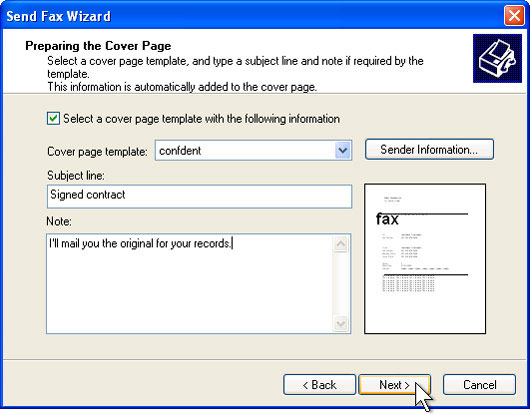
6. In the Preparing the Cover Page page window, check the Select checkbox a cover page template with the following information . Click the template you want to send in the Cover page template list . Complete the Subject line box and options, the Note box. Then click Next.
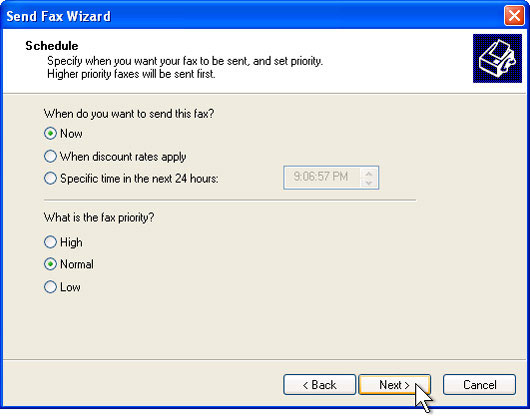
7. In the Schedule window click Next .
8. In the Completing the Send Fax Wizard window, click Finish .
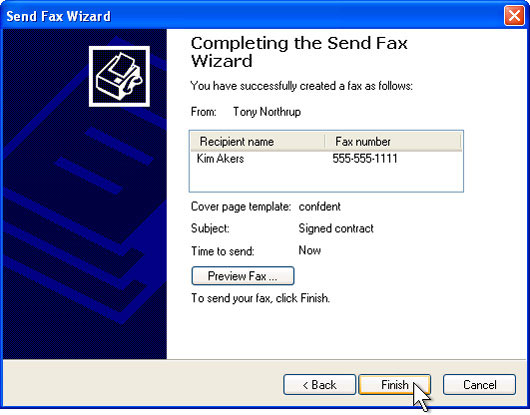
Your computer will now automatically connect to the remote fax machine and send a fax with the cover page. If the copy requires a fax on the paper, first scan it, then fax the scanned image.
Receive faxes automatically
If you have configured the fax service in auto-receive mode, your fax / modem will answer the fax line and store the incoming fax in the Fax Console.
To see the received faxes
1. Go to Start > All Programs > Accessories > Communications > Fax , and then click Fax Console .
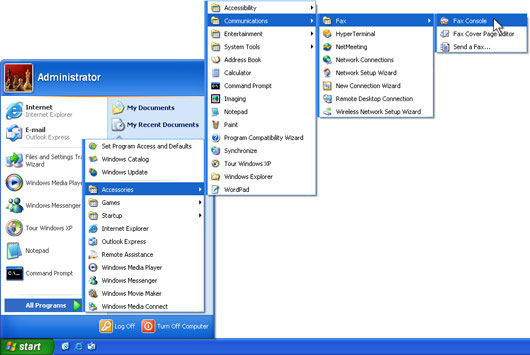
2. In the Fax Console , click Inbox . The received faxes are displayed on the right window

Manually receive a fax
If you have configured the Fax service to receive faxes manually, the fax / modem will wait until you start the fax receiving process. Fax received is then saved to the Fax Console.
To do this work
1. Go to Start > All Programs > Accessories > Communications > Fax , and then click Fax Console .

2. Click File , then click Receive a fax now .
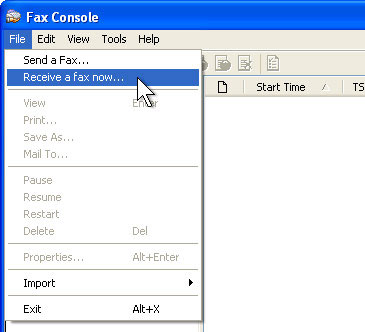
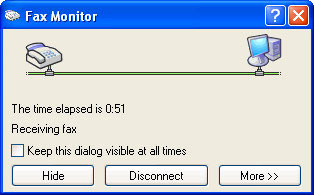
Fax Monitor will appear and wait for the fax to arrive. When the phone rings, Fax Monitor will automatically answer, connect to the remote fax machine and receive a fax. Once the fax has been received, you can leave the Fax Monitor open so that it can automatically receive subsequent faxes, or it can be closed to perform manual fax reception.
