Table of Contents
Portable RapidTyping runs from an extracted folder without a conventional Windows installation. It provides the same guided key lessons, on-screen finger prompts, and progress statistics as the setup version, while making it easier to carry the program on a USB drive or use it on a PC where you cannot install software.
Download the official portable package
- Open the official RapidTyping download page.
- Find the Portable/USB for Windows section.
- Choose the 64-bit package for most modern PCs. If you are unsure, open Settings > System > About in Windows and check System type.
- Save the archive to a local folder and scan it with your security software.
Do not download a repackaged “portable” copy from an untrusted software mirror. The official archive is already designed to run without installation.
Extract and launch Portable RapidTyping
- Right-click the downloaded archive and choose Extract All.
- Select a folder you can write to. Do not run the application from inside the compressed archive.
- Open the extracted folder and run RapidTyping.exe.
- If Windows displays a security prompt, verify the file and source before continuing.
For a USB drive, extract the entire folder to the drive and keep its files together. Eject the drive safely after closing RapidTyping so that progress data is not corrupted.
Choose a course and difficulty
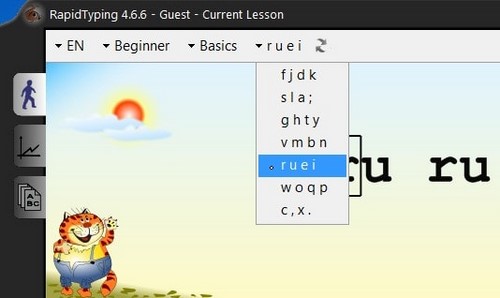
The main window shows the current lesson, an on-screen keyboard, and controls for courses and statistics.
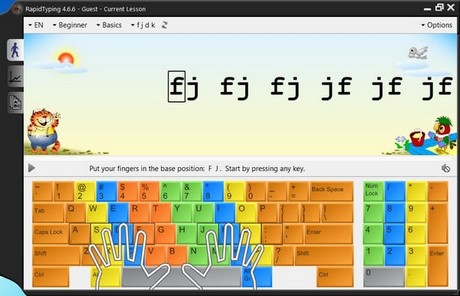
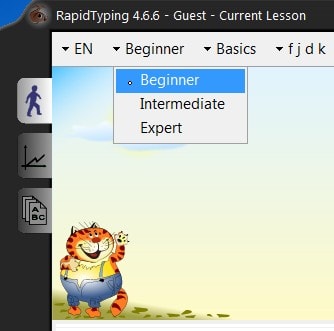
Start with the introductory or beginner course. Intermediate and advanced material assumes that you already use the correct fingers without looking at the keyboard.
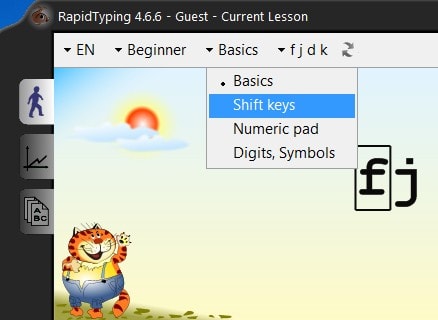
Depending on the course and keyboard layout, you can select exercises for lowercase and uppercase letters, the number row, or the numeric keypad.
Early lessons introduce small groups of keys, such as F and J, before combining them into longer sequences and words.
Follow the on-screen finger guide
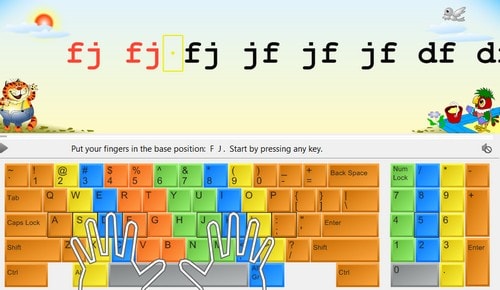
RapidTyping highlights the key you need to press and shows the corresponding finger. Keep your fingers on the home row: left hand on A, S, D, F and right hand on J, K, L, ;.
| Finger | Left-hand zone | Right-hand zone |
|---|---|---|
| Little finger | Q, A, Z and left-side controls | P, ;, / and right-side controls |
| Ring finger | W, S, X | O, L, . |
| Middle finger | E, D, C | I, K, , |
| Index finger | R, F, V, T, G, B | Y, U, H, J, N, M |
| Thumb | Space bar | |
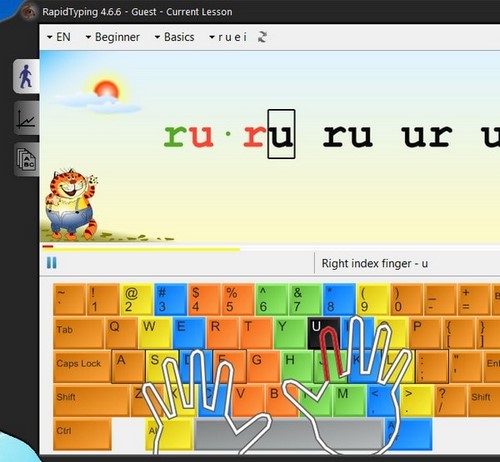
Exact punctuation and number assignments vary by physical layout. Select the matching layout in RapidTyping and follow its diagram rather than memorizing a mapping for a different keyboard.
Customize the display without changing the technique
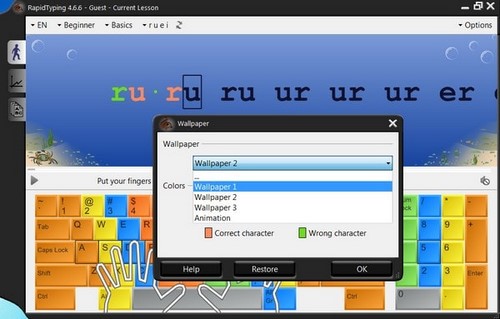
You can adjust colors, font, sounds, and the background theme in the program options. These settings do not change the lessons, but a clear, low-distraction theme can make the next character and finger prompt easier to see.
Save progress and avoid common portable-mode problems
- Keep the application in a folder where your Windows account has write permission.
- Do not rename or move individual files inside the RapidTyping folder.
- Back up the entire folder if you want to preserve profiles and statistics.
- Close the program before disconnecting a USB drive.
- If settings do not persist, move the folder out of a protected location such as Program Files.
Practice for accuracy first
Work for 10–15 minutes at a time and repeat a lesson when you still need to watch your hands. Review both WPM and accuracy after each session. TipsMake's RapidTyping practice guide explains the lesson interface in more detail. If you prefer the installed build, follow the RapidTyping installation steps. You can also compare progress with online typing-speed tests.
Related Articles
 Practice Typing 10 Fingers to Speed up Typing: Office Computing4 minutes read
 Rapidtyping - Rapidtyping Download and Installation Guide5 minutes read
 Practice Typing 10 Fingers, Typing Fast with Mario Teaches Typing6 minutes read
 How to Check Typing Speed, Typing 10 Fingers7 minutes read
 Top Websites to Practice Typing 10 Fingers Quickly in 202411 minutes read
 The Most Accurate Way to Check Your Typing Speed20 minutes read
Reader Comments 0
Sign in with email or Google to join the discussion.