Table of Contents
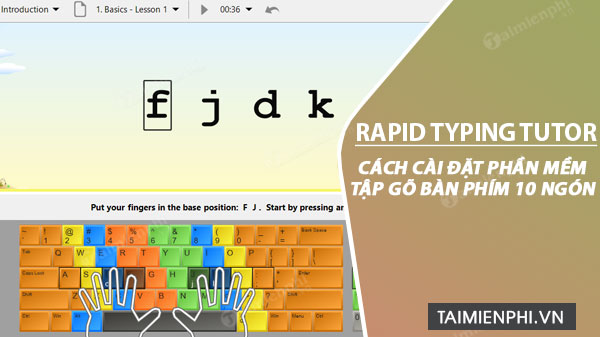
RapidTyping is a free typing tutor for Windows. You can install it on a PC or use the portable build from a folder or USB drive. After setup, the program guides you through key groups, displays the correct finger for each character, and records speed and accuracy.
Choose the installer or portable version
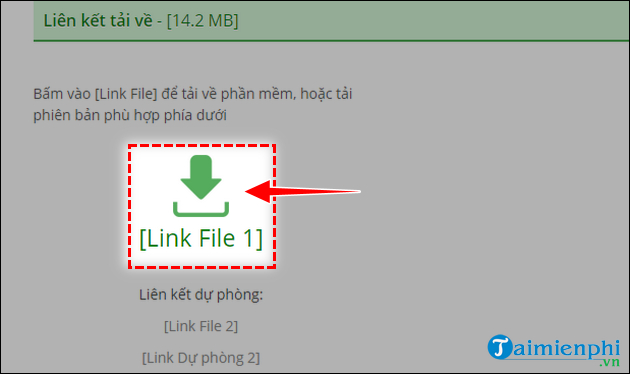
Open the official RapidTyping download page. Select the 64-bit Windows build for most current PCs; choose 32-bit only if your copy of Windows requires it.
- Setup version: adds RapidTyping to Windows like a conventional application and can create shortcuts.
- Portable version: runs from an extracted folder without a normal installation, which is useful for a USB drive or restricted classroom setup.
Download only from the official site and scan the file with your security software before running it.
Install RapidTyping on Windows
The screenshots below may show an earlier installer design, but the sequence remains similar in current builds.
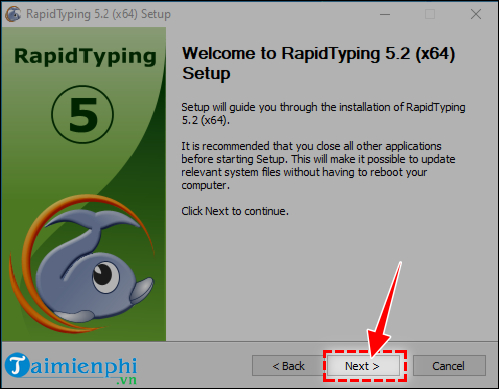
1. Start the setup wizard
Open the downloaded installer. If Windows displays a security prompt, verify the file name and publisher information before allowing it to run. Click Next on the welcome screen.
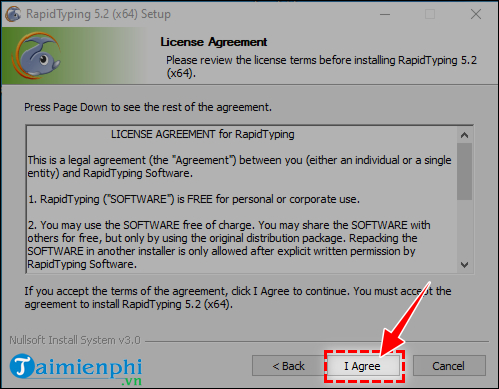
2. Review the license
Read the license terms, then click I Agree if you accept them.
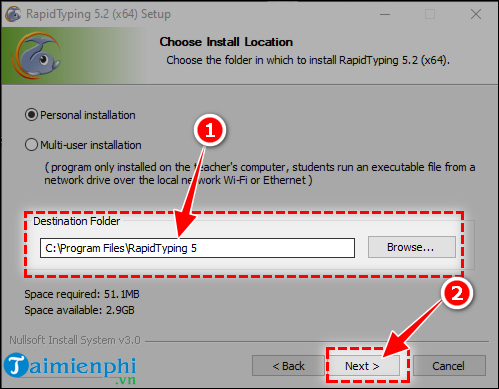
3. Select the install location
Keep the default folder unless you have a specific reason to use another drive or a classroom network location. Confirm that the destination has enough free space and click Next.
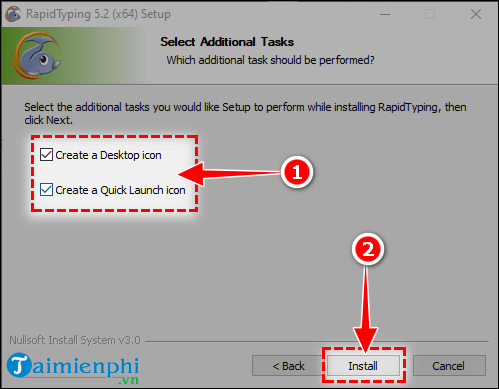
4. Choose shortcuts and install
Select the desktop shortcut if you want quick access. A Quick Launch option may not appear on newer Windows versions. Click Install and wait for the files to be copied.
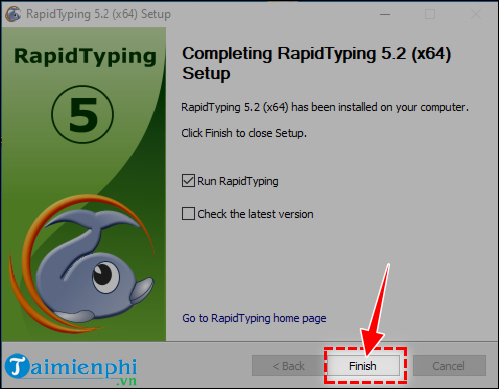
5. Finish
Click Finish. Leave the launch option selected if you want to configure RapidTyping immediately.
Configure the program on first launch
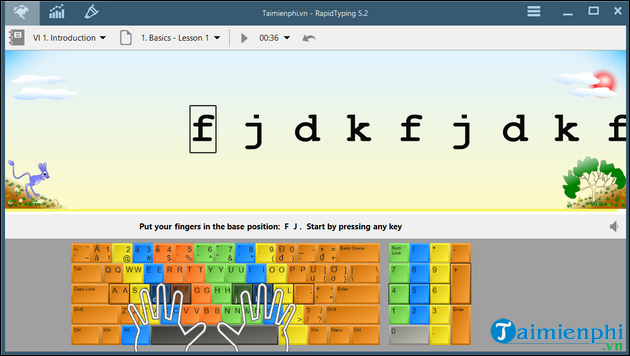
The main interface contains a lesson area, an on-screen keyboard, course controls, and access to statistics.
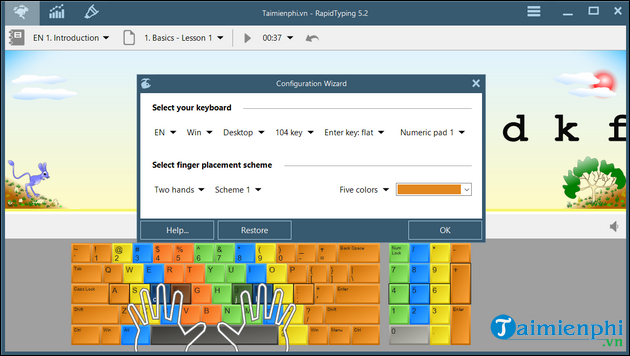
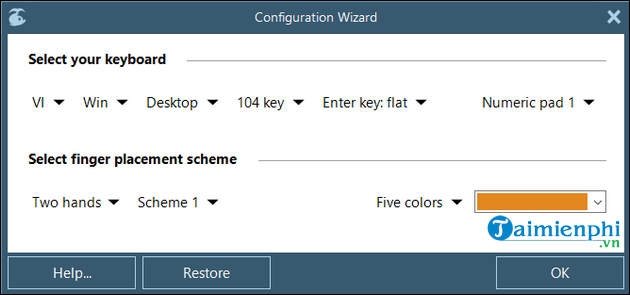
In the configuration wizard, choose the language and keyboard layout that match your physical keyboard. Also select the appropriate finger-placement scheme and whether you are practicing with one or two hands. A layout mismatch will make the on-screen key and finger prompts inaccurate.
Complete your first typing lesson
Start with the introductory course. Type each displayed character using the finger highlighted on the virtual keyboard. Keep your eyes on the screen, return your fingers to the home row, and slow down when you begin making repeated errors.
At the end, review the result rather than immediately advancing. RapidTyping grades the attempt and shows measurements such as speed and accuracy.
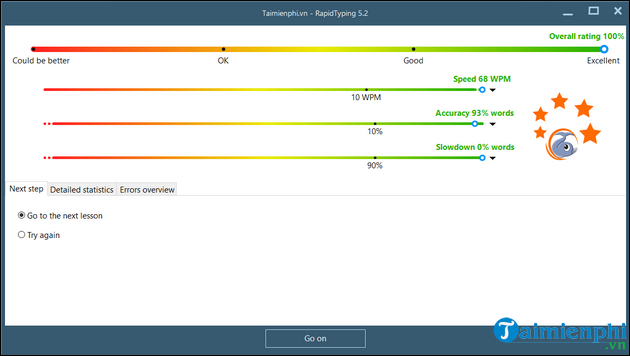
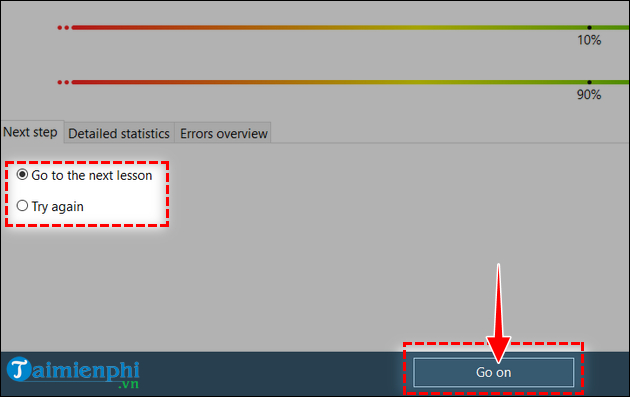
Choose Try again when errors are frequent or the assigned finger still feels unfamiliar. Choose Go to the next lesson only when you can complete the exercise accurately, then continue.
Change courses and difficulty
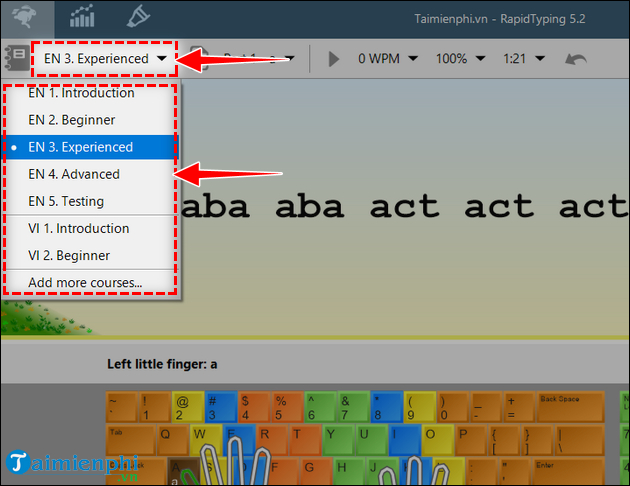
Use the course or file control to select another set of lessons. Work from introductory key drills toward words, sentences, and tests instead of jumping directly to advanced material.
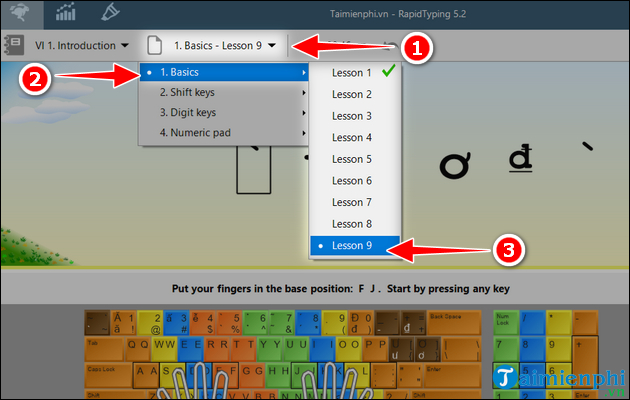
The course list may include levels such as Introduction, Beginner, Experienced, and Testing. Available languages and course names depend on the installed build.
What to do if installation fails
- Confirm that you downloaded the correct 32-bit or 64-bit package.
- Move the installer to a local folder and run it again rather than launching it from inside an archive.
- Make sure your Windows account can write to the chosen destination.
- Try the official portable build if you cannot install applications on the PC.
- Do not disable security software merely to force an unfamiliar installer to run.
Build a useful practice routine
Practice for 10–15 minutes several days a week and track accuracy alongside WPM. Repeat weak key combinations until the movements are automatic. TipsMake's detailed RapidTyping practice guide explains finger zones and result statistics. You can also practice touch typing in a browser or compare progress with online typing-speed tests.
Related Articles
 How to Practice 10-Finger Typing Using Rapid Typing Tutor on a Computer5 minutes read
 Rapidtyping - Rapidtyping Download and Installation Guide5 minutes read
 How to Download and Use Kiran's Typing Tutor to Practice 10-Finger Typing8 minutes read
 Tux Typing - Free Typing Practice Tool for Kids: Main Insights6 minutes read
 How to Practice 10-Finger Typing Online6 minutes read
 Practice Typing with 10 Fingers, Effective 10-Finger Typing Practice Software5 minutes read
Reader Comments 0
Sign in with email or Google to join the discussion.