PowerPoint 2016: Image Formatting in PowerPoint
There are many ways to format images in PowerPoint slideshows. PowerPoint's image tools make it easy to personalize and modify images in interesting ways..
There are many ways to format images in PowerPoint 2016 slideshows . PowerPoint's image tools make it easy to personalize and modify images in interesting ways. PowerPoint allows you to change image styles and shapes, add borders, crop, compress images, add artistic effects, and much more.
How to crop images
When you crop an image, a portion of the image is removed. Cropping can be useful when an image has a lot of content and you want to focus only on that part of the image.
1. Select the image you want to crop. The Format tab will appear.
2. On the Format tab, click the Crop command.
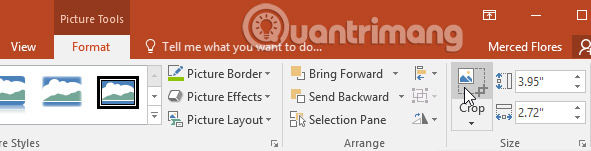
3. Crop handles will appear around the image. Click and drag one of the handles to crop the image. Make sure your mouse cursor is directly over the black crop handle so you don't accidentally select the resizing handle.

4. Click the Crop command again. The image will be cropped.
How to crop an image into a desired shape
1. Select the image you want to crop, then click the Format tab.
2. Click the Crop drop-down arrow . Hover over Crop to Shape , then select the desired shape from the drop-down menu that appears.
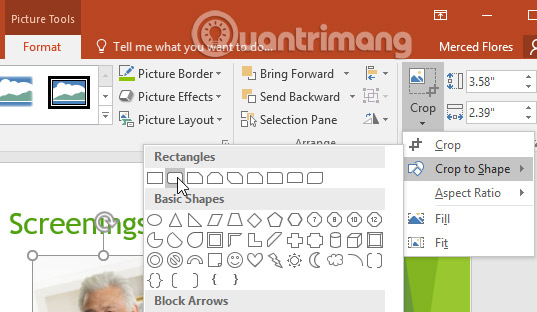
3. The new image will appear in the desired shape.

You might want to crop the image to your desired size before cropping it into a specific shape.
How to add a border to an image
1. Select the image you want to add a border to, then click the Format tab.
2. Click on the Picture Border command. A drop-down menu will appear.
3. From here, you can choose the color, thickness, and whether or not to use dashed lines.
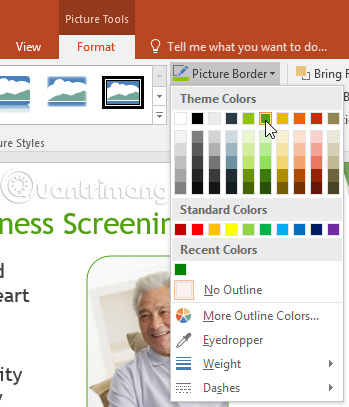
4. A border will appear around the image.

Adjust the image
PowerPoint offers several options for changing how images appear during a slideshow presentation. For example, you can add frames, edit images, change the color or brightness of images, and even add some artistic effects. These options are located in the Adjust and Picture Styles group on the Format tab.
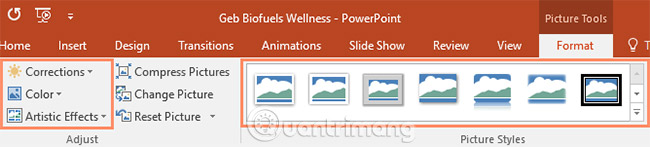
When you're ready to adjust or experiment with a new look for your image, select the image and one of these options from the Format tab.
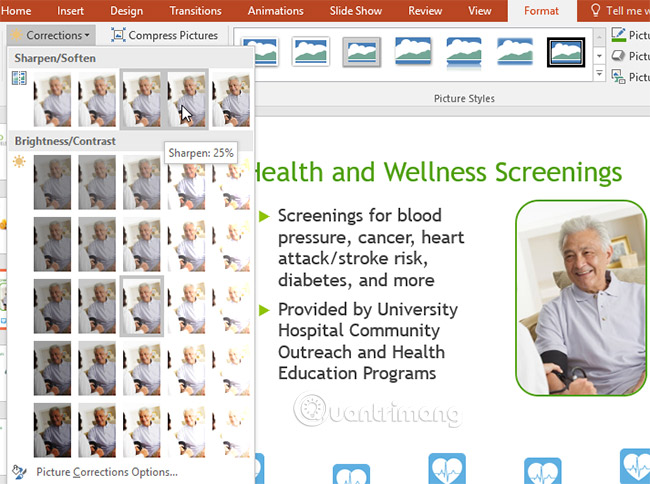
- Corrections: This command is located in the Adjust group. From here, you can sharpen or soften the image to adjust the level of blur or clarity of the image. You can also adjust brightness and contrast, controlling the brightness or darkness of the image.
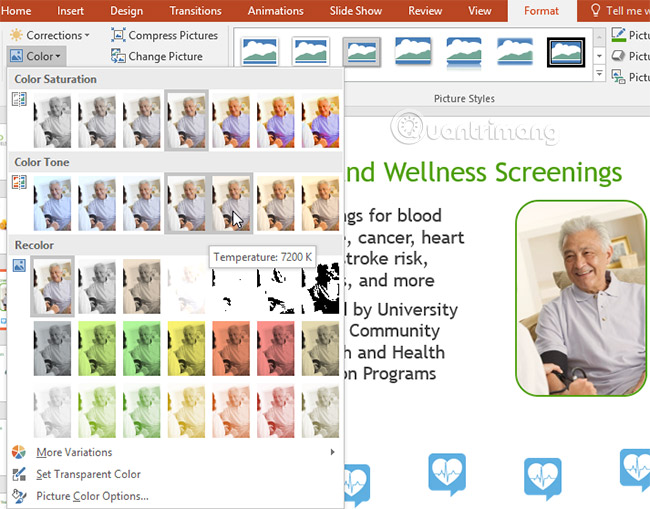
- Color: This command is located in the Adjust group. From here, you can adjust the image saturation (how vibrant the colors are), tone, and hue (changing the overall color of the image).
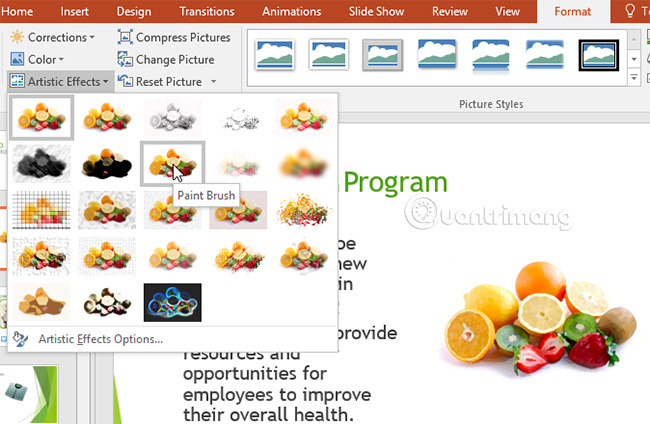
- Artistic Effects: This command is located in the Adjust group. From here, you can add artistic effects such as Pastels, Watercolors, and Glowing edges.
- Picture Styles Group: This group contains many styles you can apply to your photos, such as frames, borders, and soft edges.
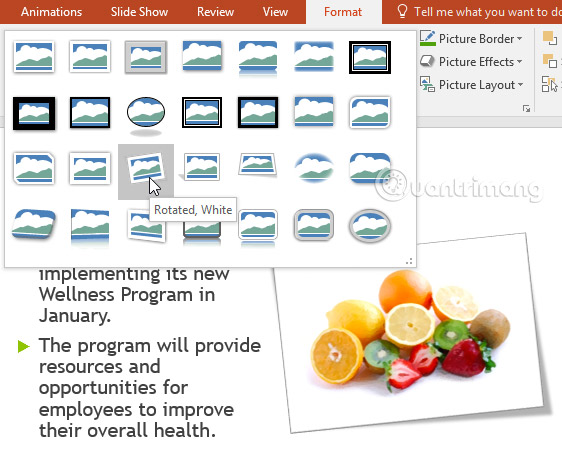
Image compression
If you want to email a presentation containing images, you'll need to pay attention to its file size. High-resolution images can make the presentation very large, making it difficult or impossible to attach to an email. Additionally, cropped image areas are saved with the presentation by default and can contribute to the file size increase. PowerPoint can reduce file size by compressing images, reducing their resolution, and removing cropped areas.
How to compress an image
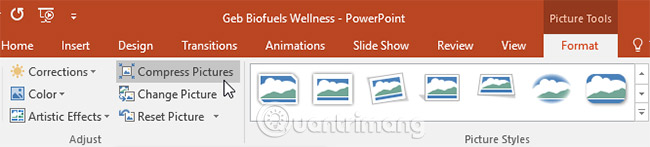
1. Select the image you want to compress, then click the Format tab.
2. Click on the Compress Pictures command.
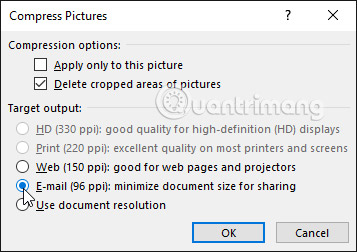
3. A dialog box will appear. Place a checkmark next to " Delete cropped areas of pictures ". You can also choose to apply the settings only to this image or to all images in the presentation.
4. Choose a Target output. If you're emailing your presentation, you can select Email, which produces the smallest file size. When you're finished, click OK.
Compressing images in PowerPoint may not reduce file size as much as you expect. For better results, you can use an image editing program to resize the image before inserting it into your presentation.
Practice
1. Open the example presentation .
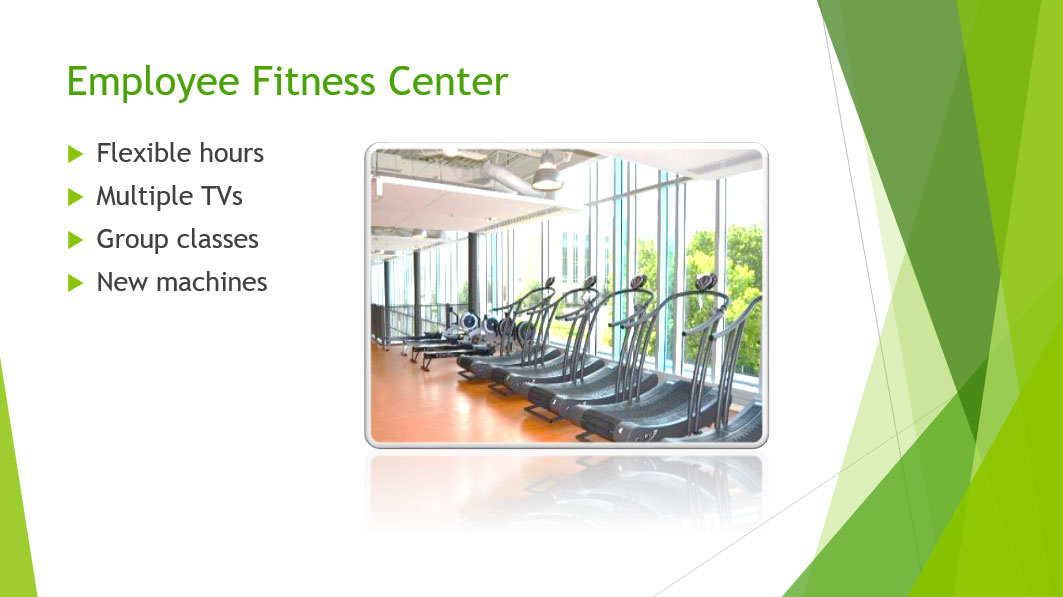
2. On slide 7, select the image of the treadmill.
3. Crop the image slightly so that the treadmill takes up most of the frame.
4. Change the style of the image.
5. Apply some adjustments to the image. For example, increase the brightness of the image.
6. Compress your image and select Email as the target output.
7. When you're finished, your slide will look like this:
I wish you success!
See more:
- How to save a presentation in PowerPoint 2016
- Creating and opening presentations in PowerPoint 2016
- Create beautiful slides for your PowerPoint presentation with these 8 tips.