Table of Contents
This guide provides a clear overview of powerpoint 2016: check spelling and grammar, including how it works, key details, and practical considerations that can help you use the information effectively.
Worried about making mistakes when typing? PowerPoint 2016 provides users with a number of proofing features, including the Spelling and Grammar Tool, that can help create professional, error-free presentations.
How to Run Spell Check
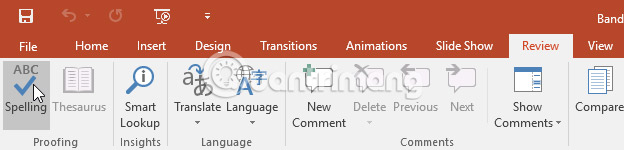
1. From the Review tab, Click the Spelling command.
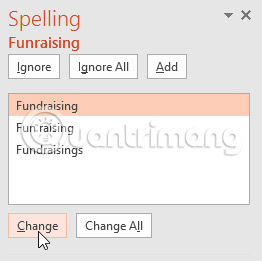
2. The Spelling Window will appear on the right. For each error in the presentation, PowerPoint will attempt to make one or more suggestions. The user can select a suggestion and click Change To correct the error.
3. PowerPoint will cycle through each error until the user has reviewed all of the errors found. After the last error has been reviewed, a dialog box will appear confirming that the spelling check is complete. Click OK .
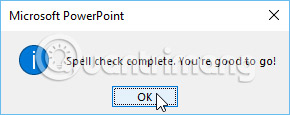
If no suggestions are given, then the entire text entered on the slide is spelled correctly.
Ignore Spelling Mistakes
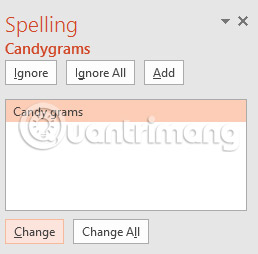
Spell check doesn't always get it right. Sometimes PowerPoint may think a word is misspelled when it's not. This often happens with people's names and proper nouns, which may not be in the dictionary. If PowerPoint thinks a word is misspelled, the user can choose not to change it using one of three options:
- Ignore: This will ignore the word without changing it.
- Ignore All: This will ignore the word without changing it, and it will also ignore all other instances of the word in the presentation.
- Add: This adds the word to the dictionary so it will no longer be considered an error. Make sure the word is spelled correctly before selecting this option.
Automatic Spell Check
By default, PowerPoint automatically checks your presentation for spelling errors, so you may not even need to run a separate check using the Spelling command. These errors are indicated by red lines under the words.
How to use automatic spell check:
1. Right-click on the underlined word. A menu will appear.
2. Click the correctly spelled word in the list of suggestions.
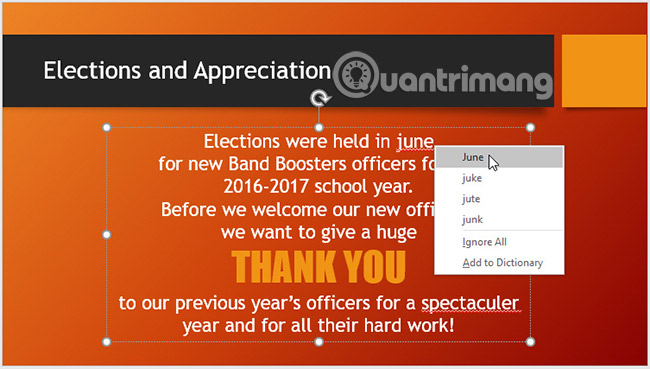
3. The adjustment will appear in the presentation.
Users can also choose To Ignore an underlined word or Add to Dictionary .
Modify Proofing Options
PowerPoint allows users to modify Proofing Options. This gives users more control over how it evaluates text. For example, users can customize automatic spell checking to change how PowerPoint marks spelling errors. Users can also turn on grammar checking options to help find and correct spelling errors in context.
How to modify Proofing Options
1. Click the File Tab to access the Backstage view.
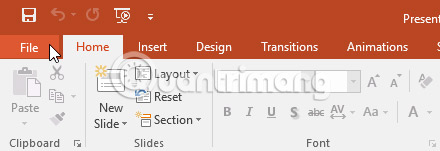
2. Select Options. A dialog box will appear.

3. Select Proofing, Then customize the options as needed. When finished, click OK.
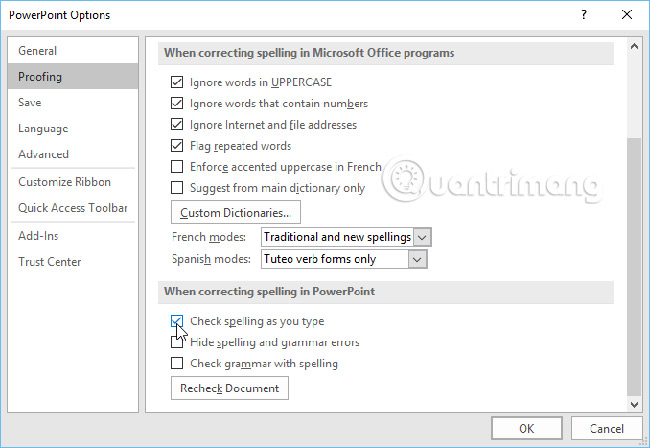
Changing settings in PowerPoint Options , including Proofing, Will affect any presentation the user edits in PowerPoint, not just the current presentation.
Good luck!
See also:
FAQ
What is grammar check in PowerPoint 2016?
It is the main topic covered in this guide, including the relevant tools, settings, features, or steps connected with powerpoint 2016: Check Spelling and Grammar.
Why is grammar check in PowerPoint 2016 useful?
It can make powerpoint 2016: Check Spelling and Grammar easier to understand, compare, configure, or troubleshoot by organizing the most important information in one place.
What should I check before using this guide?
Confirm that the instructions match your device, software version, region, and intended use, then back up important data before making major changes.
Related Articles
 Check Spelling and Grammar in PowerPoint 20164 minutes read
 PowerPoint 2019 (Part 24): Spell and Grammar Check: Explained5 minutes read
 Word 2016 Full Guide (Part 23): How to Check Spelling and Grammar5 minutes read
 10 Useful Tools to Help 'Check' English Spelling and Grammar Best11 minutes read
 How to Check Punctuation in Microsoft Word10 minutes read
 How to Turn Off Spell Check Mode in Windows 10?2 minutes read
Reader Comments 0
Sign in with email or Google to join the discussion.