Instructions to hide the Network item in File Explorer Windows 11
By default, Windows 11 displays Network in the File Explorer navigation pane for you to manage and access quickly when needed. If you don't like it, you can also hide this Network item to tidy up the computer's File Explorer interface..
By default, Windows 11 displays Network in the File Explorer navigation pane for you to manage and access quickly when needed. If you do not like it, you can also hide this Network item to tidy up the File Explorer interface of your computer, according to the instructions below.
How to Hide Network in File Explorer Windows 11
Open File Explorer then right-click on an empty area in the navigation bar and uncheck Show Network .

You will now see the Network item hidden in the navigation pane on your computer.
How to hide Network using Folder Options Windows 11
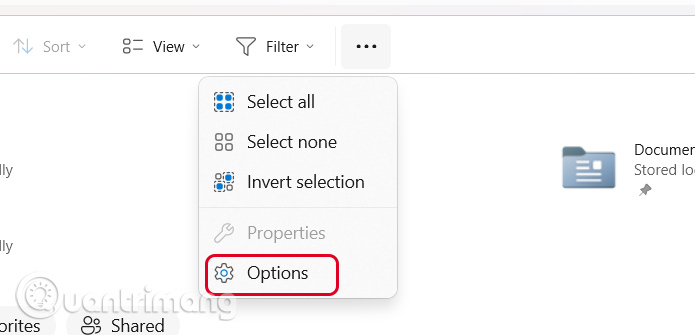
Step 1:
Click on the 3 dots icon and select Options in the displayed list.
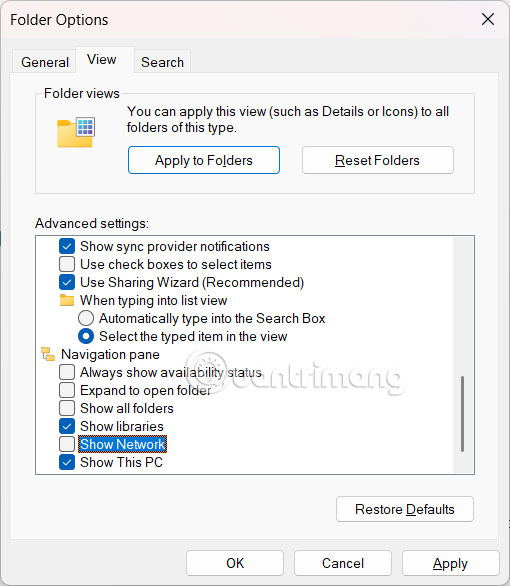
Step 2:
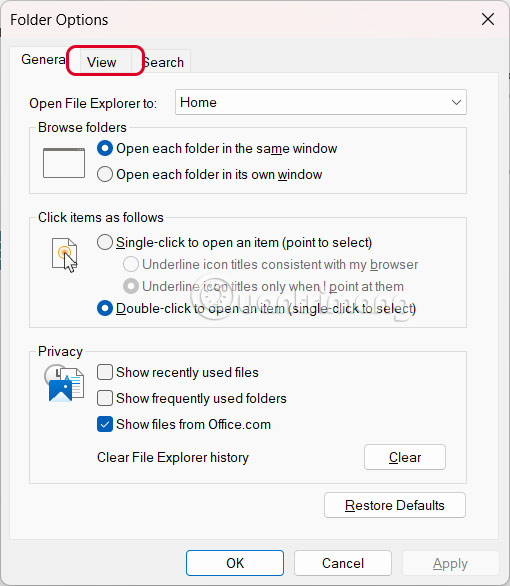
In the display interface, click the View tab .
Now in the new interface, drag down the Navigation pane group and uncheck Show Network to not display the Network item in the File Explorer navigation pane. Click Apply to apply the changes to Windows.