Instructions on how to customize the notification center on Android Oreo - No need to root
Are you bored with the default color on the notification area? Want to choose your own color for your smartphone? Material Notification Shade will help you in this regard, let's learn how to customize the notification center on Android Oreo - no need to root in this article!.
- How to sync notifications from Android to Windows 10 Creators
- 12 best Android screen lock apps for your creativity
- Prevent advertising notifications on Android
Are you bored with the default color on the notification area? Want to choose your own color for your smartphone?Material Notification Shade will help you in this regard, let's TipsMake.com learn how to customize notification center on Android Oreo - no need to root in this article offline!
One of the most frustrating problems we often hear is about OEM changes (short for Original Equipment Manufacturer , using original equipment manufacturer) made for the Notification Shade center notification of Android. Icon style layout and main screen can be fixed with custom launchers like Nova and Action , but we often have trouble with quick settings theme (Quick Settings) on the phone.
Today, you no longer have to be envious of Pixel 2 owners, because a new app will give you the Android interface on any phone.
With this application, you can modify almost everything in the central notification. You will start with the Notification Shade center bulletin board and the Quick Settings panel that matches the design and functionality of Android 8.0 Oreo.Everything from the dark theme interface to colored music notifications is available for any device you are using - and especially without root.
Step 1: Install Material Shade Notification
The Material Shade Notification application gives you the notification that Oreo's center is called the Material Notification Shade and you can find it on the Google Play Store.
Note : Your device does not run Android Oreo. Unfortunately with 0.5% of Android users on Oreo! For other devices running Android Lollipop or higher, start by downloading the app at the link below.
- The Notification Shade Material notification setting is free from Google Play Store
Step 2: Turn off the Oreo Notification Shade notification

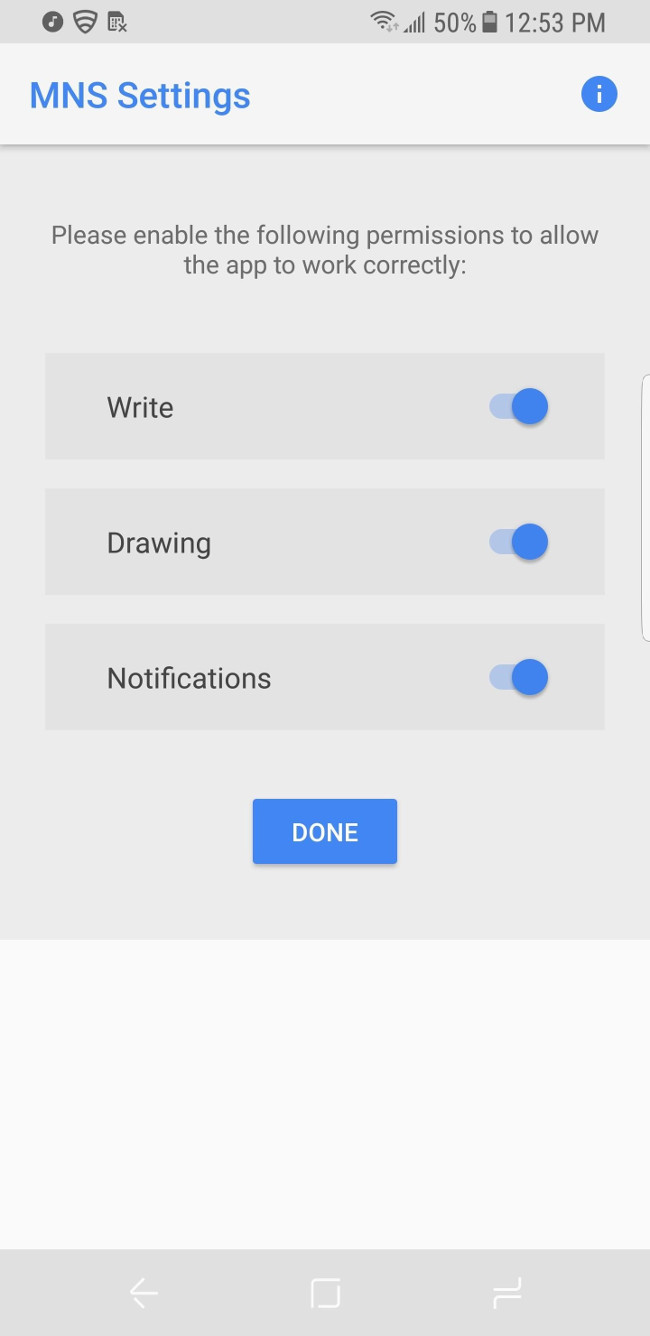
When you have installed the app, open it and click the "ON - Turn" button to turn on the Oreo central notification. From there, activate the "Write - Write," "Drawing - Draw" and "Notifications", then press "Done - Done" to return to the main menu.
Step 3: Turn off the Oreo Theme
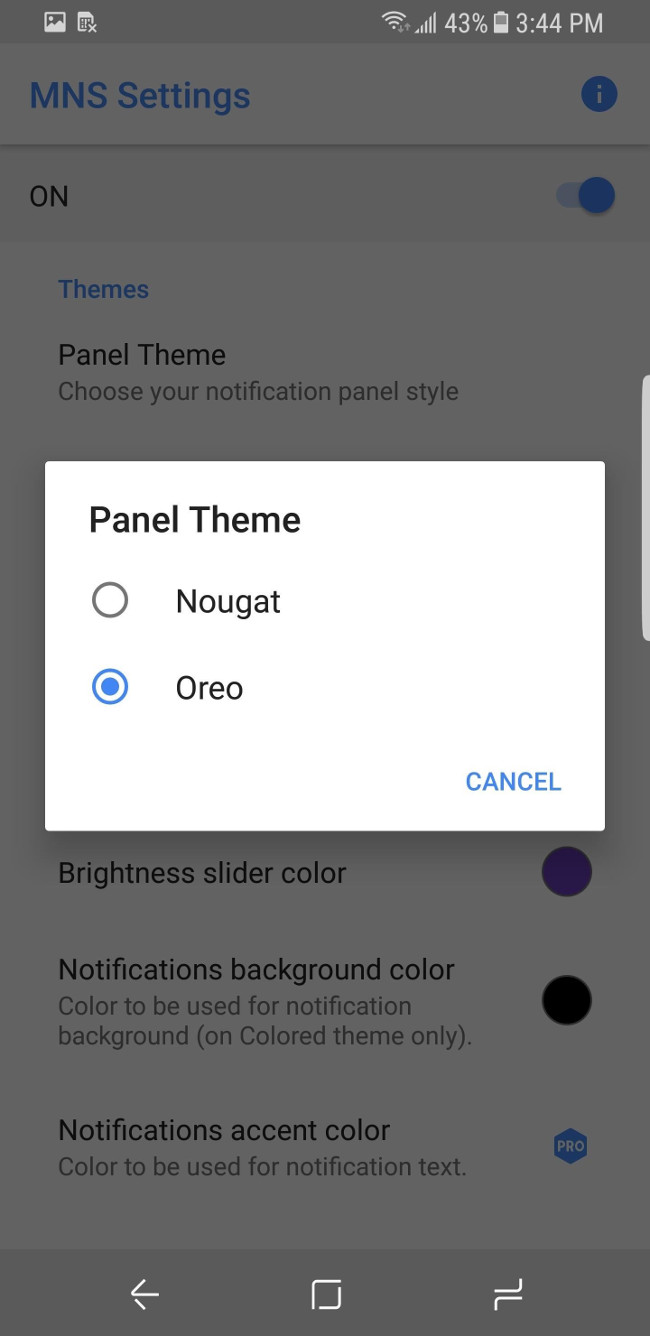
In the Themes group, select the Theme Panel and select Oreo . After selecting, your Shade Notification will change according to the Android Oreo style. You can also choose Nougat , but we bet you'll want to use the latest and greatest, so we'll prove it using the Oreo settings.

Step 4: Try the new Notification Shade notification
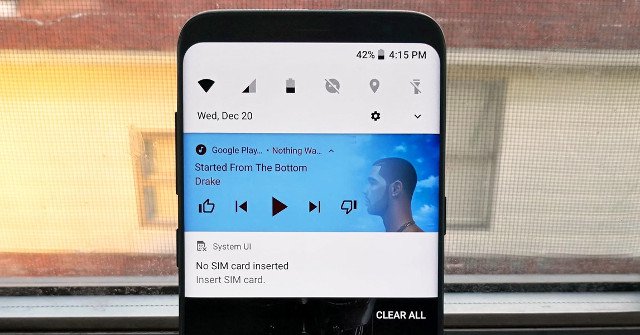
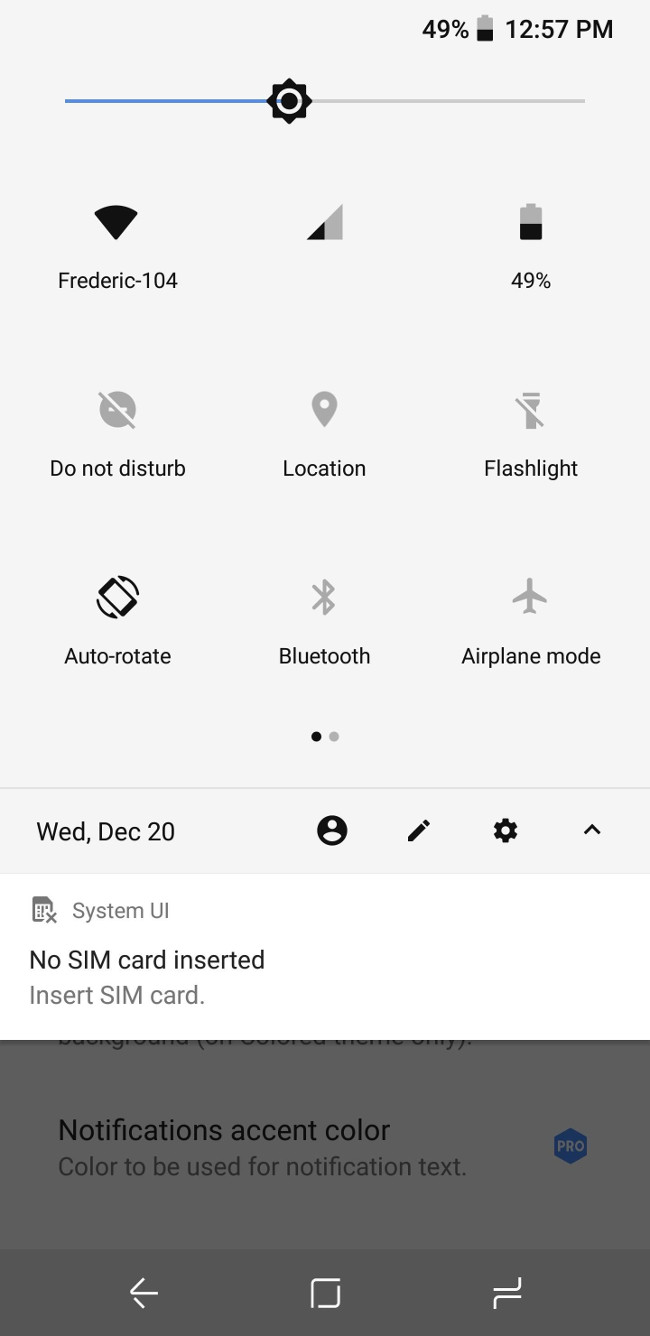
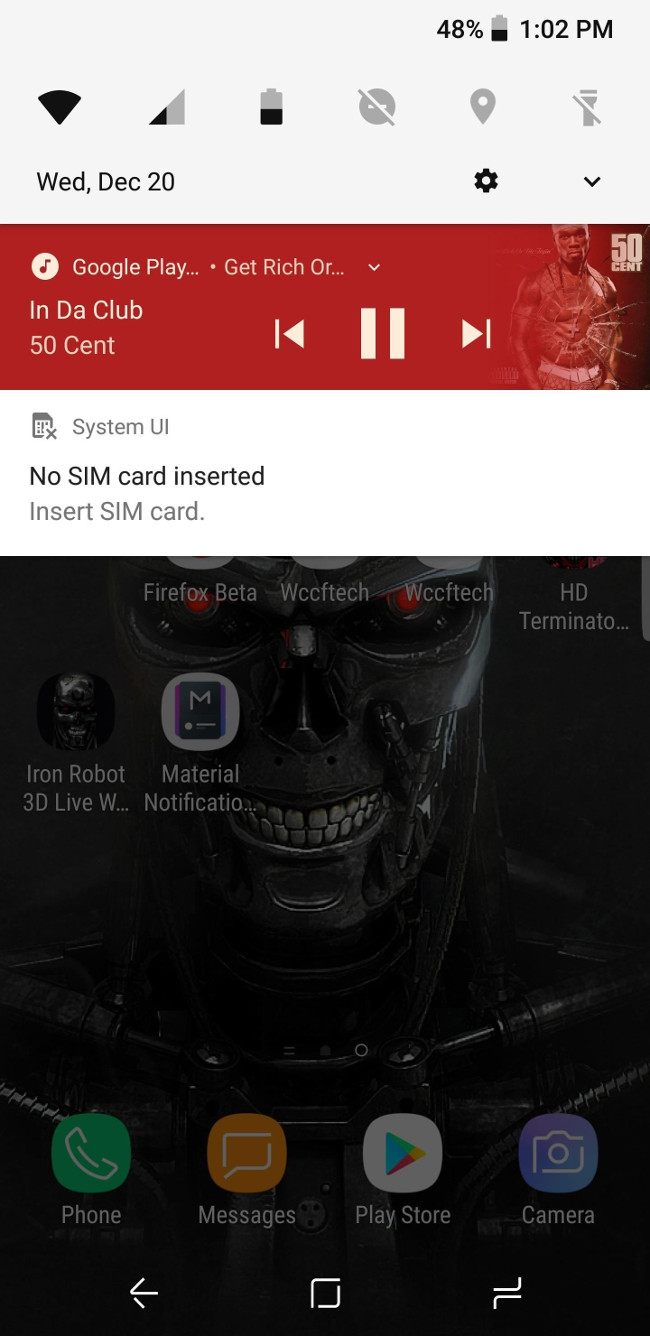
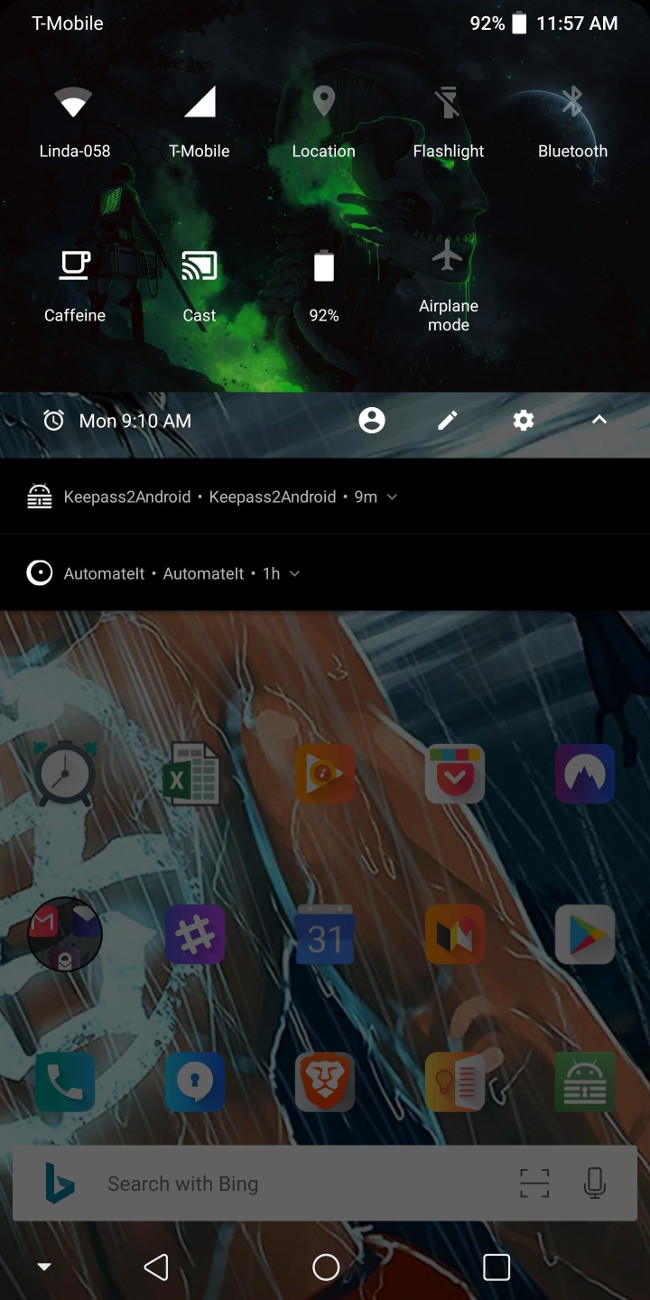
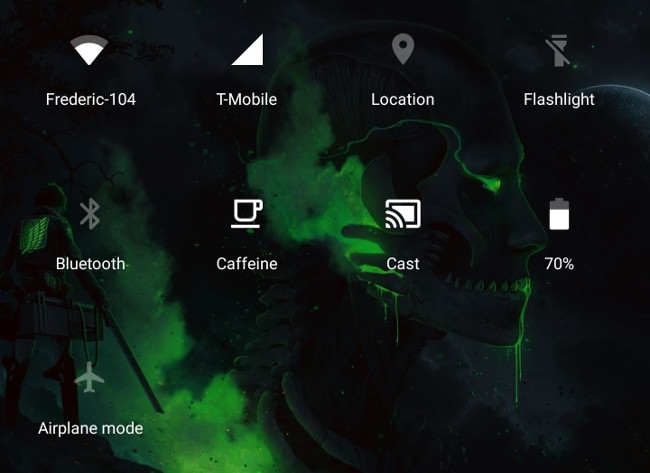
Next, just drag down the bulletin board to see the changes. Make sure the Quick Settings (Quick Settings) and your notification are now the same as the screenshot below.
Of course, one of the best new features of Oreo today: Themed media notifications ( Themed media notifications ). To try it out, start running any song that has an album cover in your favorite music application. After playing, open the central notification to see how the media controls are displayed. It should be the same as the screenshot where the notification background color matches the main color of the album.
Step 5: Customize Notification Shade Even More (Optional)
Material Notification Shade notification is not limited to the original Android interface. There are many options for options if you want a fully customizable notification color.
From the main settings menu, "Notification Theme - Theme notifications" allows you to change the notification background color . You can turn on the dark theme, the system's default light theme, or choose from a variety of colors.

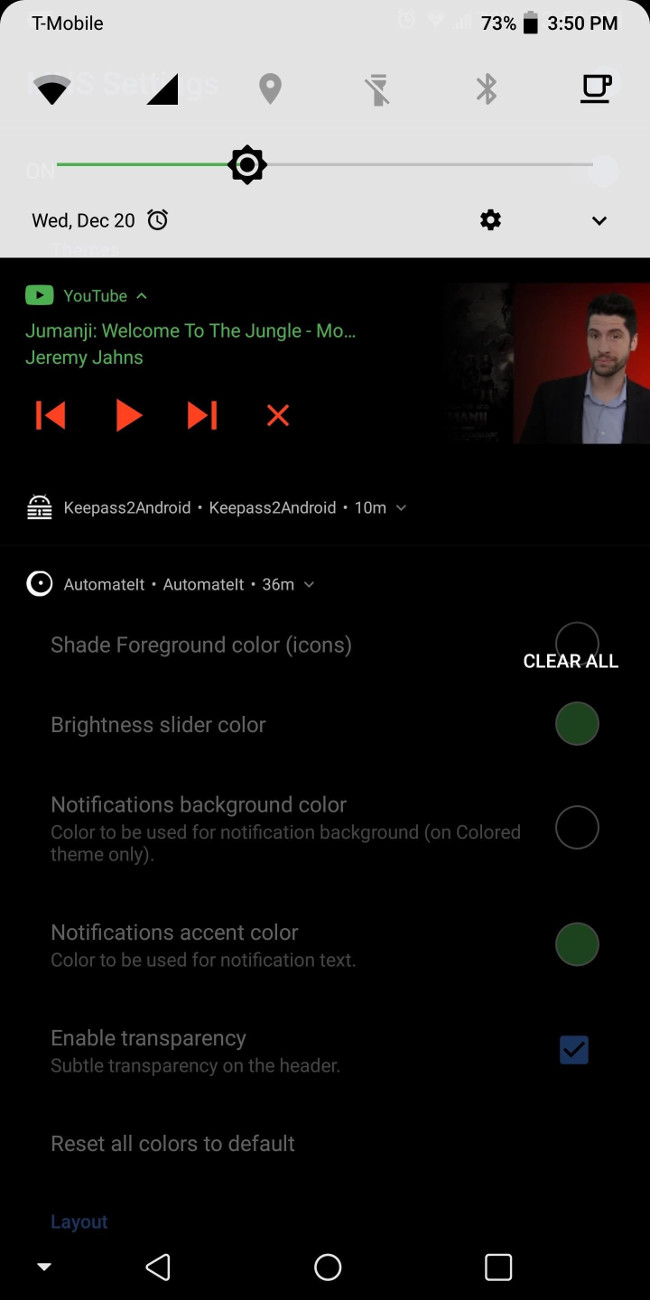
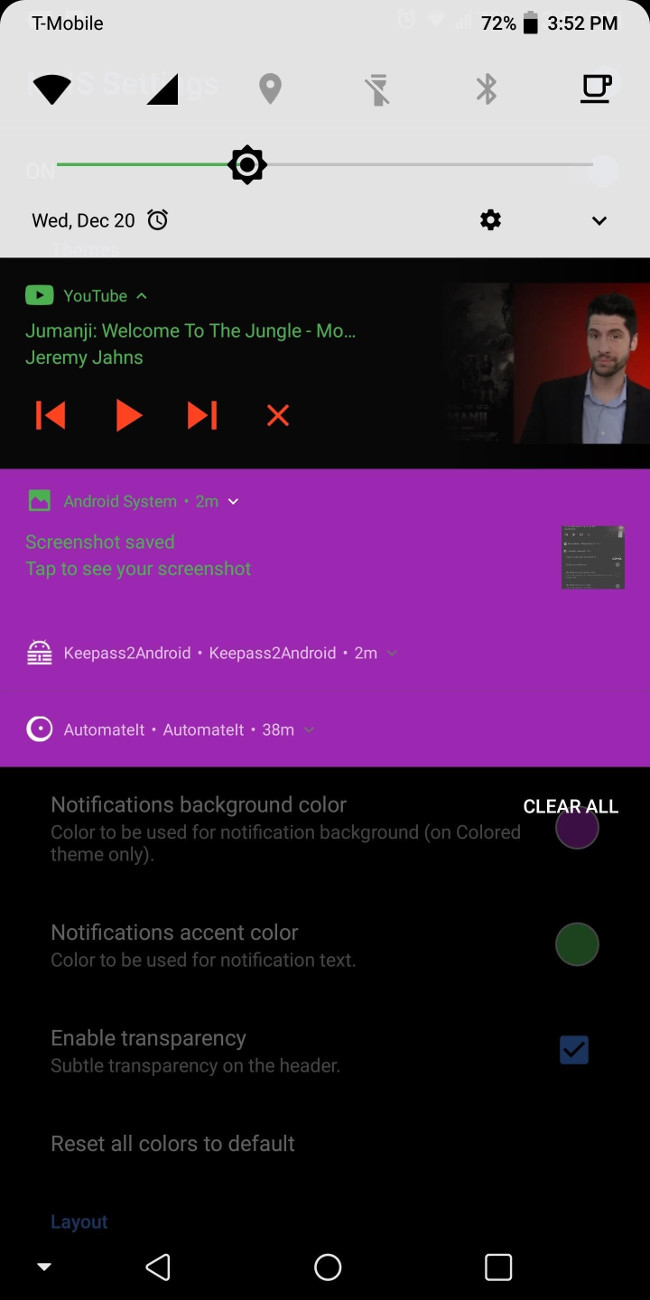
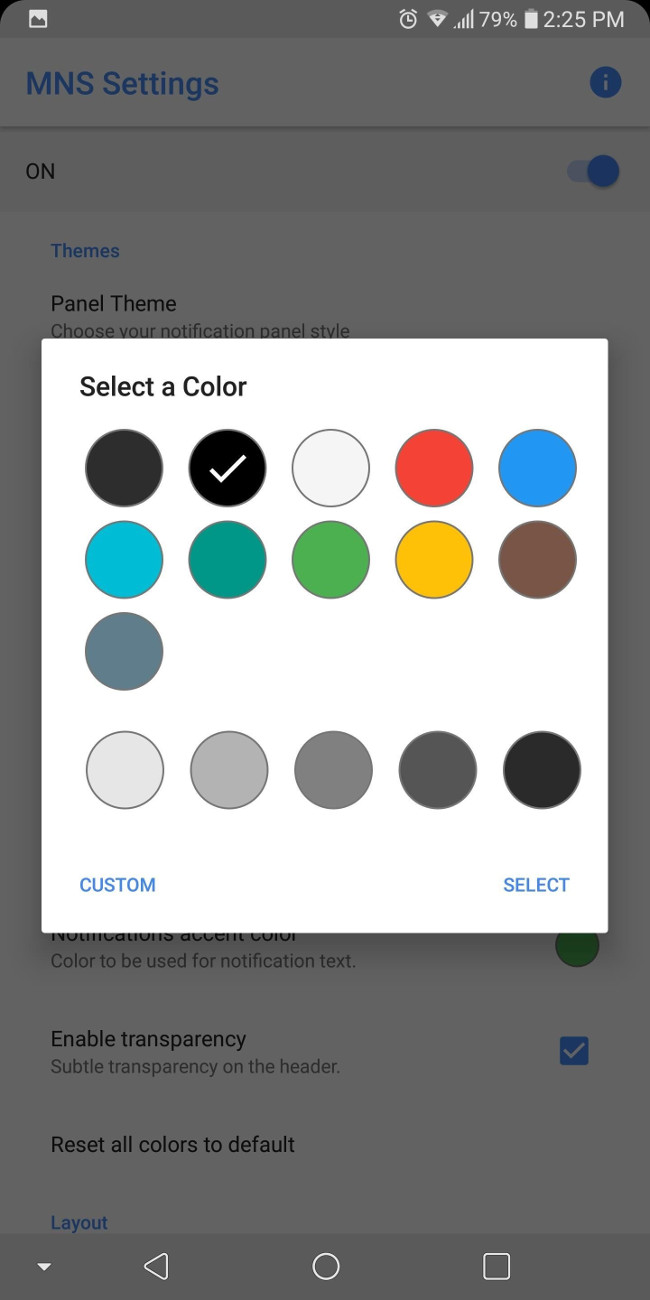
If you want to have a color other than the black, white or the system default, select "Colored - Color". Then, select "Notifications background color" from the main menu and choose a color. You can also use colors that are not listed by selecting "Custom - Custom" in the bottom left corner.

To change the background color of the Quick Settings panel, select "Shade Background Color" and select a color. However, to have a unique interface, you can choose custom images instead. While losing the ability to change the icon color, you will have your own look. For further customization, select "Foreground Colors (Icons)" to modify the colors of the icons that are in the quick settings.
The brightness slider can be changed in several ways. You can modify its color by using the Brightness Slider Color and you can change the position of the slider in the Extended Quick Settings panel. You can place it at the bottom by checking the Brightness slider at the bottom or keeping it on top by unchecking that option.
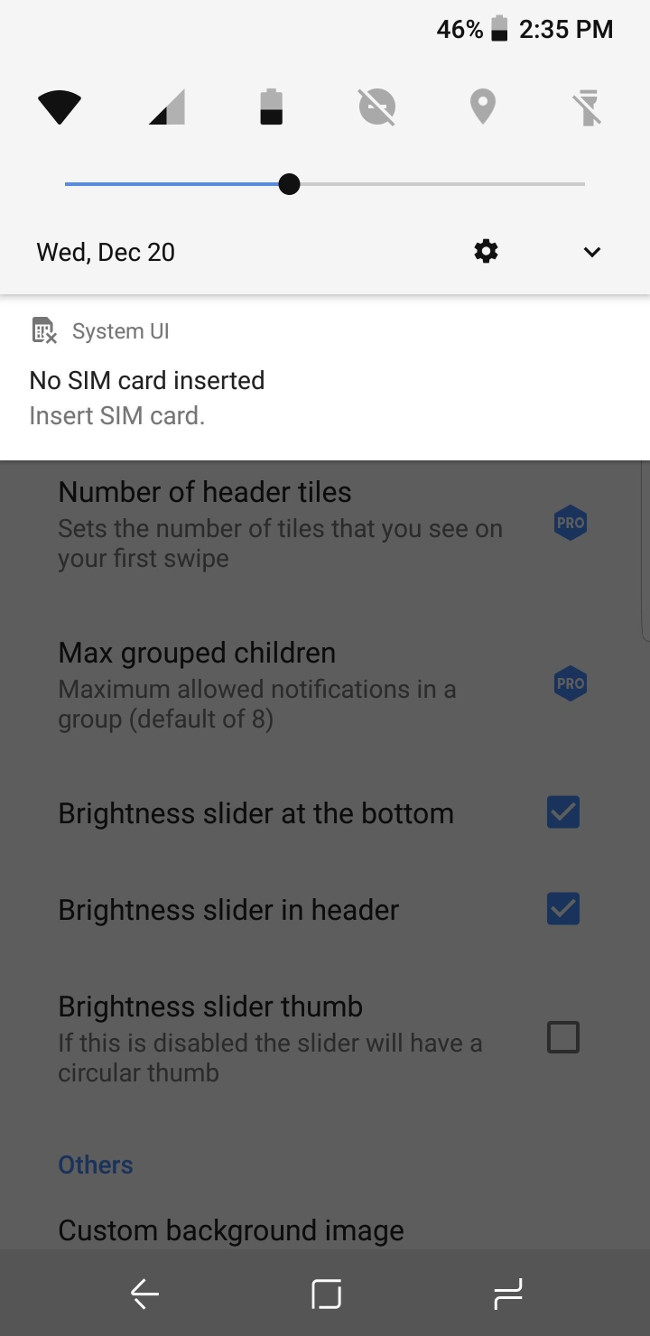
If you want, you can delete the slider from the compressed view (slide one) of the quick setting by unchecking the Brightness slider in header box. You can also reduce the size of the slider by disabling "Brightness slider thumb".
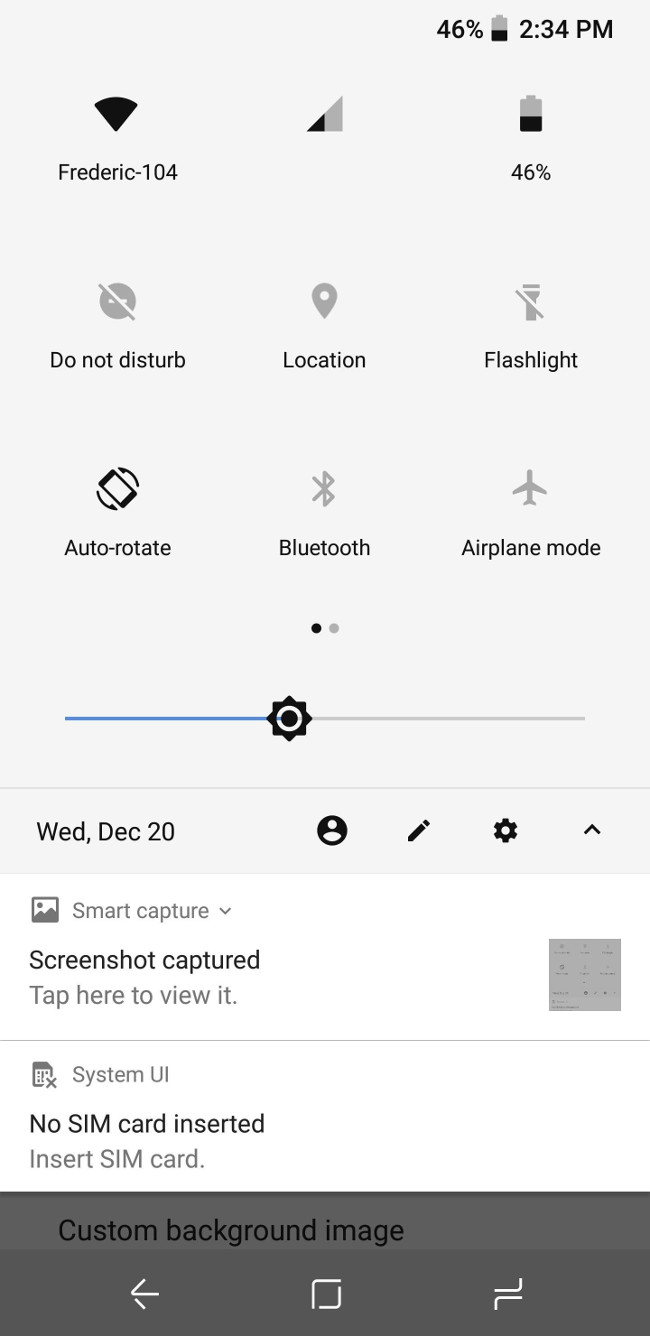
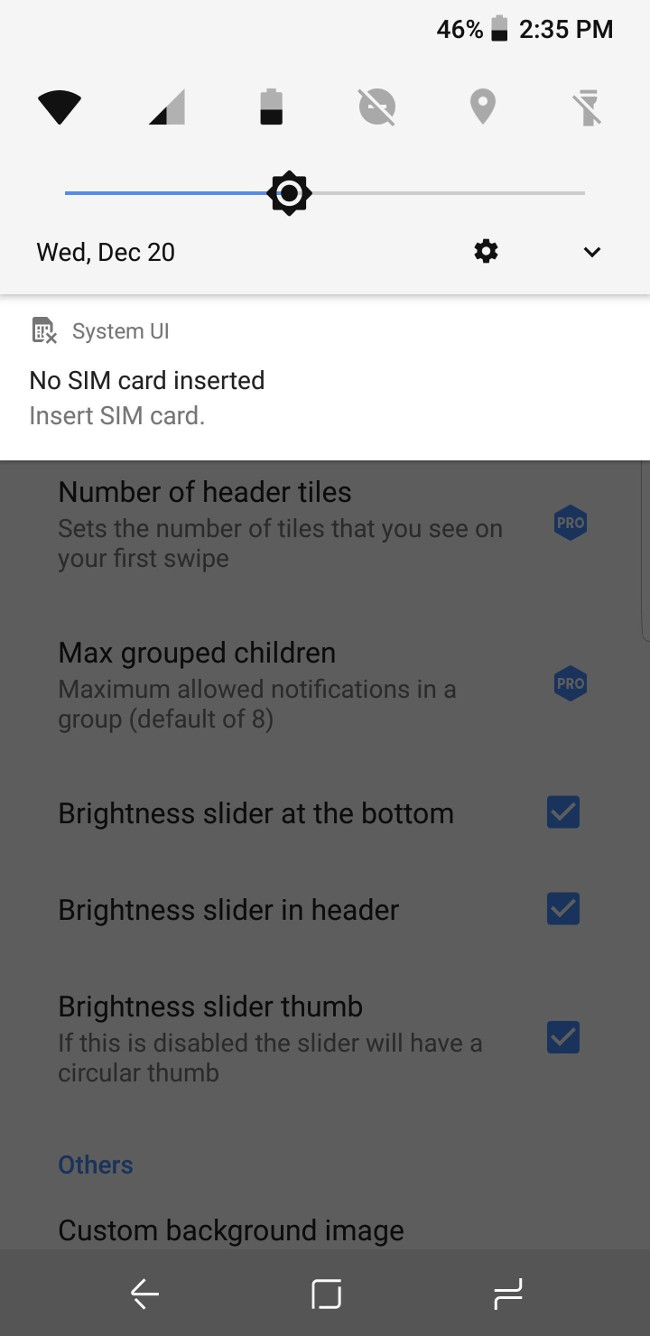
(1) You can move the slider to the top or bottom.(2) You can display the slider while in this view or delete it.(3) You can increase or decrease the size of the slider.
Step 6: Learn Controls with the Pro Version & Root (Optional)
There are more personalization options if you buy the premium version of the app. With $ 1.99, you can control the number of rows and columns of quick settings. You can use Number of header tiles to adjust the number of icons available in the compressed version of the quick settings. You can also limit the maximum number of messages grouped together by using Max grouped children .
 You can modify rows and columns as you like.
In addition, you also get additional functionality with an original device. Because of the way the Android operating system works, you have control over the quick set of features . Most on / off buttons will only turn the sensor on and off. If you want additional control like using Wi-Fi conversion to change Wi-Fi networks, provide root access to the Shade Notification Material .
What does your Material Notification Shade setting now look like? Let us know in the comment section below!
Refer to some more articles:
- How to customize battery saving mode on Android Oreo
- How to turn off the 'Is Displaying Over Other Apps' notification on Android Oreo
- Google released Android Oreo Go for low-profile smartphones
Having fun!