Instructions to customize, change and create boot screens on Android phones
TipsMake.com - The boot screen is the first component we see when starting an Android phone or tablet. Although it has no specific functionality, we can easily realize that an eye-catching boot screen is still much more attractive than usual. In the following article, we will see how to create or change Android boot screen together with some other features included.
Some basic things:
The part needed to create the Android boot screen is contained in the archive file called bootanimation.zip (can be found in the media folder of the system partition like / system / media ) available on the device's internal memory. This file contains all the information required to show the entire operation during the boot process, and is automatically downloaded when the device starts up. Therefore, the process that we are referring to is simply a matter of customizing or changing this file.
Inside the file bootanimation.zip:
In this section, we will talk more about how Android animations work. In fact, the process of Android's boot screen looks like a video running, and when it comes to extracting the file bootanimation.zip to the computer, we will see:
- File desc.txt
- Directory part0 (contains * .png image file and numbers in ascending order)
- The folders are arranged next as part1, part2 .
And the whole process is displayed in the order of the images inside the folder, with specific information being created inside the text file. In essence, the PNG file in the part0 directory will be displayed first, and then the part1 file . continue like that in sequence. All information is specifically defined in file desc.txt.
Folders:
The functionality of these directories is quite simple, containing PNG files named in serial numbers, starting at 0000.png or 00001.png, and so on. Here, the system must have at least 1 directory, and no quantity limit.
File desc.txt:
This text file is responsible for initializing the display of all image files in the boot process folders. The general syntax is:
Width Height Frame-rate
p Loop Pause Folder1
p Loop Pause Folder2
For example:
480 800 30
p 1 0 part0
p 0 0 part1
As you can see in the first line, parameters 480 and 800 initialize the width and height of the details in the boot process in pixels . And these parameters must match the screen resolution of the device, followed by the number 30 which is fps - Frames per second , the number of images displayed in 1 second.
Lines 2 and 3 have the same syntax format, starting with the letter p , representing each part of the animation that appears during the boot process, and finally ending in part0 or part1 . The numbers behind the p define the number of iterations of these sections before moving on to the next part, parameter 0 specifies the entire loop to stop as soon as the boot process is complete.
The next number immediately follows the pause action, expressed by the number of frames, and is divided by time by attaching the frame rate. For example, a pause parameter of 15 means that this pause process will take 15 frames to display, and with a rate of 30 fps, these 15 frames will take half a second.
Some notes about resolution: back to the above example, the boot stage display will be displayed at a resolution of 480 x 800 pixels , and is called HDPI . Some mobile devices are mid-range with a screen area of 320 x 480 pixels and are called MDPI , and finally, affordable phones with an area of only 340 x 320 pixels , corresponding to the name of LDPI . Besides, this boot process also follows a certain rule, which is when created exclusively for devices with low resolution will still work well on larger screen screens, but will display in the middle, and of course will come with the extra contours. On the contrary, when applying the boot process with high resolution on mobile devices with smaller screens, the excess amount calculated by proportion will be obscured.
Basic features of boot process:
In fact, there are a lot of corresponding boot types for different mobile phones, some of which are derived from companies that do this, mostly contributed by the community from the forums. And here are some extremely eye-catching and attractive examples:
Dysgenic's Droids work at XDA-Developers forum:

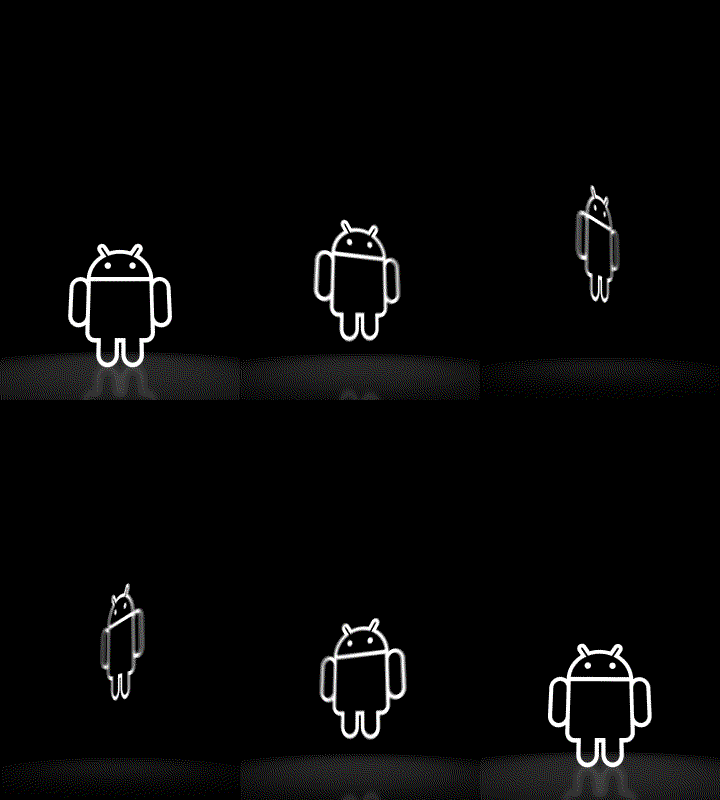


Android Particle Ring by Dysgenic (also at XDA-Developers forum)




Android BIOS by frysee - XDA-Developers: with 2 main versions for mobile phones and tablets
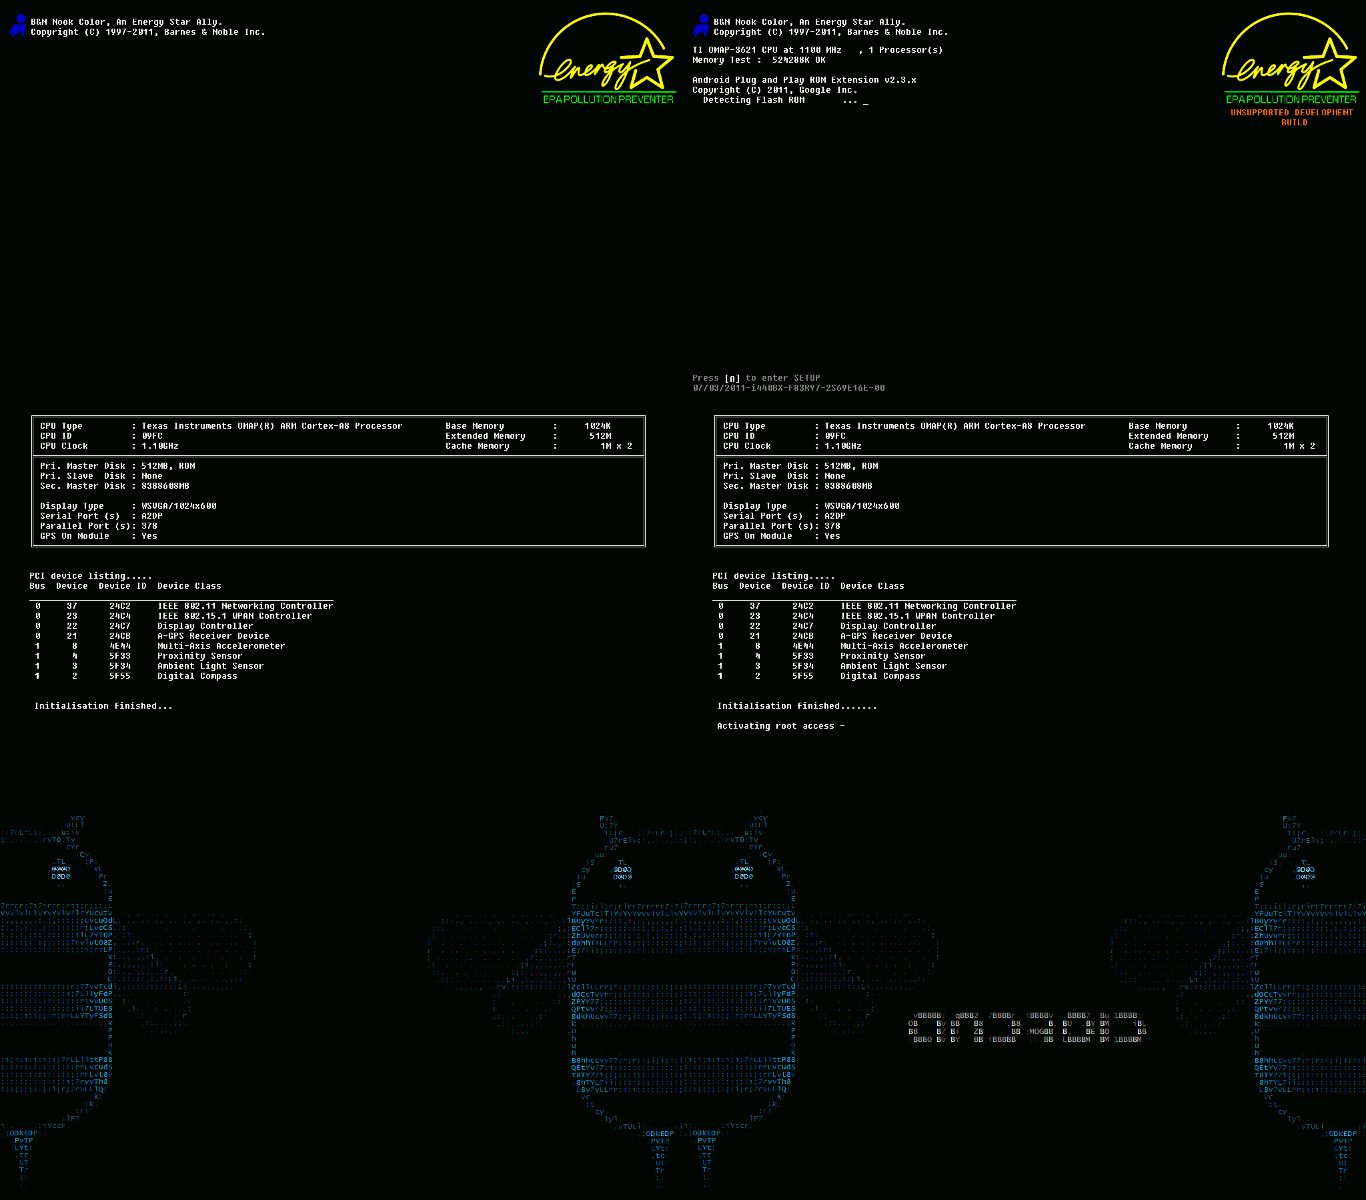
This is a product for tablet devices
Honeycomb by Google:

Above are the available models of the boot process on Android phones, but what if we want to do it ourselves? Please continue to follow the next part of the article.
First, we need a program to handle compressed files like 7 - zip
- A familiar image processing program, such as Adobe Photoshop, GIMP, Paint.NET, or simply MS Paint
- Text editor, for example NotePad of Windows , or best NotePad ++
- Time to create and handle details inside photos
- Accurate information about the phone, specifically the resolution of the screen (if you do not know this process, use Google to find out)
Process of proceeding:
After learning the basic information about the boot - boot animation process in the upper part of the article, let's get started. Please create a new folder on your computer and name it bootanimation, inside it, create another folder corresponding to each part of the boot process, naming the standard part0, part1 .
Use the graphics processing program and create photos with the same size, then save them in each folder in PNG format, respectively. For example, if our first part starts with 00000.png up to 00075.png , the next part must start at 00076.png.
After preparing the necessary folders and image files, create the file desc.txt in the bootanimation folder. Open this text file according to the syntax mentioned above, note that if you set the parameter to exceed 30 fps, it may cause an error to appear on some devices. And finally, we will have to select all the folders and files inside bootanimation , right-click and select 7 - zip> Add to archive, save as * .zip format, Compression level is Store .
So we have completed the basic parts needed, followed by the application process on the phone. Next, we will have to copy this compressed file into one of the following two folders on the phone: / data / local or / system / media , however each folder comes with different advantages and disadvantages.
With the / data / local path , the most obvious advantage is that the system will not require root access, so it can be easily operated with all non-rooted devices without worrying about changing. change any component in the partition / system . Moreover, if the compressed file bootanimation.zip is found in both directories, Android will ignore the file at / system / media and give the priority to / data / local . The disadvantage of this process is that each time you perform a hard reset operation (also called full data wipe or factory reset ), the entire boot animation component will be lost.
Also with the copy plan to the folder / system / media / can only be done if your phone has been rooted and the user has access to read and write data to the partition / system. The advantage of this is that if reset in any way, the entire boot animation process will remain the same. The downside is that it requires ADB or file browser at root level like Root Explorer or Super Manager.
These operations are quite complicated and difficult to implement for those who are not technically savvy, so we will describe some of the other specific operations below to copy any file to the folder being loved. bridges, can be applied to all devices via the path / data / local or only with some devices that have been rooted by the path / system / media .
Some further requirements:
- Android phone or tablet using Froyo 2.2 or later operating system. The separate testing process was successful on Froyo and Gingerbread .
- Some applications browse files like OI File Manager installed on the phone. For root devices, you need other support tools such as Root Explorer or Super Manager.
- The file bootanimation.zip has been prepared as above part of the description.
When using file browser:
- Connect your phone to your computer via USB cable, point to a storage device like a memory card to start copying files.
- Copy the file bootanimation.zip to install to SD card.
- Disconnect and use the file browser on the phone.
- Open the / system / media folder, copy the available bootanimation.zip file there to any other folder on the SD card.
- Copy back to the new bootanimation.zip file (just transferred from the computer).
- For all devices, please copy the file bootanimation.zip to the directory / data / local or for the phone that has been rooted, after opening / system / media, please copy the file bootanimation.zip. If you are using Super Manager, you need to activate the root feature first from Settings, moreover, users will have to combine partition / system with the function of reading and writing data before operation.
With ADB method:
- Enable USB debugging on the device via Settings> Applications> Development menu .
- Connect your phone to your computer via USB cable.
- Start the Prompt / Terminal application on the computer.
- Go to the folder to save file bootanimation.zip on the phone.
- To apply to all devices, type the following command:
adb pull /data/local/bootanimation.zip c:
adb push bootanimation.zip / data / local /
Or with a rooted phone, use the command:
adb pull /system/media/bootanimation.zip c:
adb remount
adb push bootanimation.zip / system / media /
After that, you just need to restart the phone and our boot animation application process will be completed.
Restore original animation boot:
On the other hand, if you want to go back to the initial boot animation process, just copy the backup file bootanimation.zip in the previous step, and type the commands as above. Good luck!