Instructions for creating a Client ID and Client Secret in Google Sheets
Detailed instructions on how to create a Google Client ID and Client Secret to connect Google Sheets to your automation workflow on n8n..
Integrating Google Sheets into n8n opens up incredibly powerful possibilities for report automation, data management, and workflow synchronization. However, for n8n to access your spreadsheets, you need to set up OAuth 2.0 credentials. This article will guide you step-by-step on how to obtain your Client ID and Client Secret from the Google Cloud Console.
Step 1: Activate the Google Sheets API on Google Cloud
First, you need to access the Google Cloud Console and do the following:
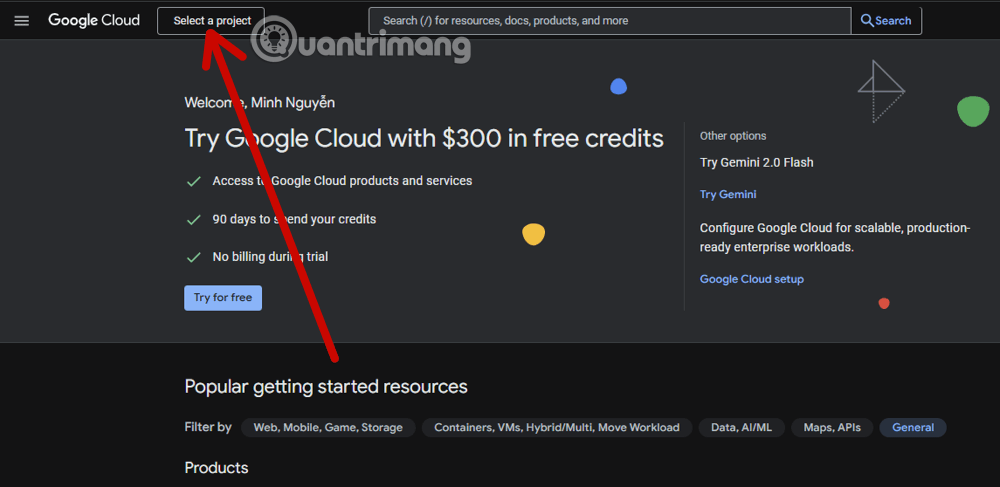
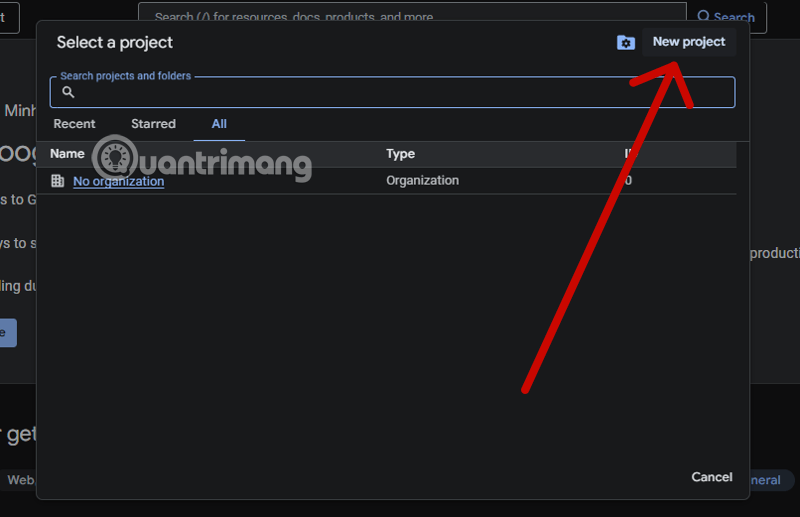
On the main interface, select your project (for example: TipsMake-n8n). If you don't have one yet, select Select a Project and then choose New Project.
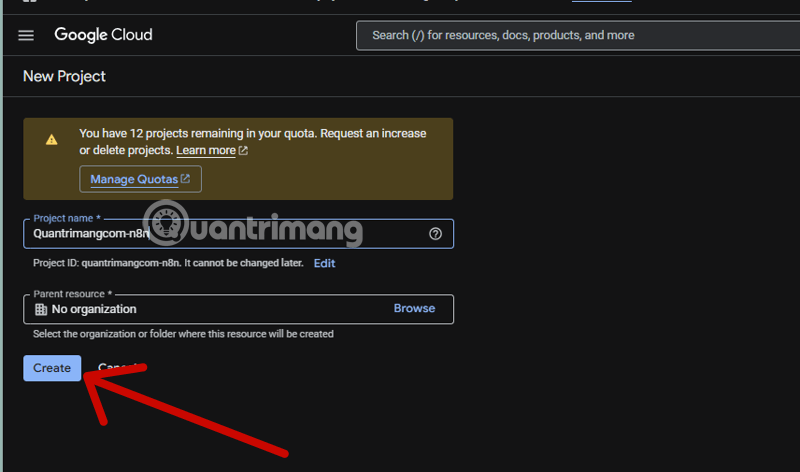
Enter a project name and select Create to create a new project.
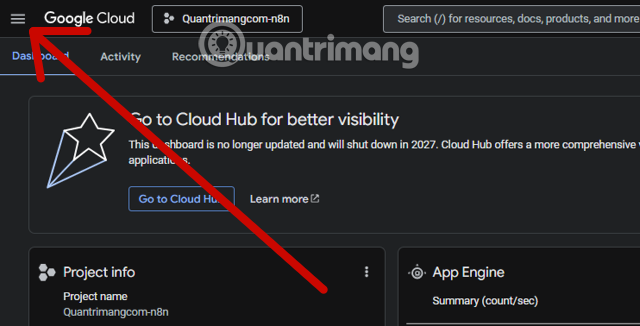
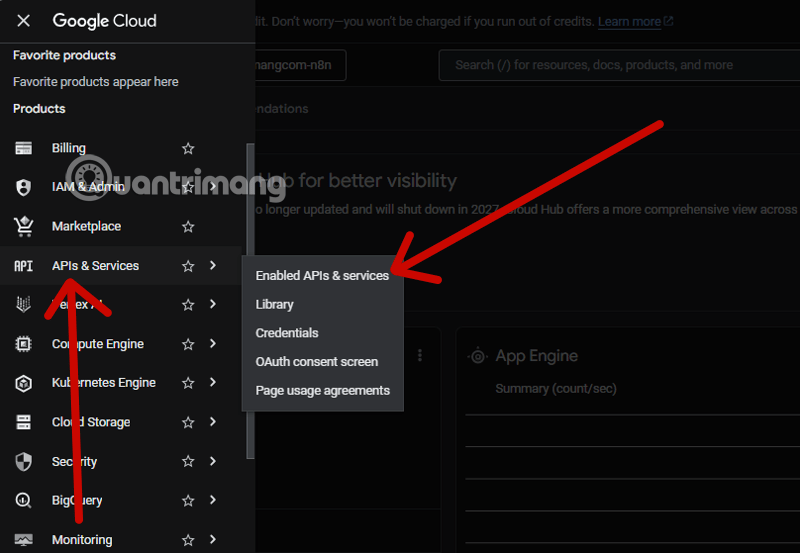
Once you have a new Project, select the three horizontal lines icon in the upper left corner of the screen.
Select APIs & Services > Enable APIs & Services.
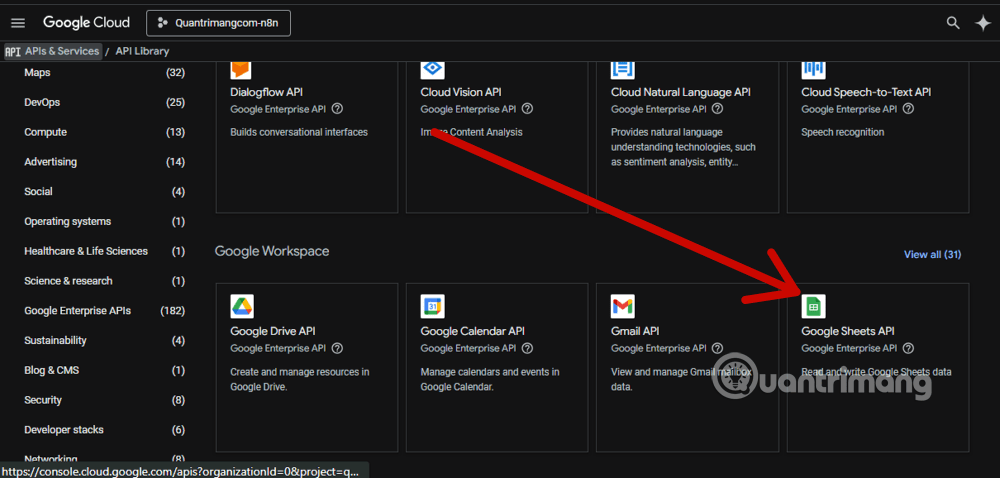
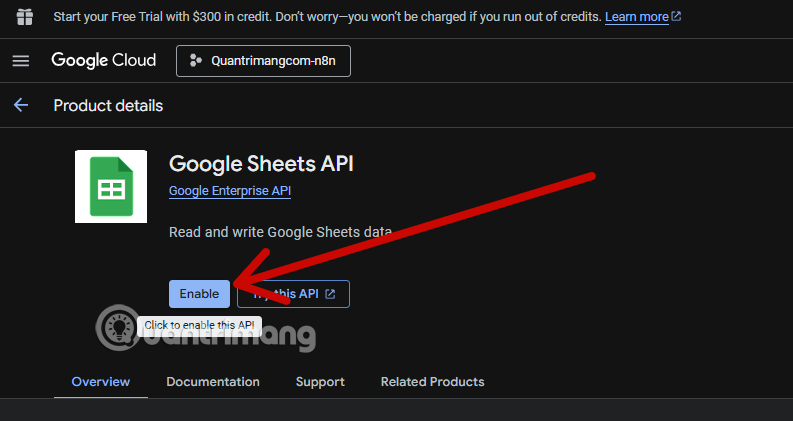
Search for the keyword "Google Sheets API" in the search box, or scroll down a bit and select the Google Sheets API result and click the Enable button to activate it.
Step 2: Set up OAuth Consent Screen
Before generating the verification code, Google asks you to configure the information displayed for the app:
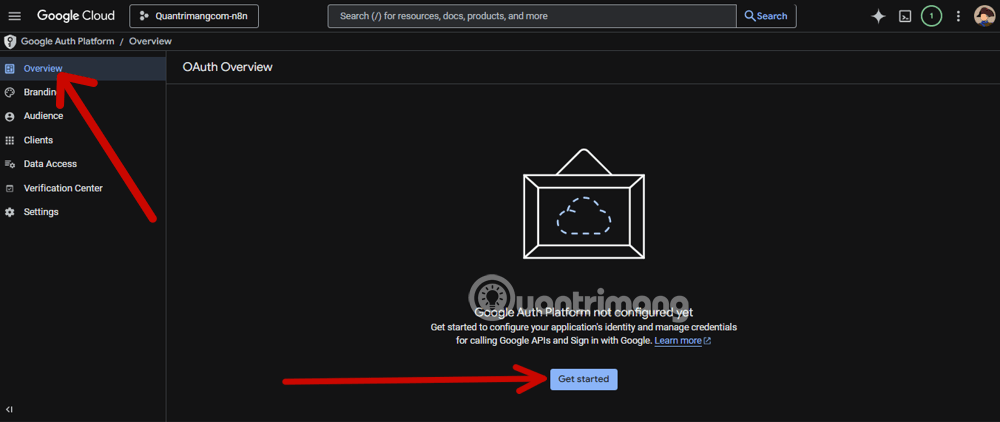
After activating the Google Sheets API as described above, you will be taken to the interface below. Select Overview > Get started.
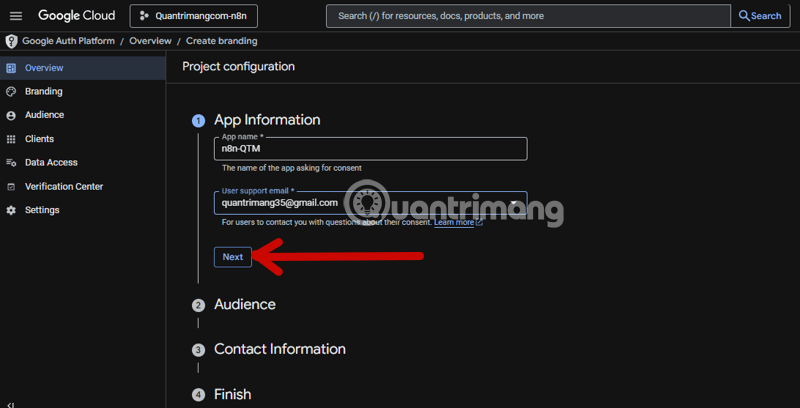
Complete the information regarding the App name and email address used in the Workflow on n8n, then select Next.
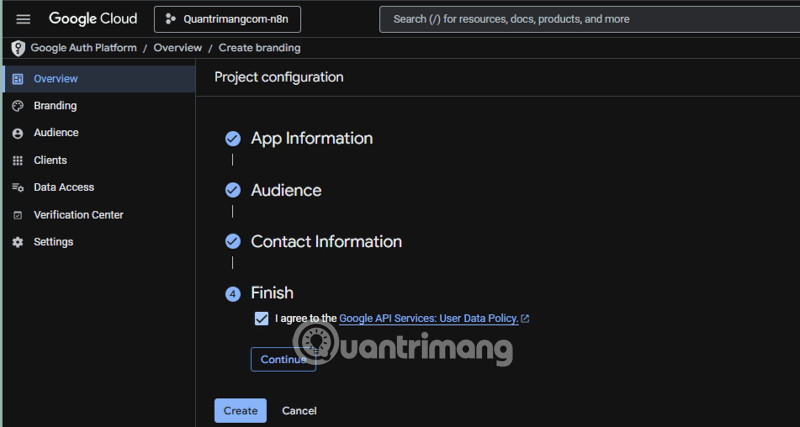
Select External, then complete the remaining information, finally check the box I agree to the Google API Services User Data Policy and select Finish.

Go back to the APIs & Services menu and select OAuth consent screen .
Step 3: Create Client ID and Client Secret
After configuring the consent screen, proceed to obtain the code:
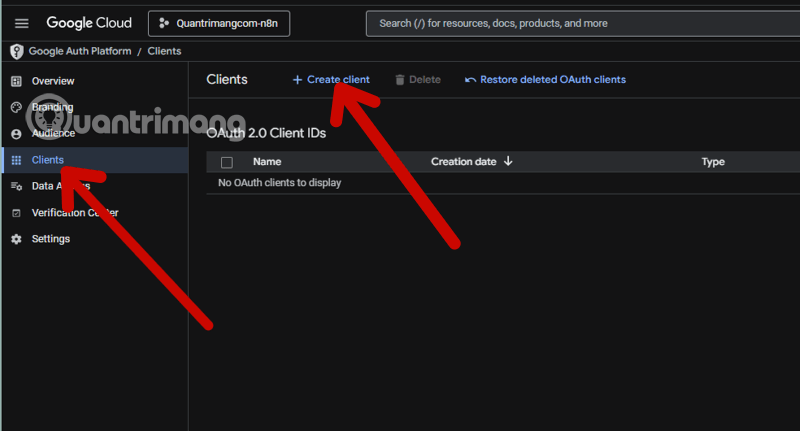
Now, let's move on to the Client section and select Create client .
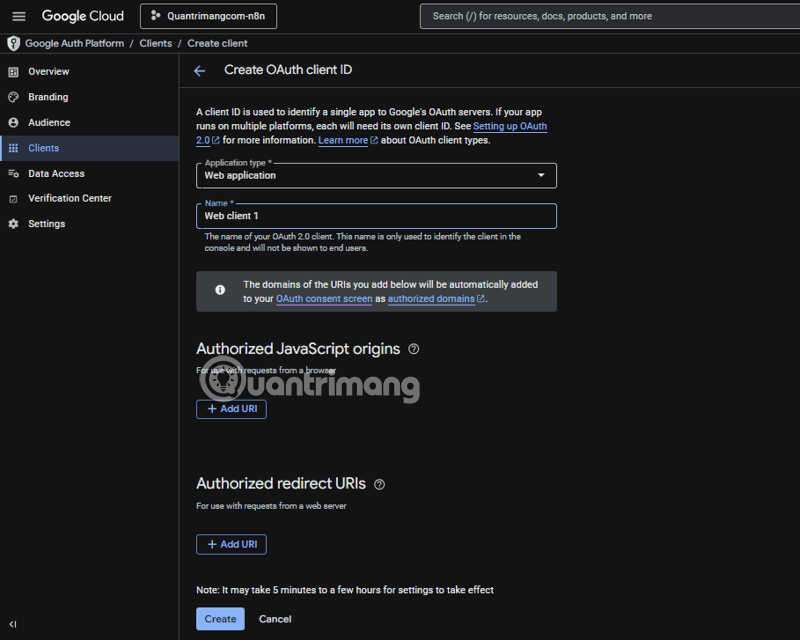
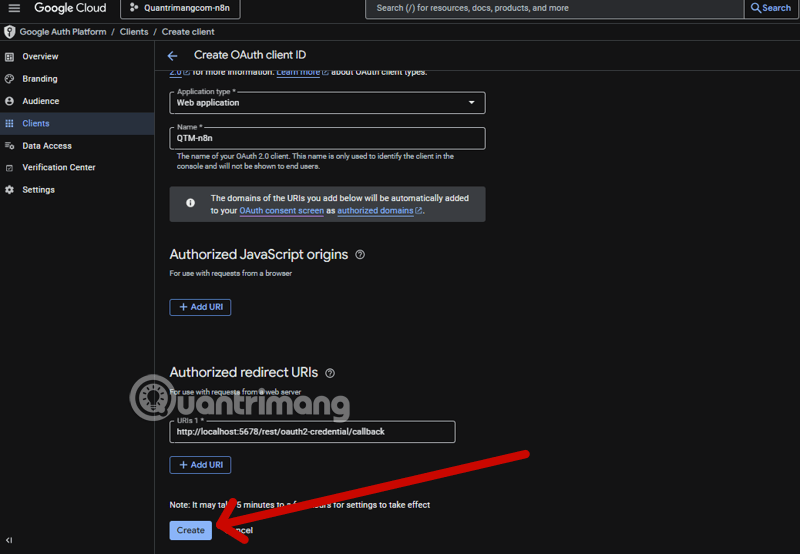
Select "Web application" in the "Application type" section , and below it, choose a name of your choice. At the very bottom, under "Authorized redirect URLs," you need to have the OAuth Redirect URL created from the n8n workflow.
Go back to n8n, select the plus sign in the upper left corner, and choose Credential.
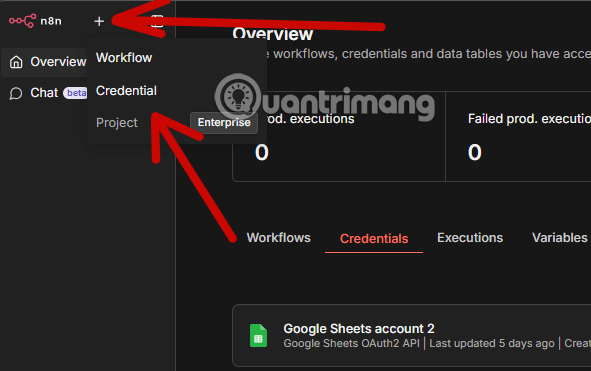
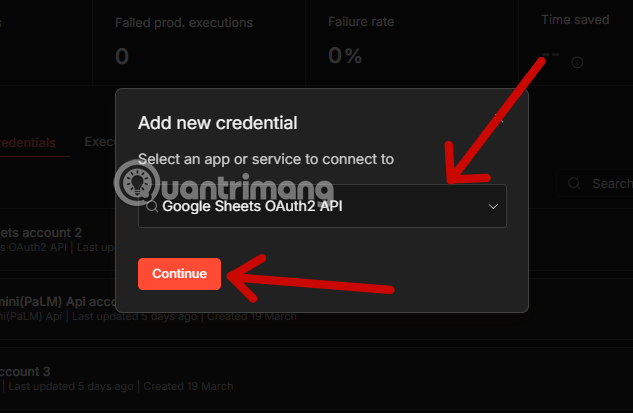
In the Add new credential section, select Google Sheets OAuth2 API and then select Continue.
Next, copy the link from the OAuth Redirect URL section.
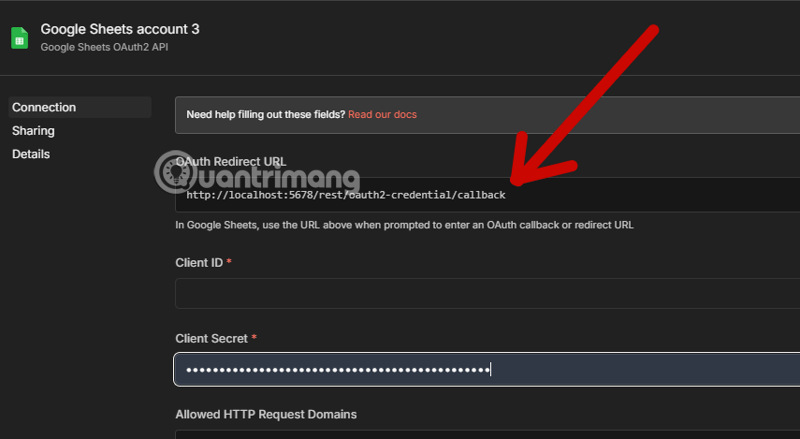
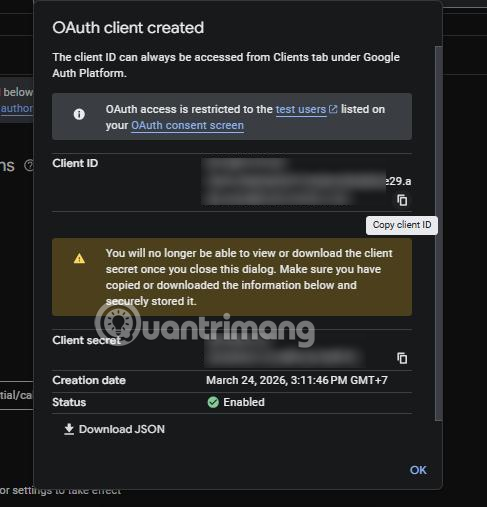
Then paste it back into the Authorized redirect URLs section above and select Create to display the Client ID and Client Secret. Please note that the Client Secret only appears once to ensure security. The Client ID can be retrieved at any time, so copy and paste the Client Secret into a note-taking application to save it.
Tap the copy icon to copy the Client ID and Client Secret to your notes app or anywhere else where you can paste the content.
Why use the Google Sheets API instead of sharing publicly?
Using APIs via Client ID ensures your workflow is completely secure. Instead of having to set it to "Anyone with the link can edit," n8n will access the spreadsheet under the name of your own application. This provides tight control over access, especially for critical business data or sensitive customer information.
How to fix common errors when connecting n8n to Google Sheets
During the process of adding credentials to n8n, you may encounter some common errors:
- Error 403 (Access Denied): This is because you haven't enabled the API in step 1 or haven't added the email to the "Test Users" list if the application is in Testing mode.
- Redirect URI Mismatch Error: Ensure that the URL you paste into Google Cloud matches exactly 100% the URL provided by n8n (note the period
/at the end). - Write permissions not yet granted: Ensure that during authentication, you have checked the box allowing the application to view and edit files on Google Drive/Sheets.
Enhance your workflow on n8n with data from Google Sheets.
Once successfully connected, you can turn Google Sheets into a mini "database" for tasks such as:
- Automatically update SEO reports daily.
- Send Telegram notifications when new data rows are added to the spreadsheet.
- Collect data from AI sources and store it systematically for later analysis.
See also: How to install and use n8n on Windows 11
Mastering how to create a Client ID not only helps you use n8n better but also provides a foundation for connecting with a range of other Google services such as Drive, Calendar, and Gmail.