Table of Contents
The following guide provides a clear overview of PowerPoint, with the most relevant background, details, and practical takeaways.
How to Use Microsoft PowerPoint to Shoot a Laptop Screen
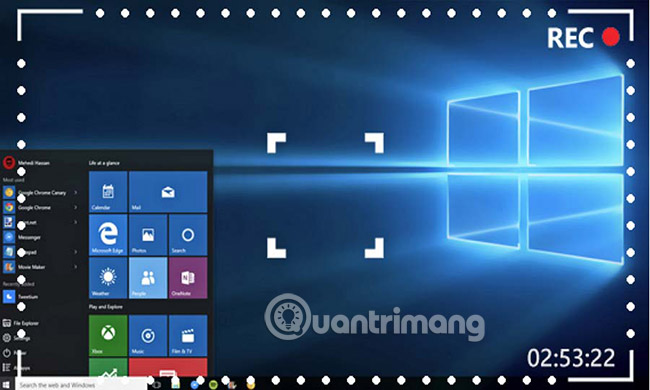
To create a screen record using PowerPoint, create a new presentation and then perform the following steps:
- Go to the Insert tab and click Screen Recording.
- In the toolbar that appears, click Select Area or use the shortcut key combination Windows + Shift + A.
- Using the crosshairs tool, click and drag to select the part of the screen you want to record.
- By default, both the cursor and sound are recorded. If you don't want to record them, click on the buttons in the dock to turn them off.
- Click the Record button or use the shortcut key combination Windows + Shift + R to start recording. You can also use this shortcut to pause and resume recording. You can switch to another program or window and PowerPoint will continue to record.
- After you have completed your record, move the mouse pointer to the dock's location and it will reappear. Click the Stop button or use the Windows + Shift + Q shortcut combination to finish the recording. (If you want to pin the dock while recording, click the pin icon in the bottom right corner).
- To save the record to the computer, right-click the video and select Save Media As.
- In the dialog box that opens, you can select the name and location of the file, then click Save.
This feature only works on PCs running Microsoft PowerPoint 2016 and updated versions of PowerPoint 2013.
How to Use Microsoft PowerPoint to Capture Laptop Screen

You can also use PowerPoint to take screenshots. It is especially convenient to use PowerPoint to take screenshots, so you can easily select any of your open Windows to capture, by the following way:
- Create a new presentation and go to Insert> Screenshot.
- You will see a series of all open Windows on your computer, except for minimized Windows.
- Click the window you want to take a screenshot. If you want to select an area on the screen, click Screen Clipping. This minimizes PowerPoint, allowing you to click and drag to take screenshots of any window behind PowerPoint.
- Screenshot will appear in PowerPoint. To save it to your computer, right-click on the image and select Save as picture.
- In the dialog box that opens, you can select the name and file format (for example, JPG, PNG, PDF, GIF, BMP) and file location.
This feature works on both Mac and PC running Microsoft PowerPoint 2016 and updated versions of PowerPoint 2013.
Good luck!
- How to cut photos using Microsoft PowerPoint
- How to insert Header and Footer on PowerPoint when printing
- How to design PowerPoint with Text box and SmartArt
FAQ
How does PowerPoint work?
The following guide provides a clear overview of PowerPoint, with the most relevant background, details, and practical takeaways.
What should you prepare before using this method?
How to Use Microsoft PowerPoint to Shoot a Laptop Screen To create a screen record using PowerPoint, create a new presentation and then perform the following steps: Go to the Insert tab and click Screen Recording.
What should you do if the process does not work as expected?
In the toolbar that appears, click Select Area or use the shortcut key combination Windows + Shift + A.
Related Articles
 How to Use PowerPoint to Record and Capture Laptop Screen4 minutes read
 7 Quick and Simple Ways to Take Screenshots of HP Laptops7 minutes read
 How to Use Faststone Capture to Record Computer and Laptop3 minutes read
 26 Useful Screen Capture Apps for macOS17 minutes read
 How to Print Screen on a Toshiba Laptop: Step-by-Step Guide4 minutes read
 How to Take Screenshots Laptop Lenovo7 minutes read
Reader Comments 0
Sign in with email or Google to join the discussion.